1962 JAGUAR E-TYPE SERIES 1 3.8 RHD FHC
Sourced through our Brokerage team, this Carmen Red 1962 Series 1 FHC with matching numbers, and the next chassis on from famous racing E-Type "CUT 8", is to undergo a complete restoration with sympathetic body repairs, engine re-conditioning, full re-trim, and painting in its original Jaguar colour of Opalescent Dark Blue.
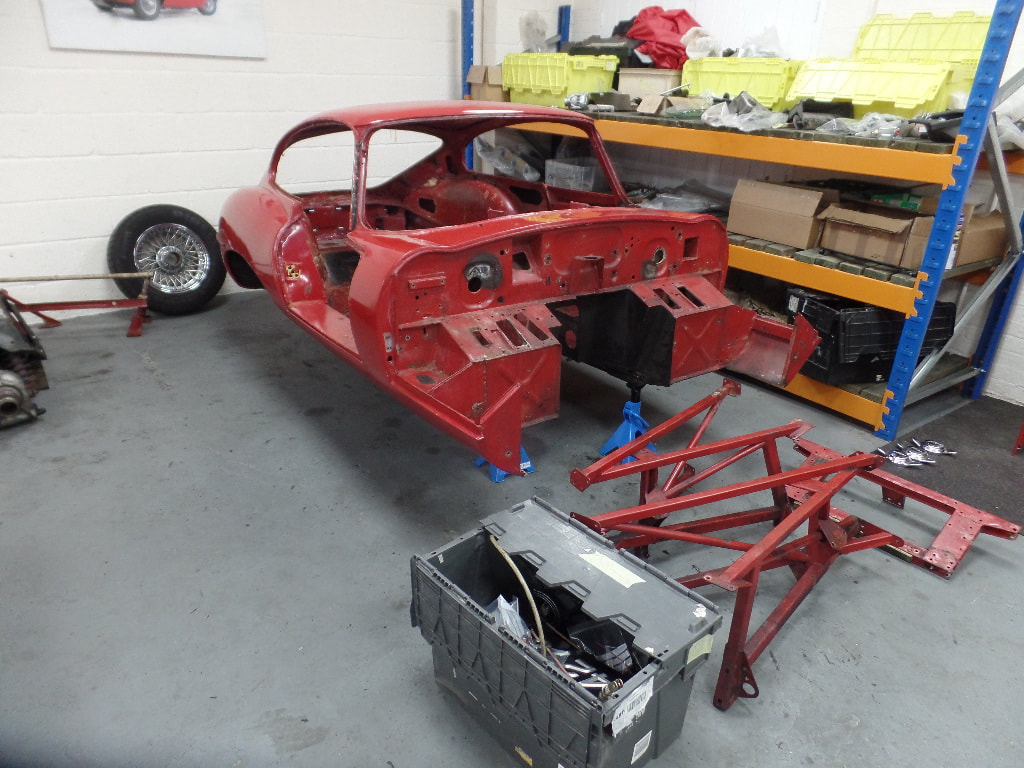
Fully stripped with the iconic 3.8L engine removed, the tub and frames have been delivered to the blasters to start the necessary investigation work prior to the body repairs.
Fully stripped with the iconic 3.8L engine removed, the tub and frames have been delivered to the blasters to start the necessary investigation work prior to the body repairs.
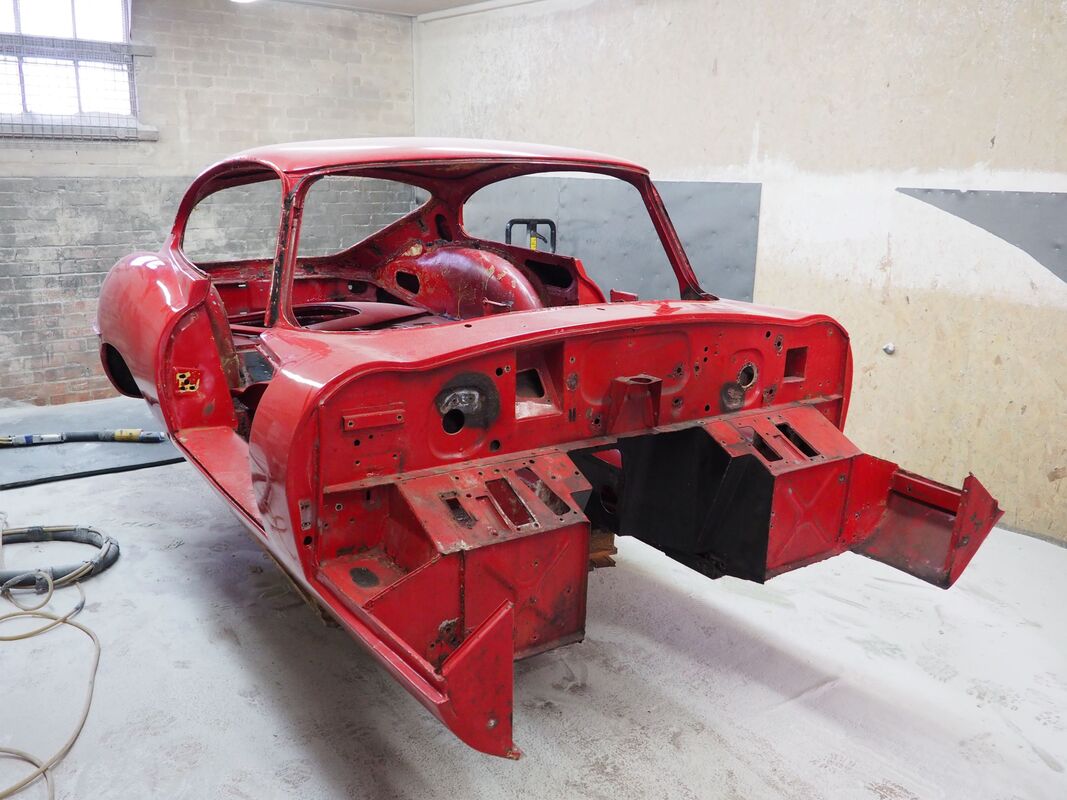
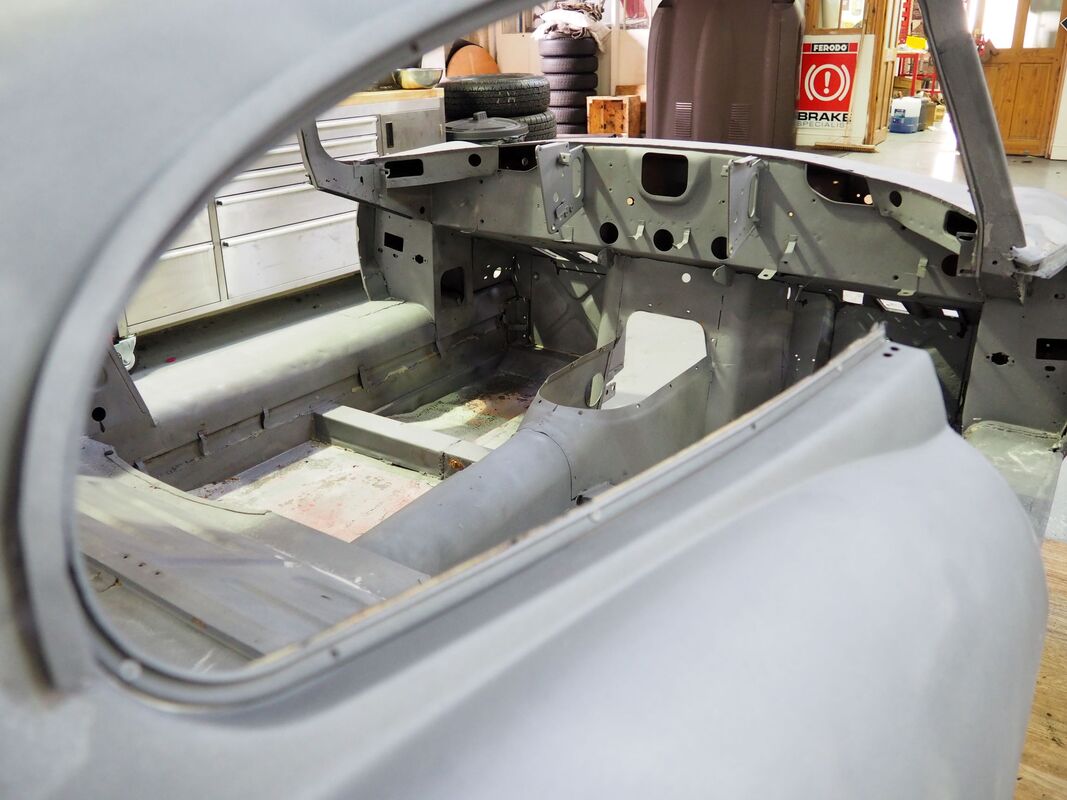
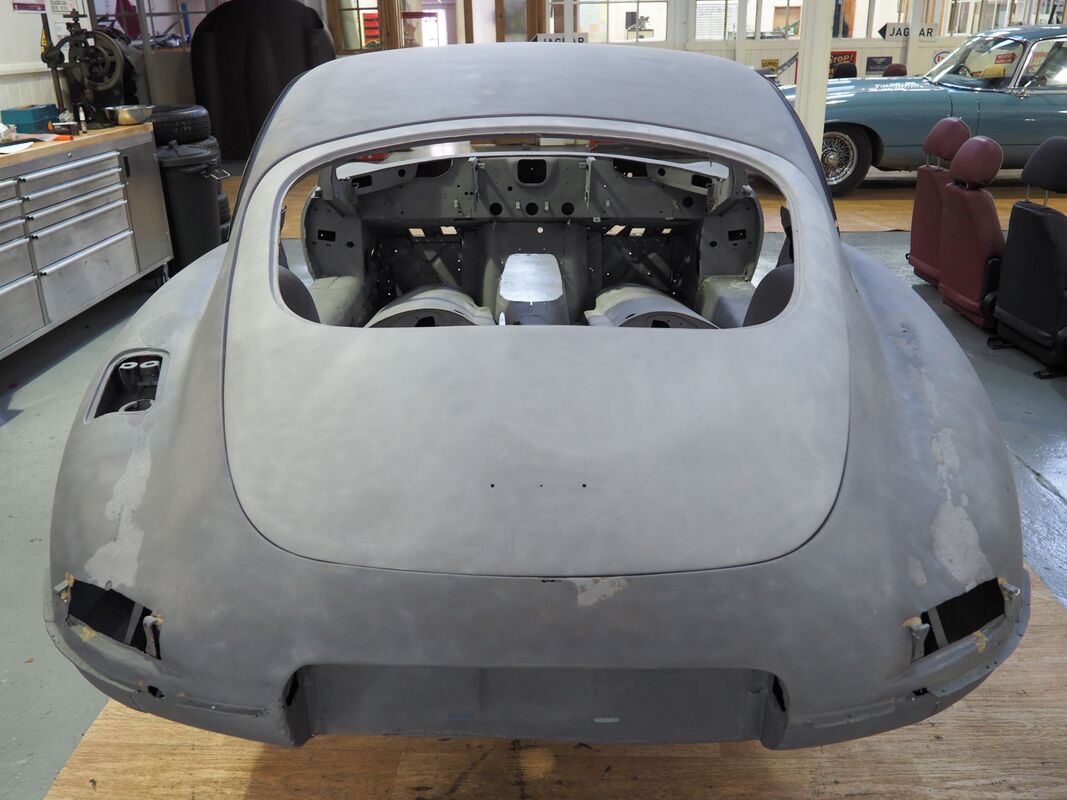
The blasting team are about to start on the tub and bonnet of the '62 Series 1 restoration. All panels will be carefully blasted using a fine grit so as to avoid any distortion of the panels. We also took delivery of a new steel floor pan complete with inner and outer sills for the customer, as the current one was deemed unsuitable to keep on the car, so this will be cut away to make way for the new custom built panels.
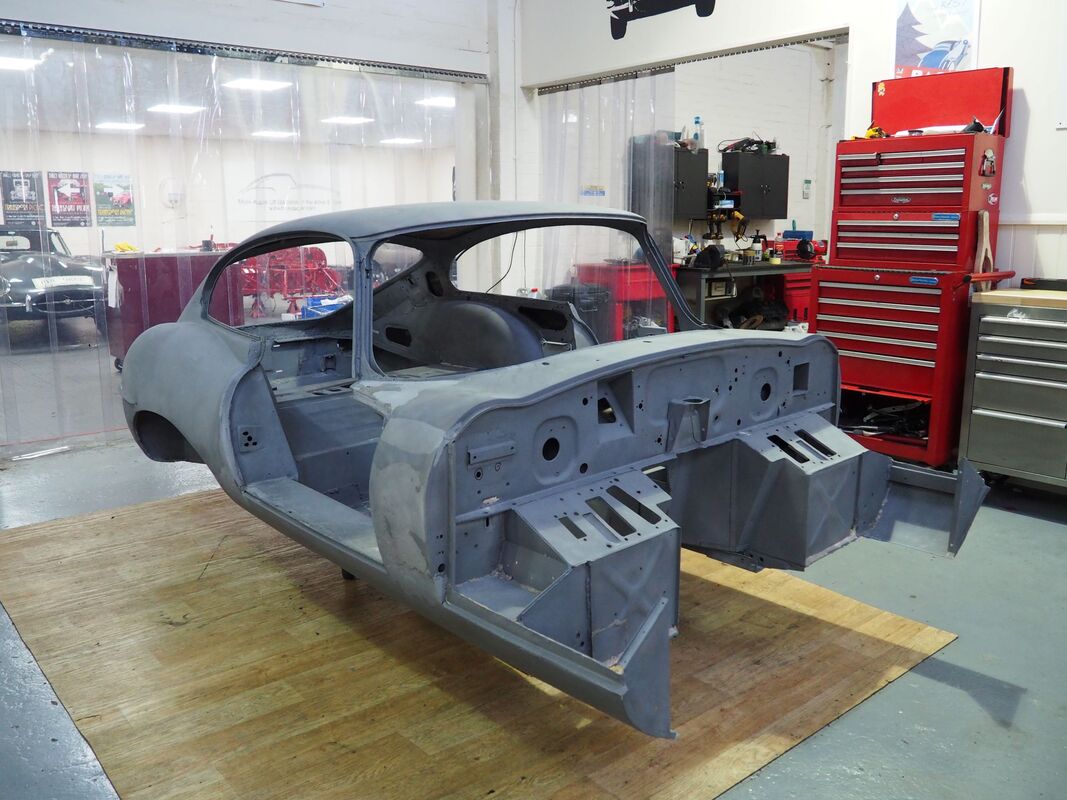
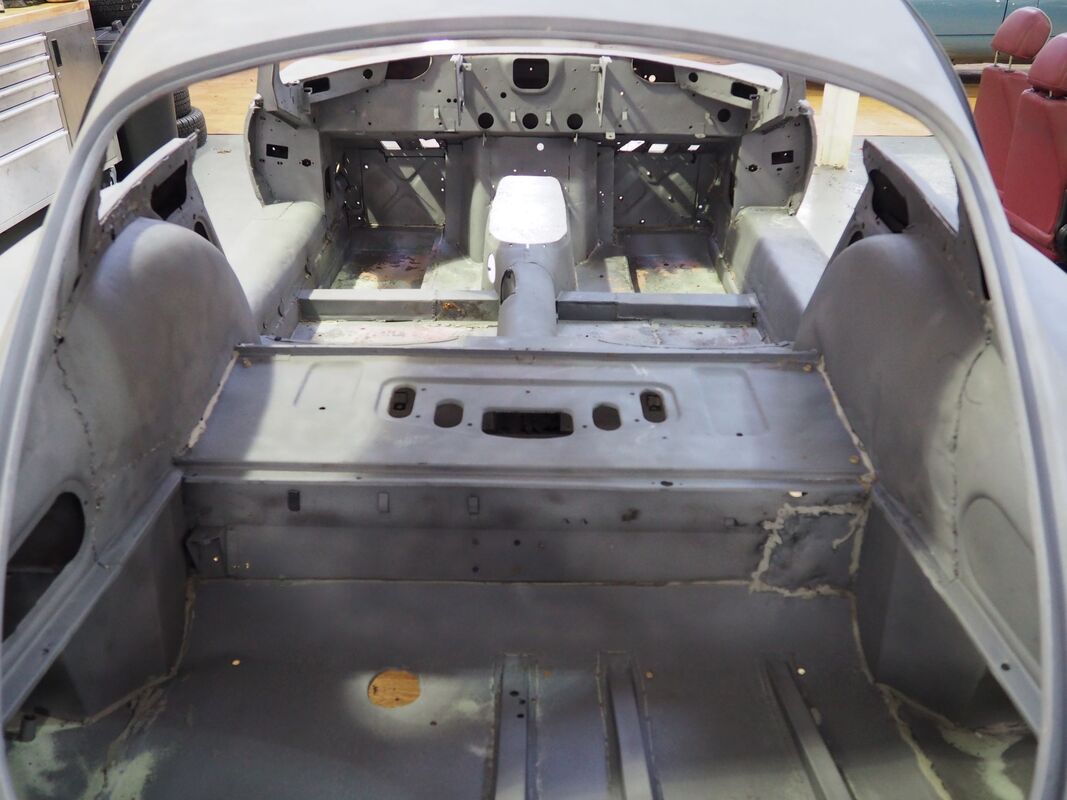
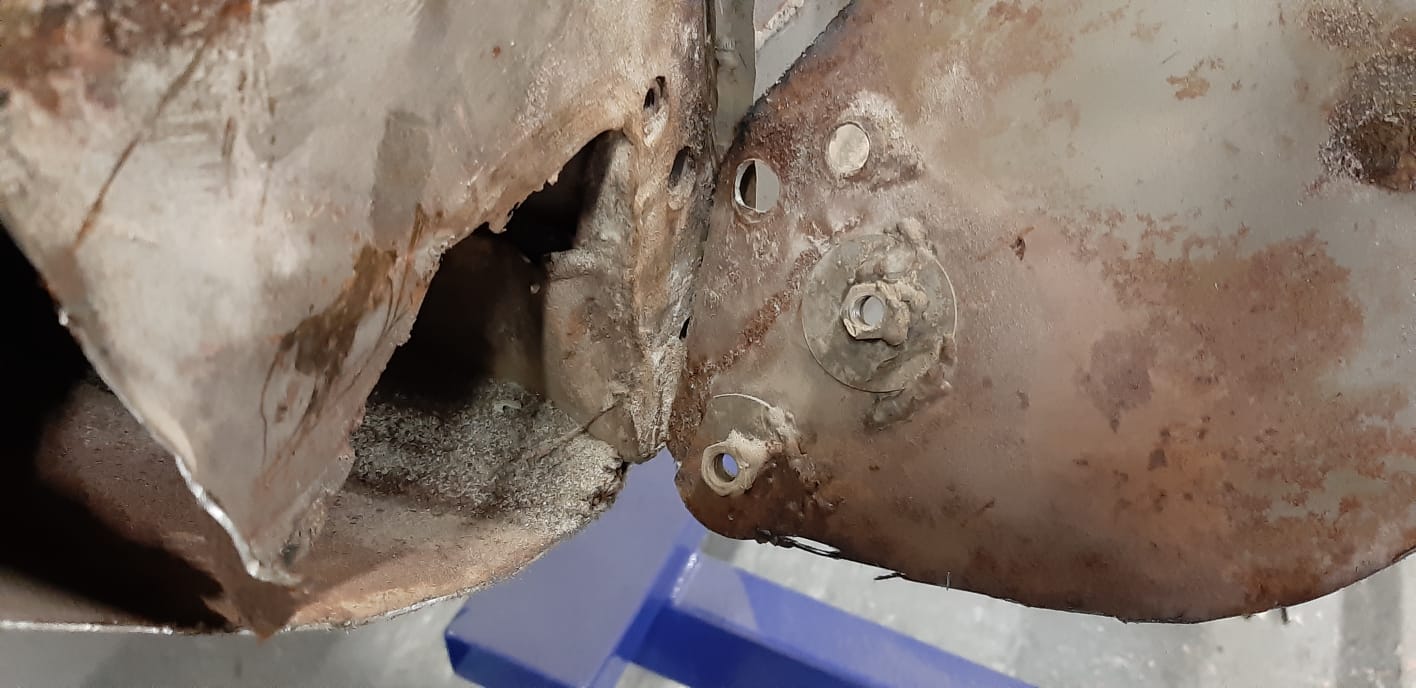
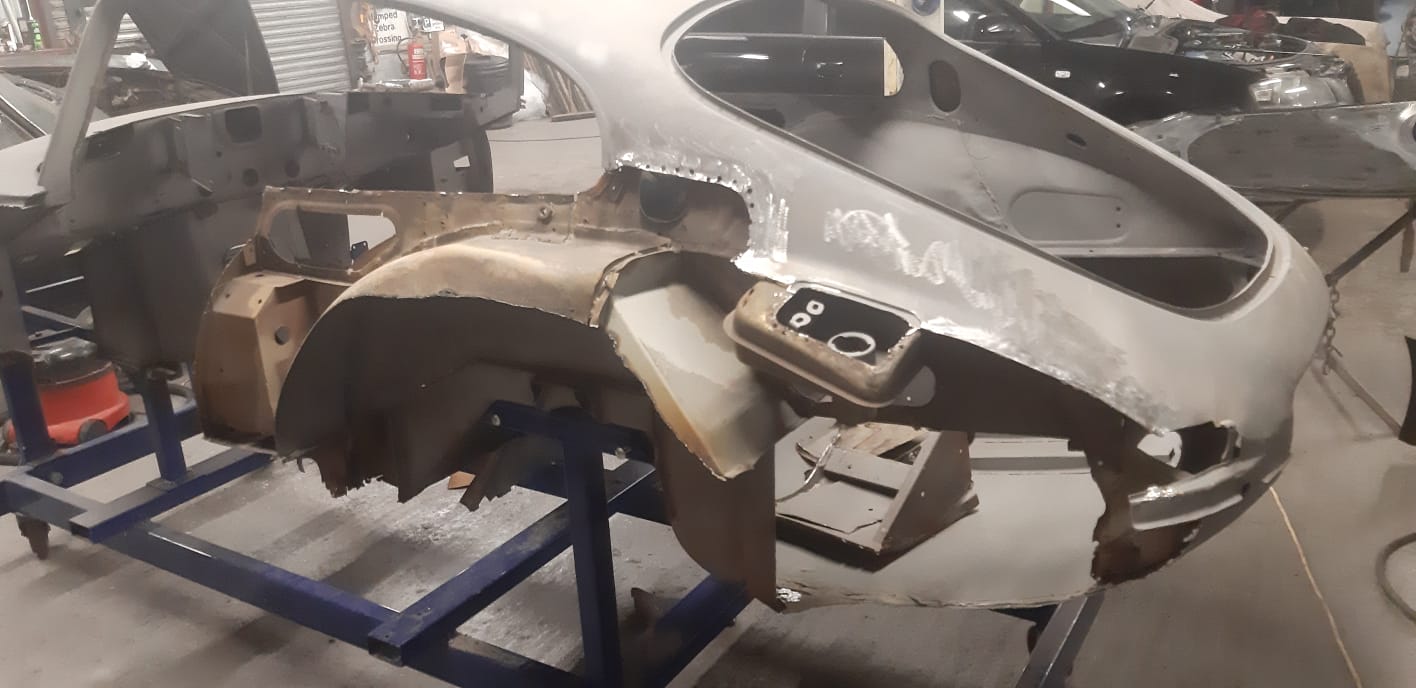
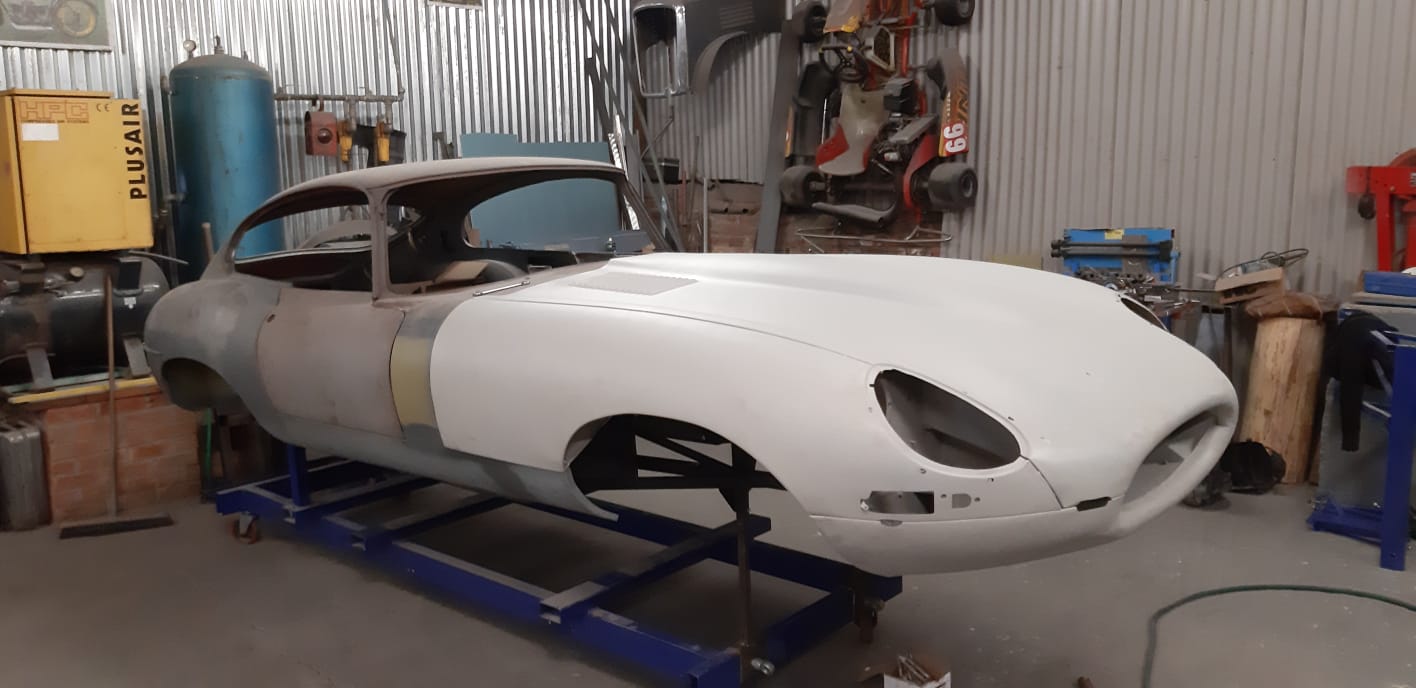
Blasted with a fine grit and coated with a rust preserver, the tub and bonnet panels of the '62 FHC were safely back in the workshop ready to start the necessary repair work. The team can now see the extent of previous repair work that has been carried out. A variable degree of quality was applied over the years which will be expertly put right during the panel work stage. With a new floor pan destined to replace the existing one, we are looking forward to unveiling the progress with a visit from the customer.
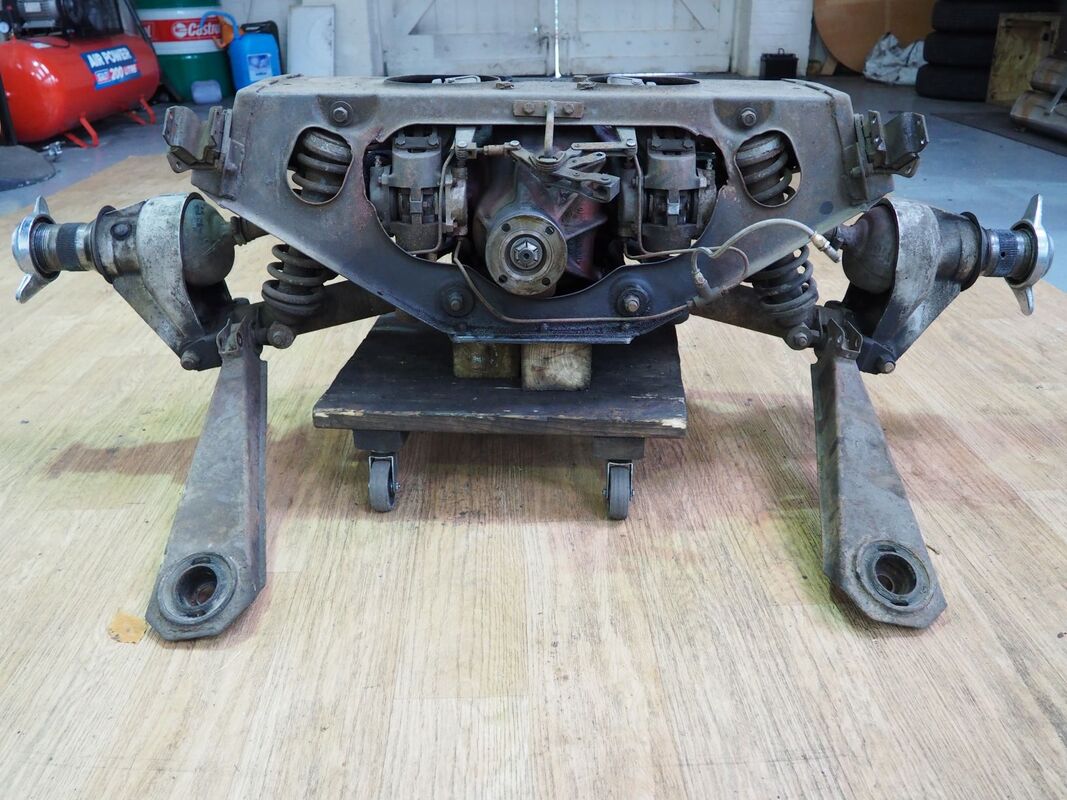
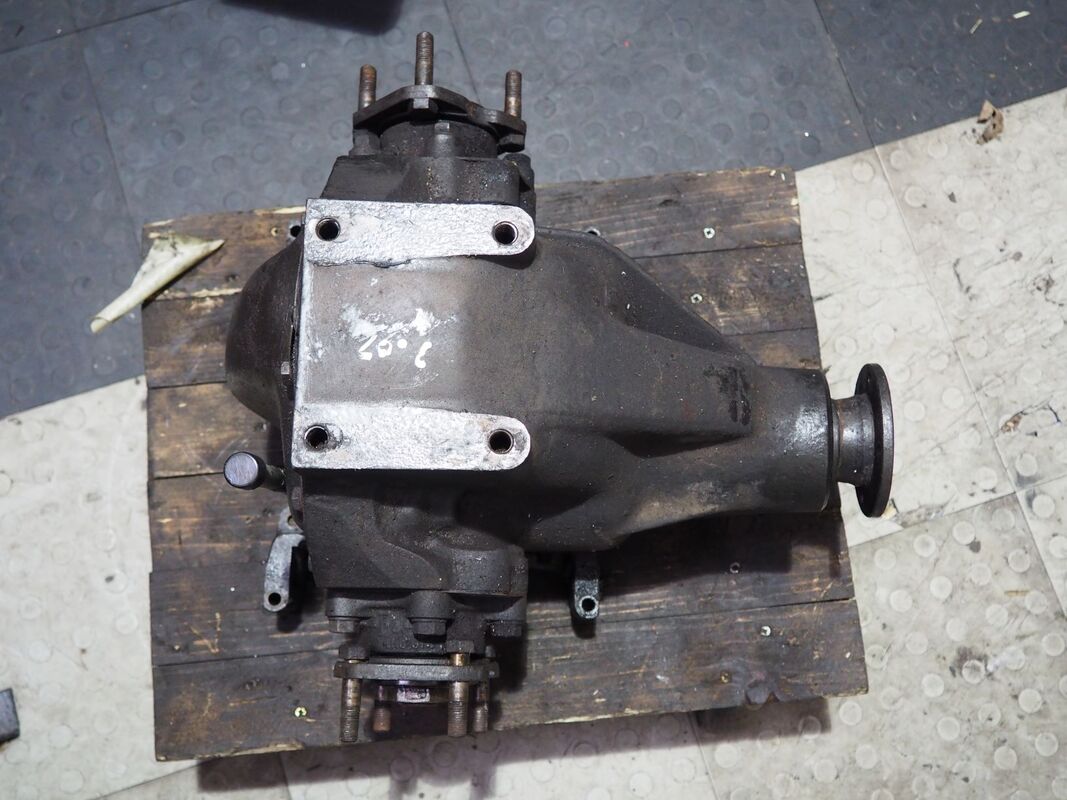
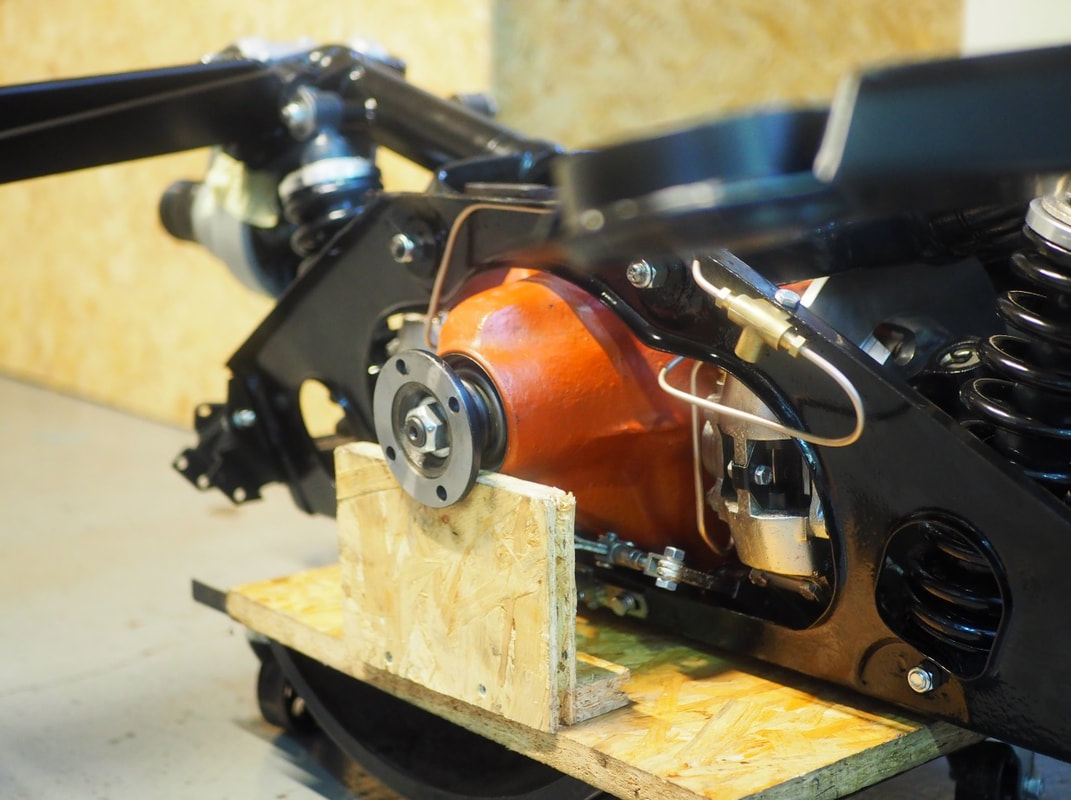
With the shell and bonnet panels stripped we have been able to begin the break down of the rear axle on the ’62 Series 1 FHC. Inspecting as we go we will be separating all components ready for powder coating and plating, and the 3:07 ratio diff will be sent away to be rebuilt and checked.
With all nose-to-tail restoration projects, the bodywork stage can be the hardest to witness. Not knowing the true condition of the shell until it has been blasted can be a tense time. However, it is also a very educational process where we can start to piece together the history of the car and how it was cared for in the past.
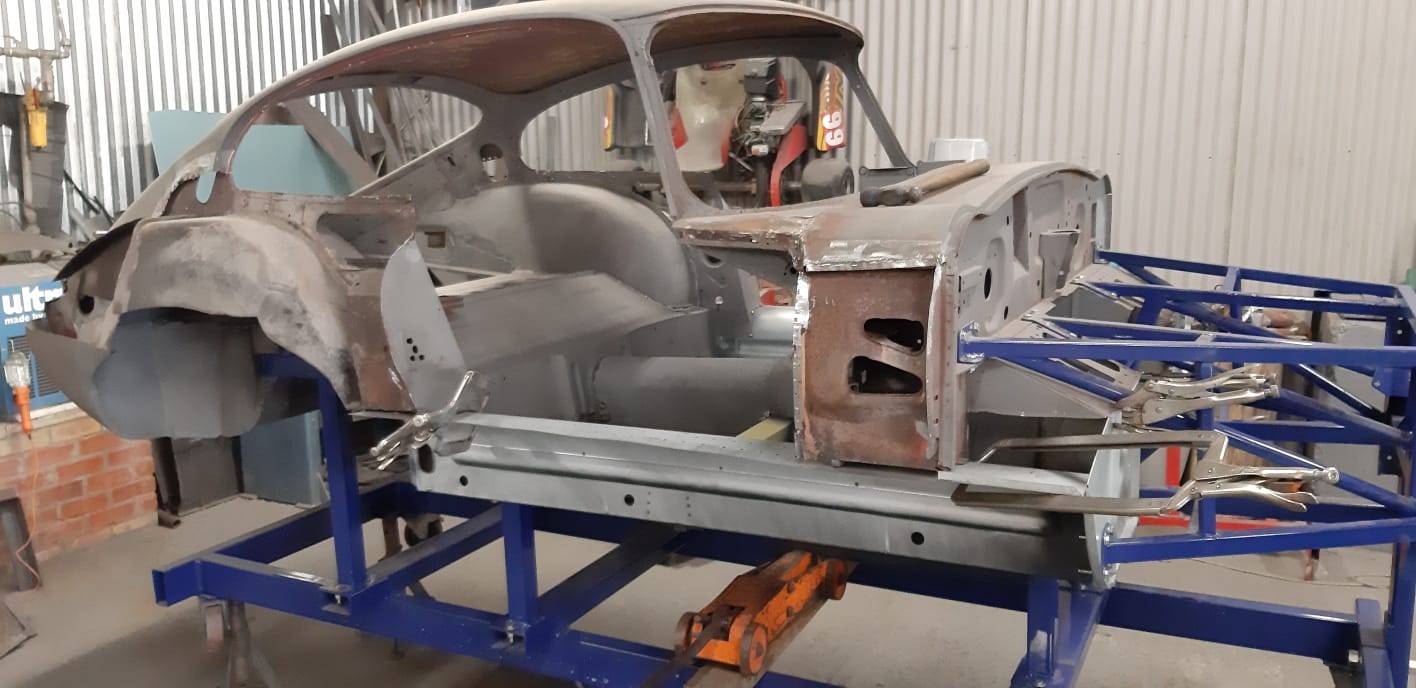
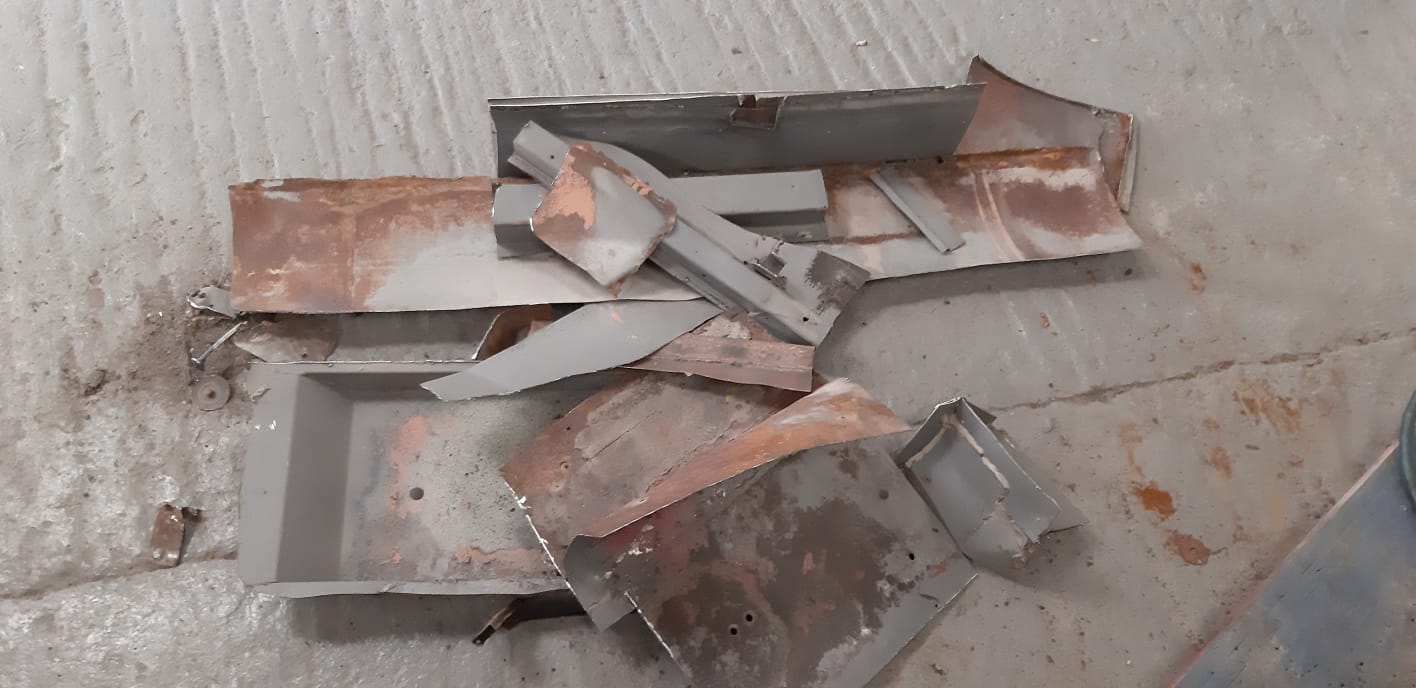
Once mounted to the jig, the bodywork team first analyse what on the body can be saved. With all of our restorations, our aim is to keep the car as close to the factory original as possible, and if we can re-use panels then we will. The rear wings were deemed fit for re-use so these were carefully removed with the edges cleaned. The original floor pan however was too damaged, and un-safe to keep on the car, so this was removed to make way for a new floor.
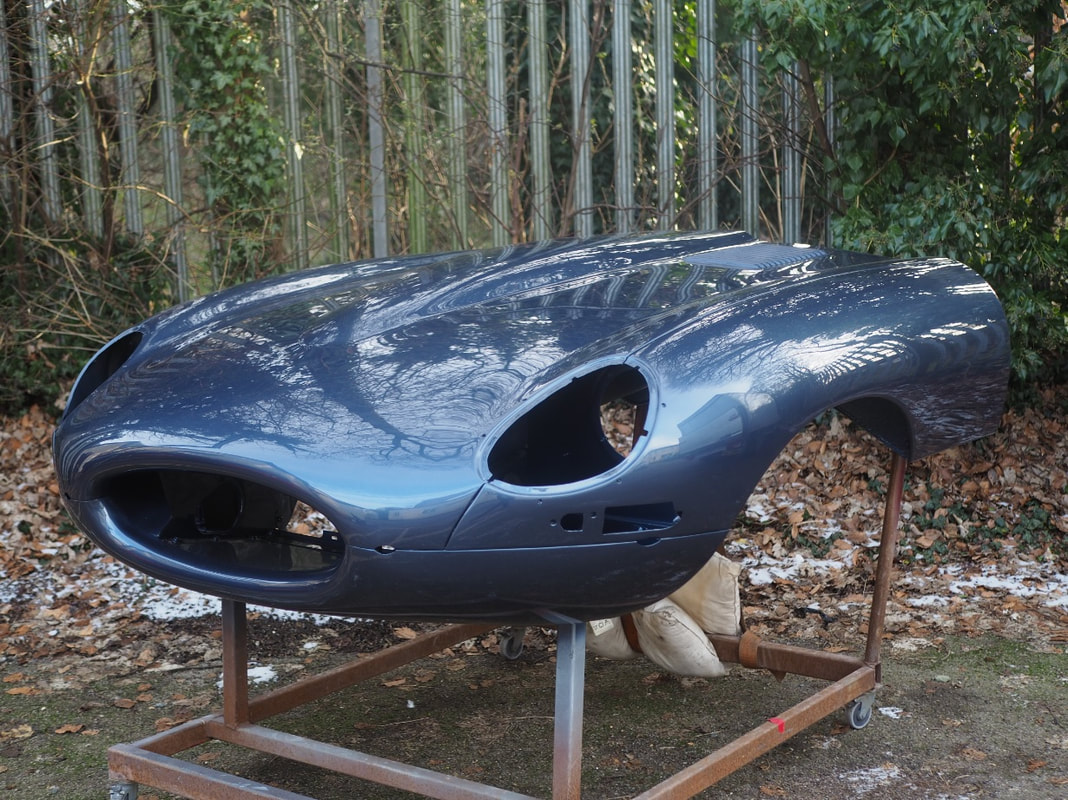
With all the bonnet panels prepped and primed for assembly, the necessary repair work could be started to the bulk head. Inner wheel arches, lower quarter panels, rear tonneau, and engine frames were just some of the panels that needed replacing on the car. The extensive, almost surgical repairs that had to be made were an indication in to how this E-Type was cared for in the past. We made a unanimous decision with the customer to replace the vast majority of the panels, instead of restoring them, due to the poor repairs that had been made throughout the cars life.
Finally with the new floor welded in place, the boys could now focus on stiffening up the outer sills, hanging the doors, and re-assembling the bonnet.
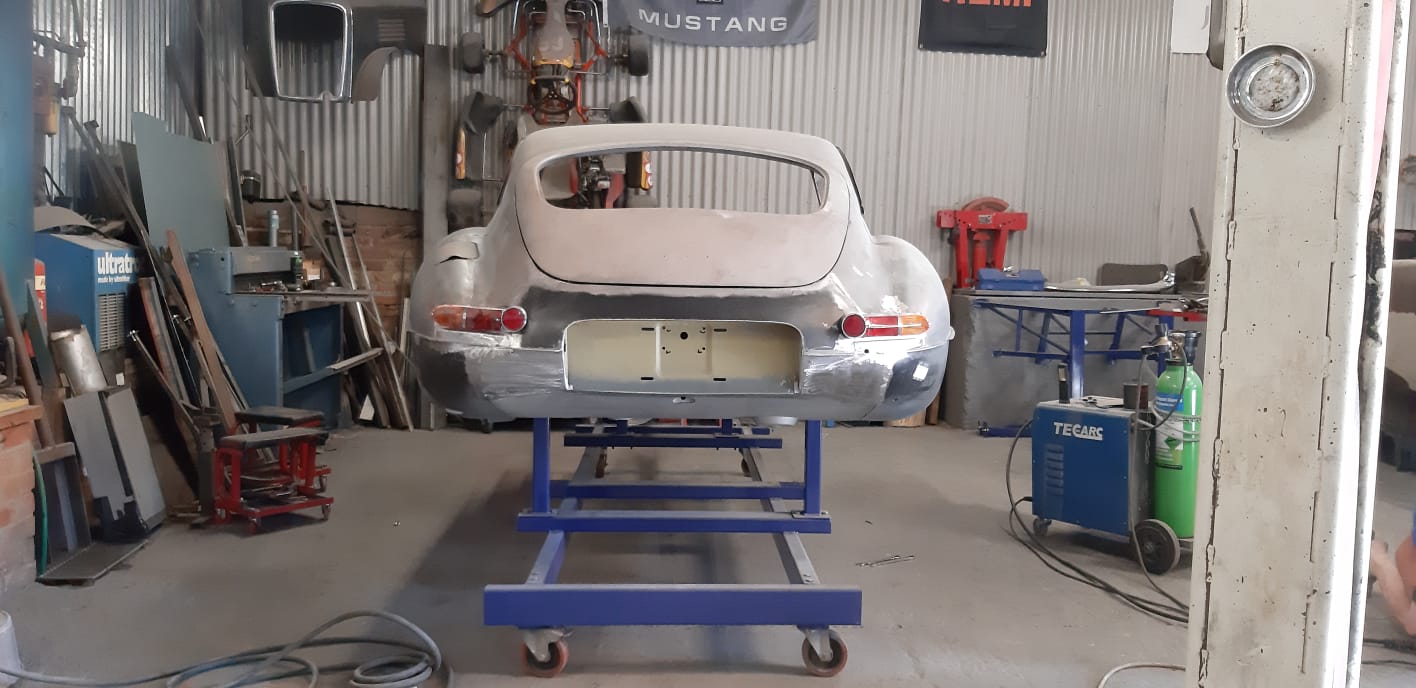
As we near the end of the body and panel work stage, and blast towards the always exciting painting, the '62 Series 1 has come on leaps and bounds over the last couple of months. The near side and off side rear inner and outer wheel arches, and door lock panels have all been fitted along with a new number plate panel. Necessary repair works were carried out on the rear wings before being re-fitted, and a plethora of panels also fitted which include a new boot floor, lower quarters, rear light fillet panels, tail gate, rear lights, bulk head closing panels, and new front frames. Before the bonnet was hung, all the chrome was trial fitted and the gaps were final checked so we were happy that the classic lines all lined up perfectly. Within the coming week we will be handing the body over to our paint shop where the car will be transformed back to its original Jaguar colour - Opalescent Dark Blue.
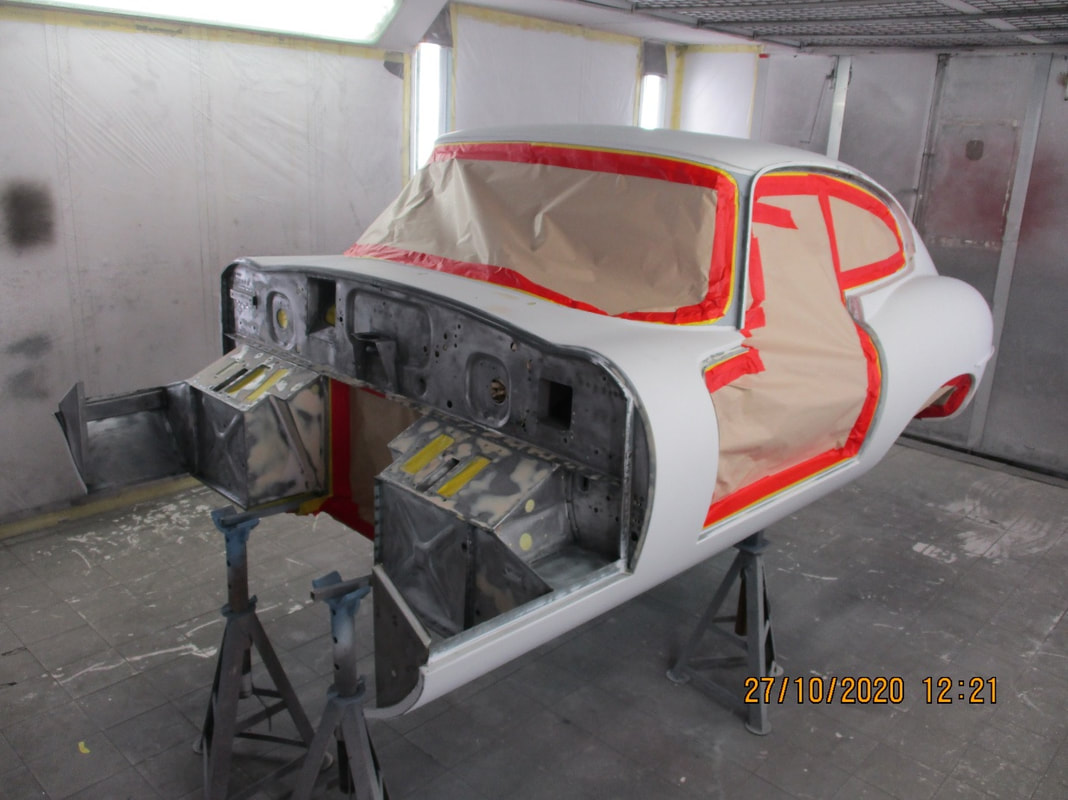
As the outside world has been plunged in to yet another lockdown, superb progress has been made on the '62 Series 1 FHC restoration project behind closed doors. The last 3 months have seen the shell move through the final stages of panelwork - albeit at a slower pace due to the Covid grip - and be placed in the hands of the paintshop.
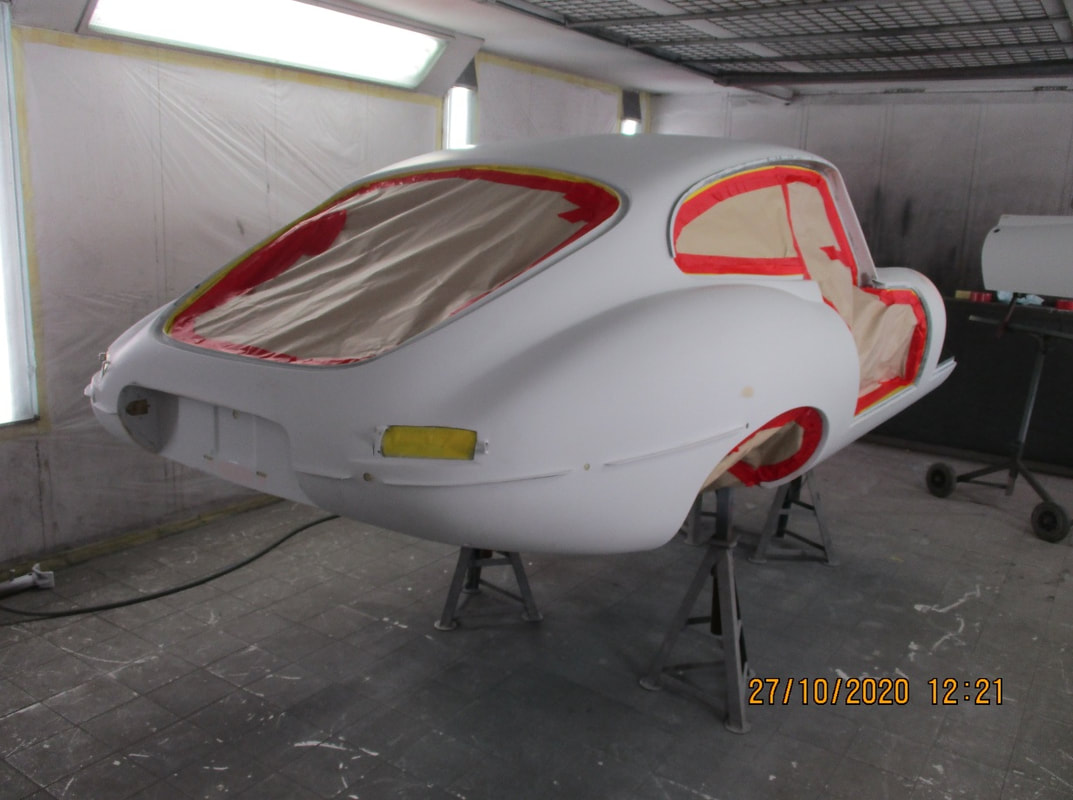
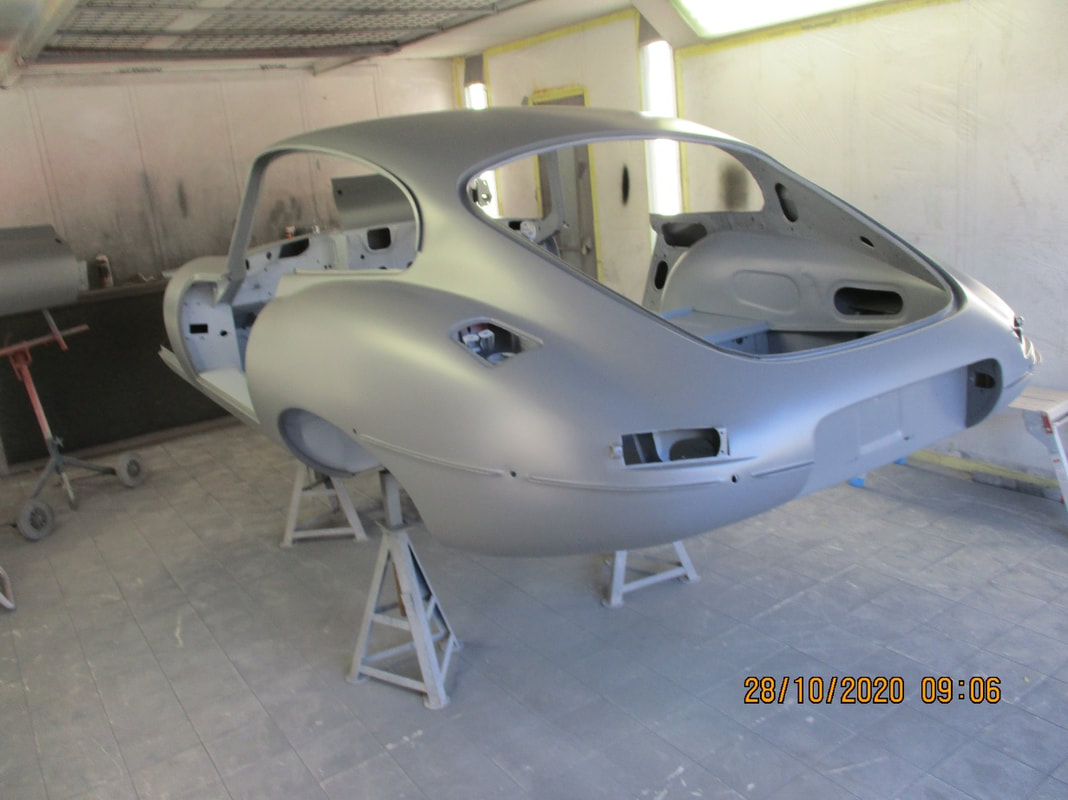
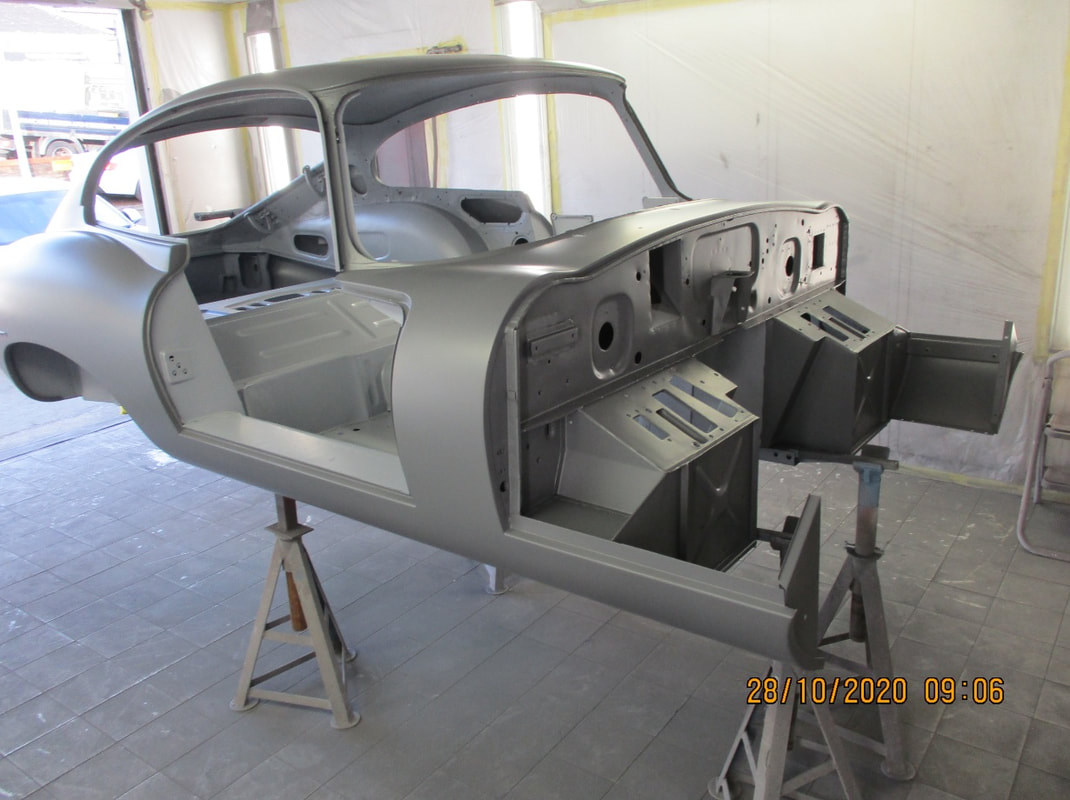
The first step of the paint process was to metal fill the car and do a final prep with all the chrome. Using a polyester filler, the initial focus was on the inside and the underneath of the car whilst the outside surfaces were covered. That way all the tricky to reach places and crevices could be evenly covered before the all important identity of the car could take shape in the primer stage. Once the filler was even and dry, the team set about smoothing over all the flowing lines and curves giving the perfect base for the epoxy primer.
Now all that stands between welcoming the car back to the workshop is the body colour which is such a poignant moment in the project - and for the customer! With the paint card signed off, the car will be painted back to its original colour of Opalescent Dark Blue as stated on the JDHT certificate.
As we await to hear confirmation from the paint shop that the Opalescent Dark Blue shell is ready for delivery back to the workshop, the boys complete another milestone in the restoration project - the rear axle.
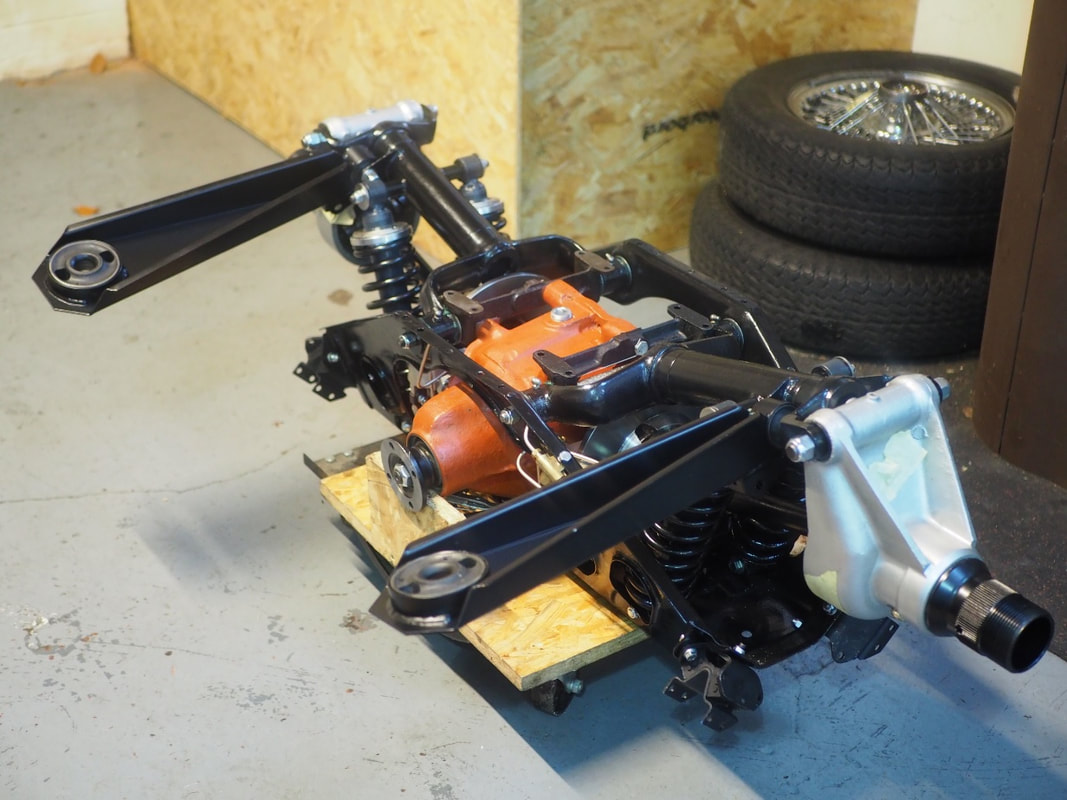
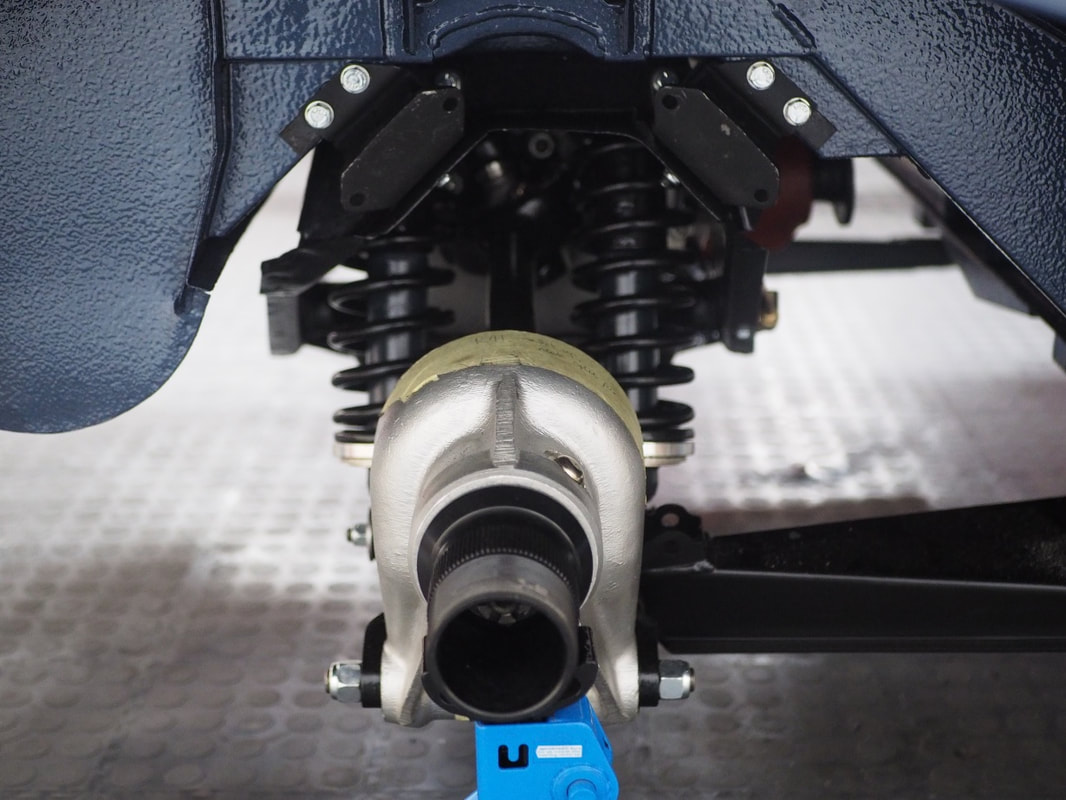
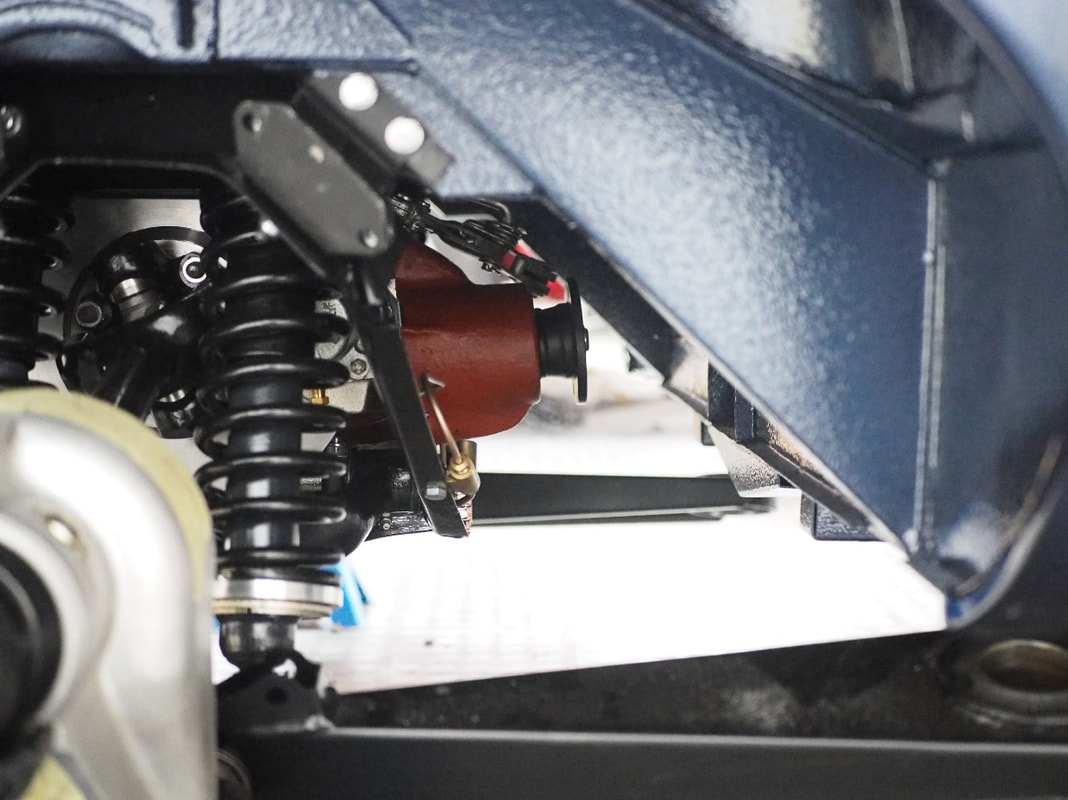
Now housing the original completely overhauled 3.07 diff, the entire unit was stripped to have all the salvageable parts blasted before being either nickel plated or powder coated. Drive shaft universal joints were replaced with uprated whilst the springs and shock absorbers were checked prior to repainting. The outer fulcrum, wheel and hub bearings were also replaced along with brake lines formed out of cunifer. New radius arms have also been installed. With the brake pistons replaced with Zeus units, all we have to do is fit the tie plate and it should be ready for thousands of miles of service.
Now housing the original completely overhauled 3.07 diff, the entire unit was stripped to have all the salvageable parts blasted before being either nickel plated or powder coated. Drive shaft universal joints were replaced with uprated whilst the springs and shock absorbers were checked prior to repainting. The outer fulcrum, wheel and hub bearings were also replaced along with brake lines formed out of cunifer. New radius arms have also been installed. With the brake pistons replaced with Zeus units, all we have to do is fit the tie plate and it should be ready for thousands of miles of service.
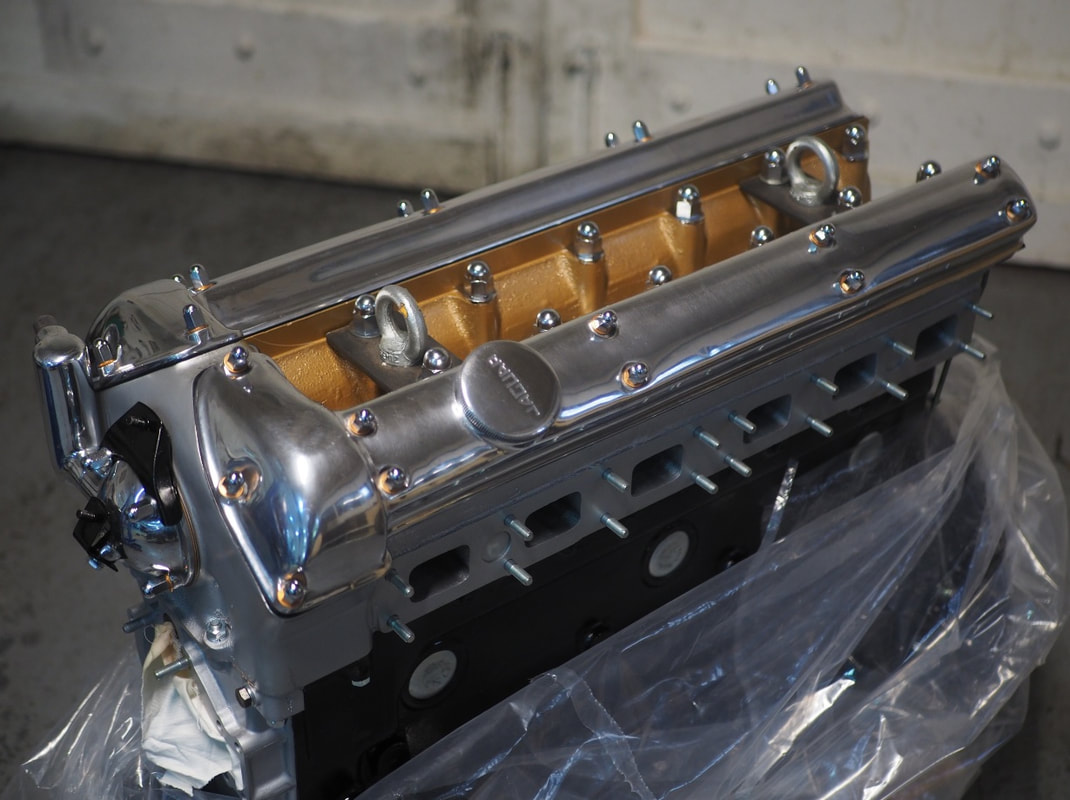
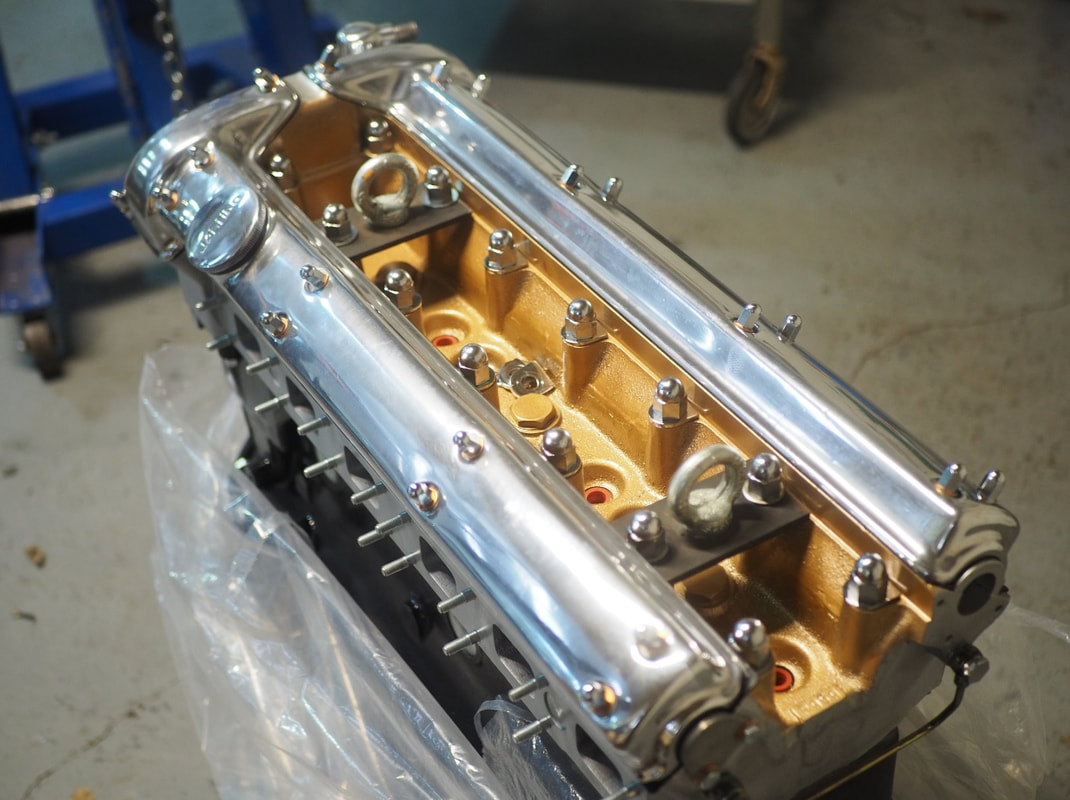
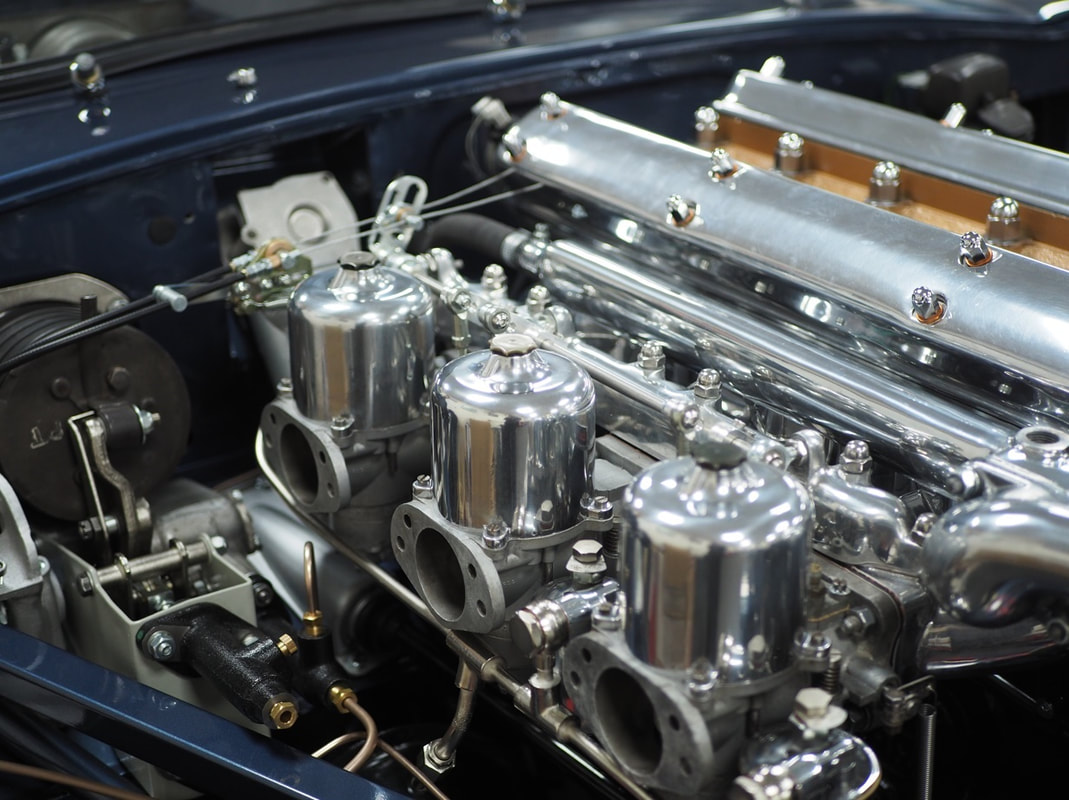
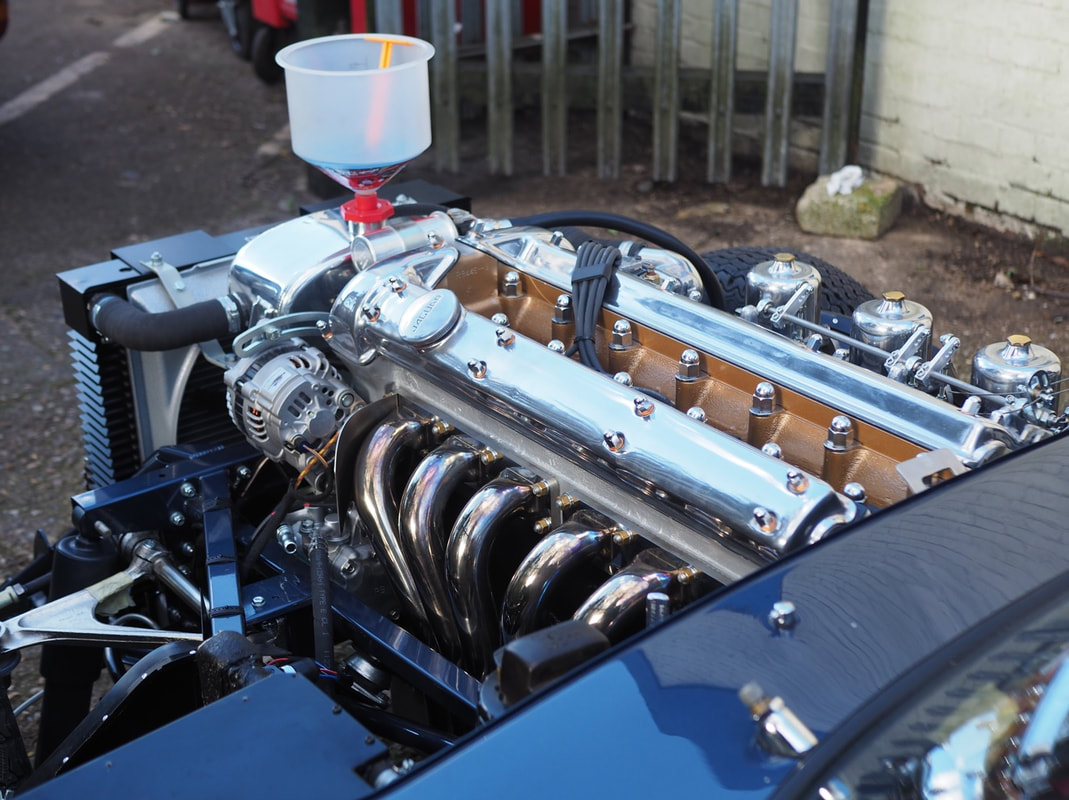
Always an exciting milestone in any restoration project is the arrival of a fully overhauled engine back to the workshop. As the beating heart of the car and being a beautiful piece of machinery in its own right, attention to detail is not spared even down to its final polish.
Deemed a necessary requirement in all of our builds, the original engine is sent to a trusted classic engine specialist who completely strip the engine before it is reconditioned. This particular 3.8 had the full works which included converting the rear oil seal, a full balance, a new clutch, a new sump baffle and breather gauze as its originals had been damaged from sand blasting, and a new oil cannister plate as the original was missing.
With thinner running in oil finally added to tackle its first 500 miles, it is now safely stored away in the restoration room patiently awaiting being married up to the car.
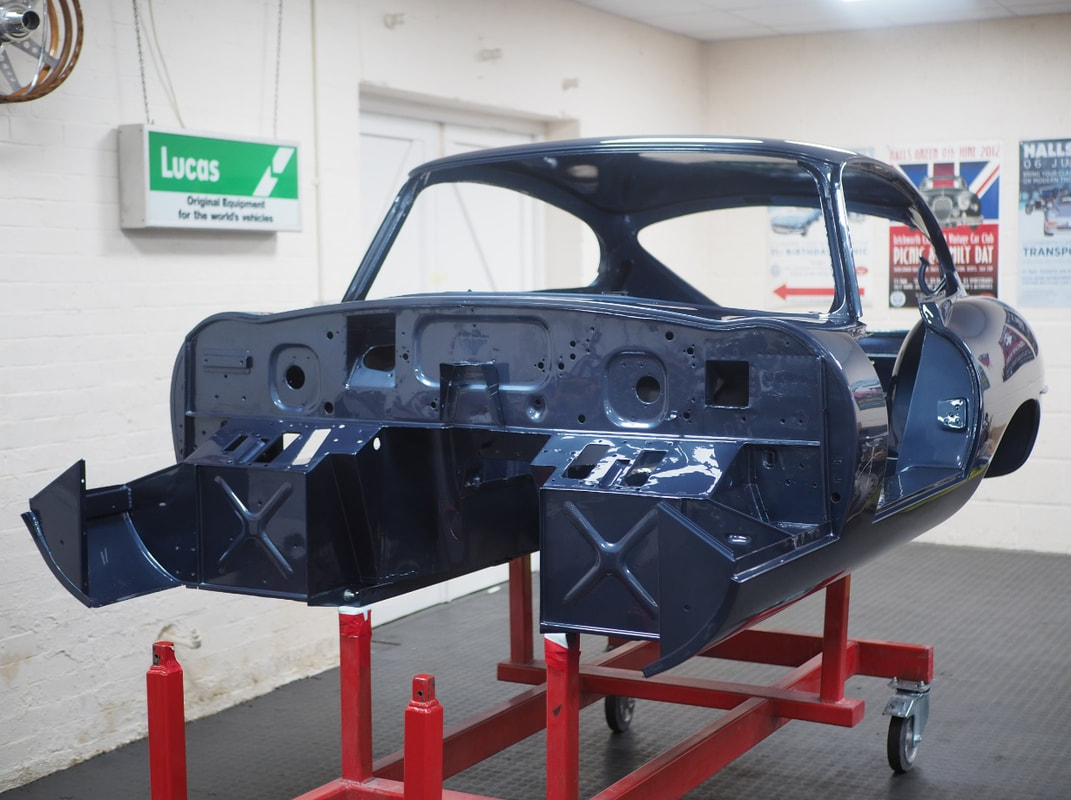
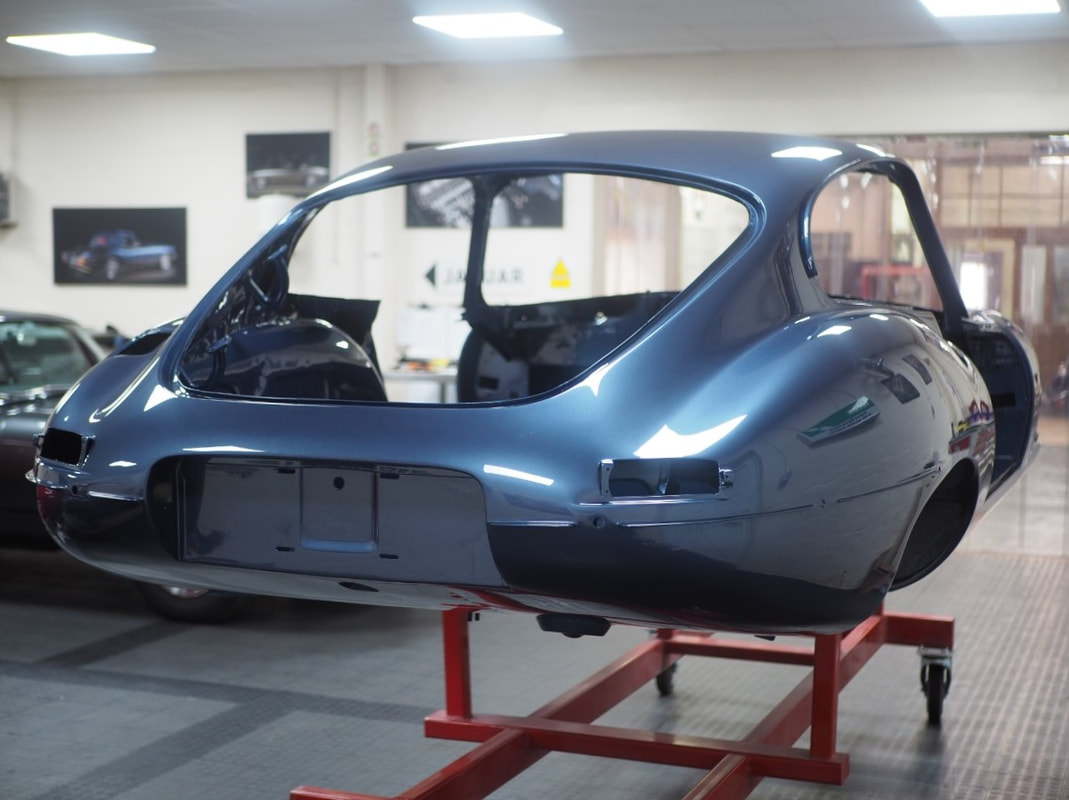
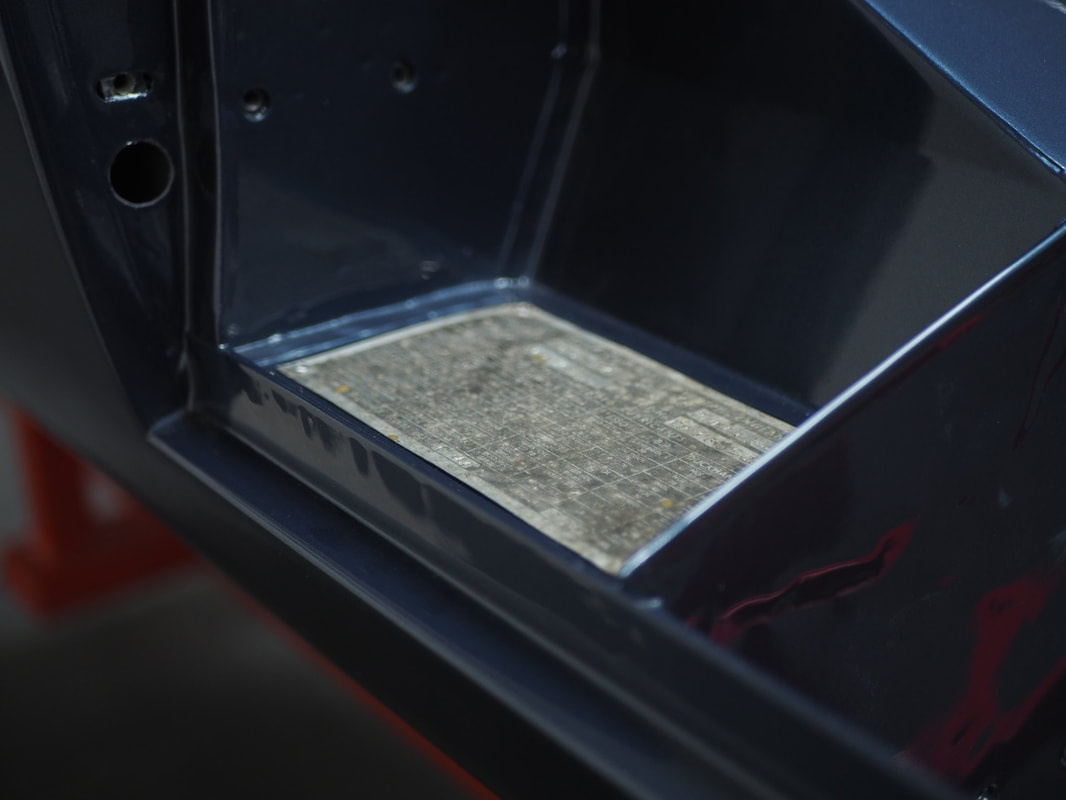
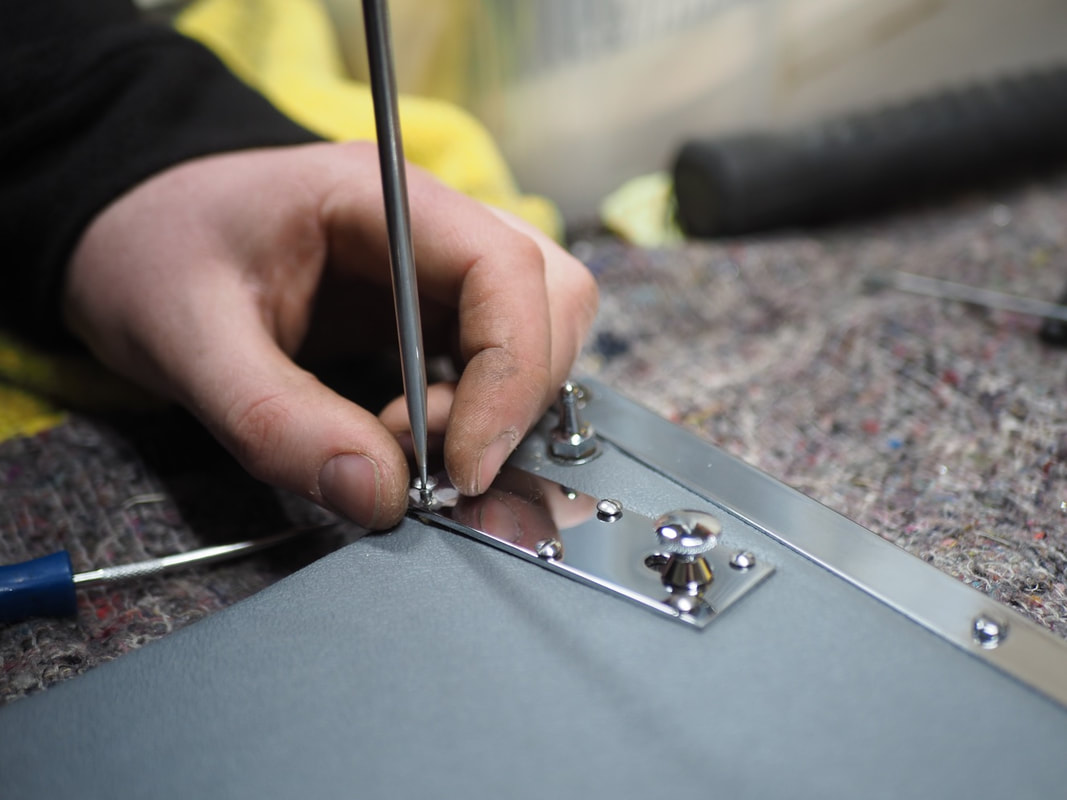
And just like that, the Series 1 body has finally emerged from paint and polish and now stands looking handsome in the restoration room ready for the all exciting build to begin! We welcomed the customer safely to the workshop for the big unveil and they were overwhelmed with the results. We even fitted the car's original data plate whilst they were here and let them personally add the final rivet to the body. Destined for a Jaguar Light Blue interior, we can finally start to see the car's identity unfolding before our eyes, with another ecstatic customer smiling ear to ear.
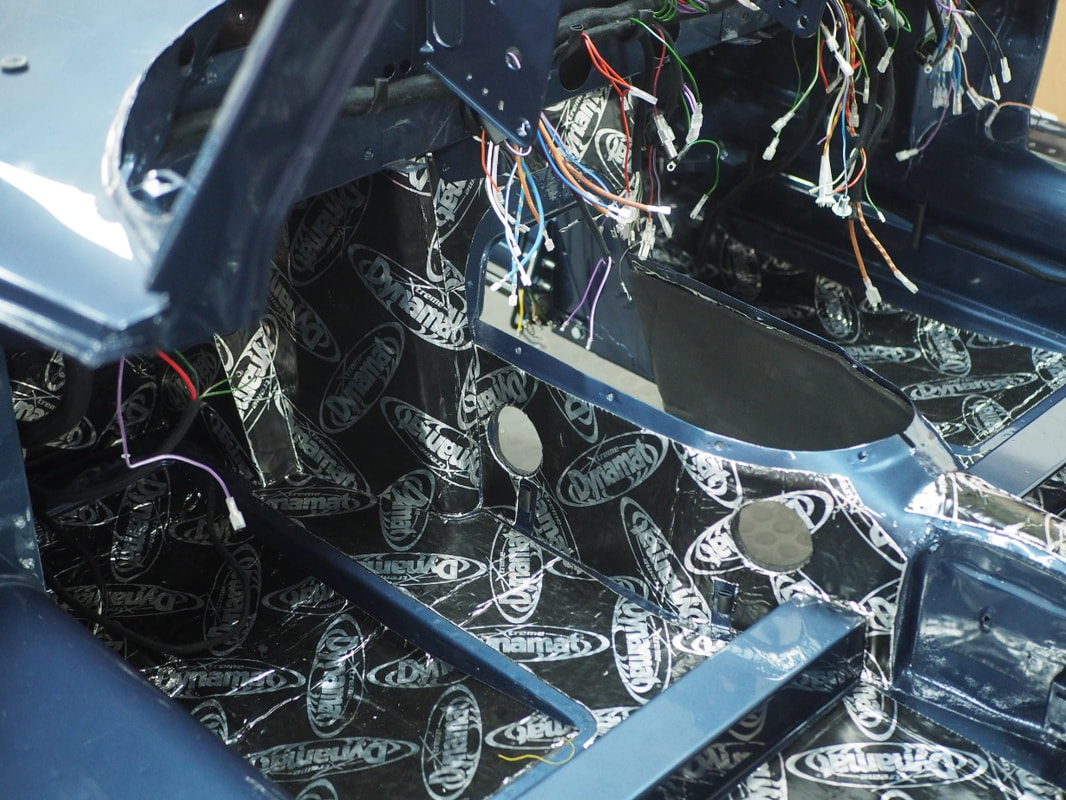
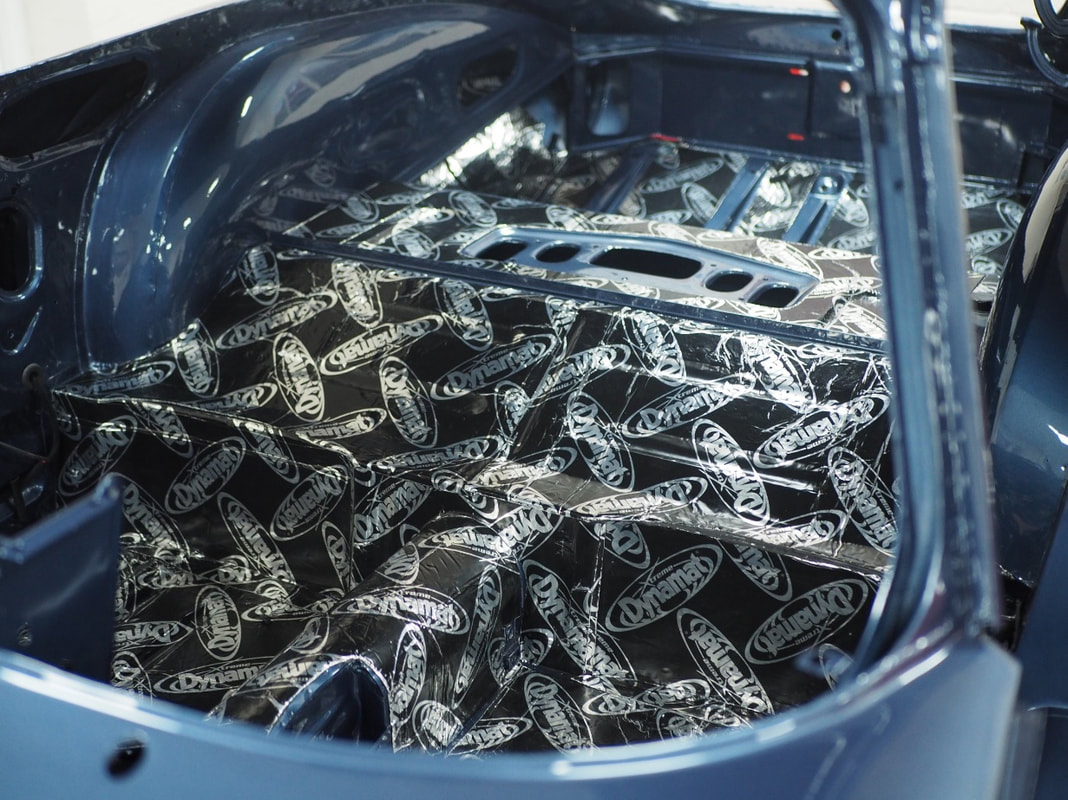
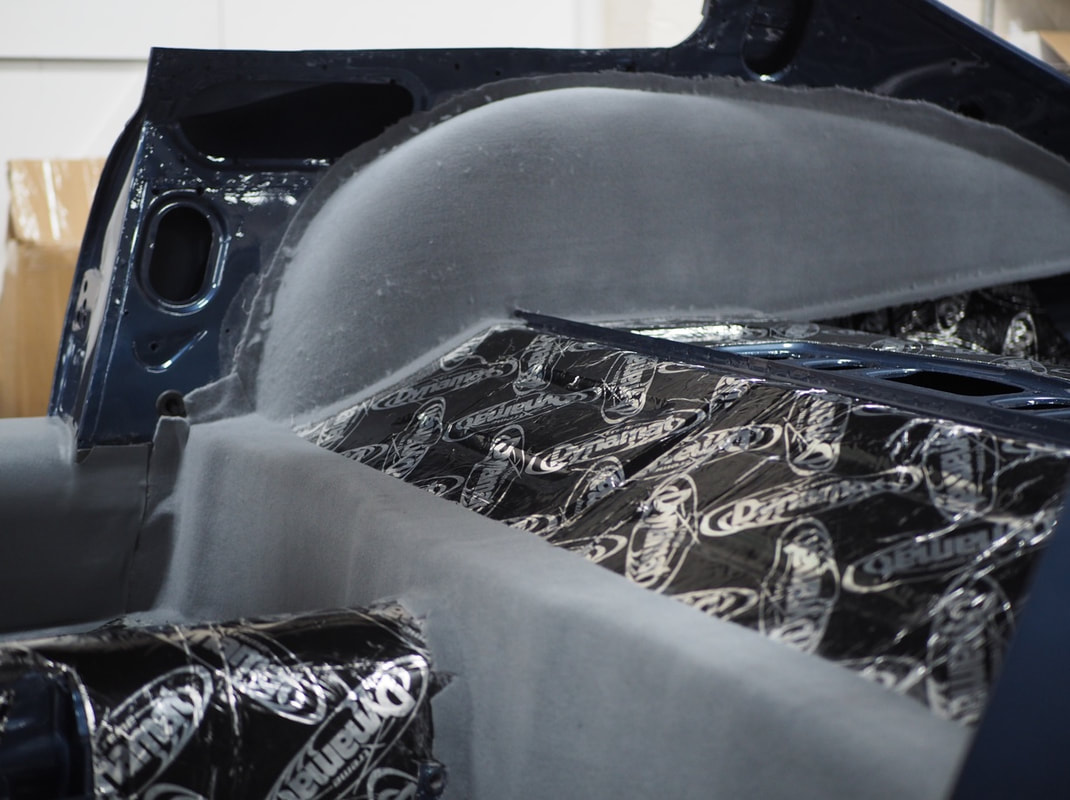
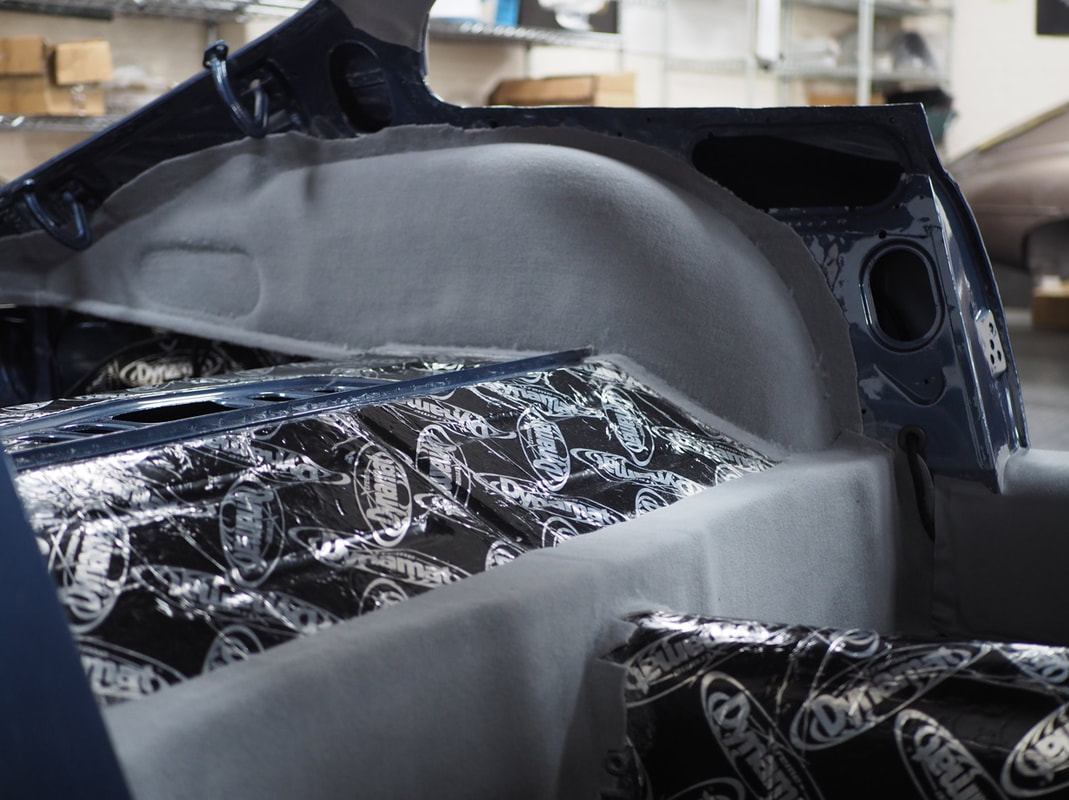
As with all of our restorations the first place to start when we have the painted shell back is to install the sound deadening. Using our specially made templates, we can spend up to a day meticulously cutting and sticking sheets of insulation to the vital areas prone to noise including the footwells, floor pan and boot resulting in soothing, tranquil touring for years to come.
Focus was turned to the hindquarters as the newly rebuilt IRS system was married up to the body, thus ticking off a massive milestone of the project. Housing the original completely overhauled 3.07 diff, the entire unit was stripped to have all the salvageable parts blasted before being either nickel plated or powder coated. Drive shaft universal joints were replaced with uprated whilst the springs and shock absorbers were thoroughly inspected prior to re-painting. The outer fulcrum, wheel and hub bearings were also replaced along with brake lines formed out of cunifer. New radius arms have also been installed. With the brake pistons replaced with Zeus units, all we have to do is fit the tie plate and it will be ready for thousands of miles of service.
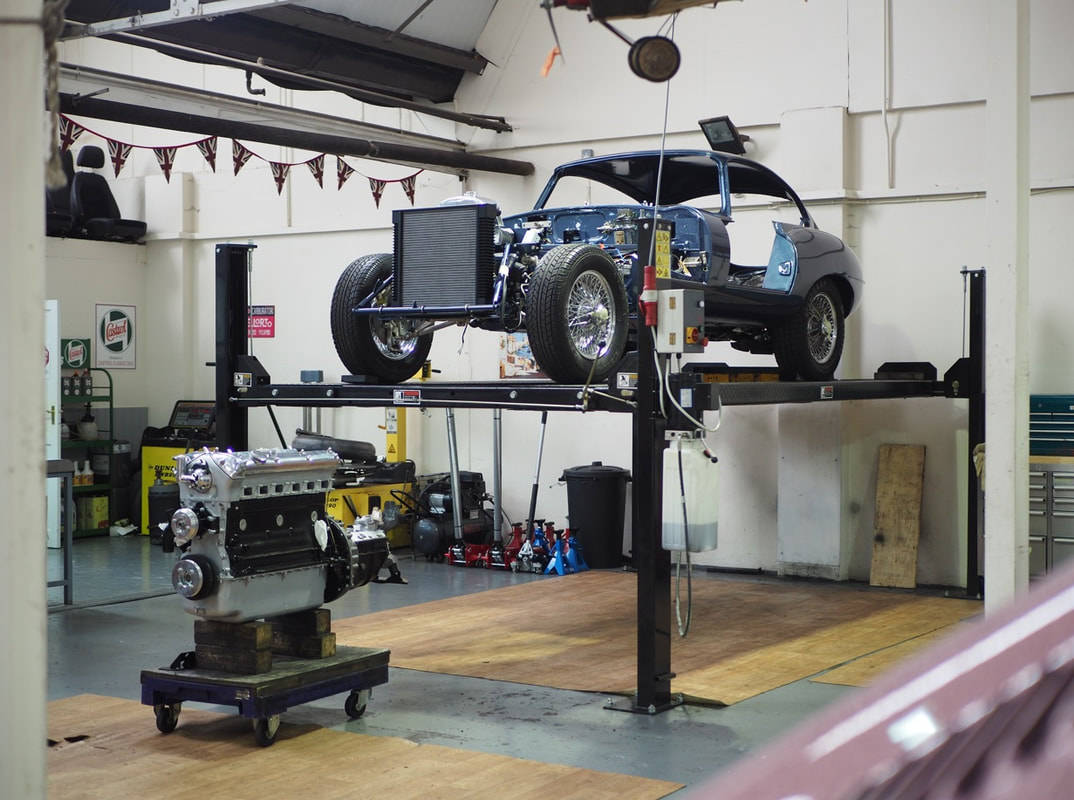
The target milestone now was to get the engine and gearbox fitted to the body. Knowing it would be a show stopping example to have on display at our Summer open day in August, it was all hands on deck to hit this target.
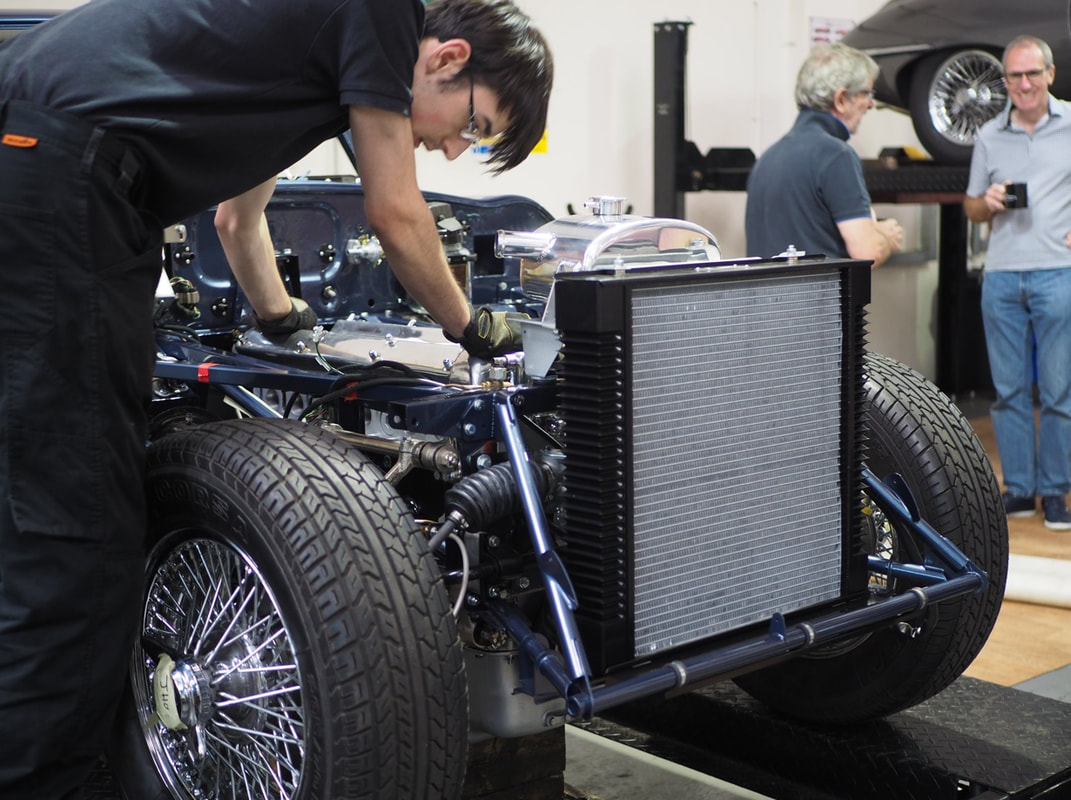
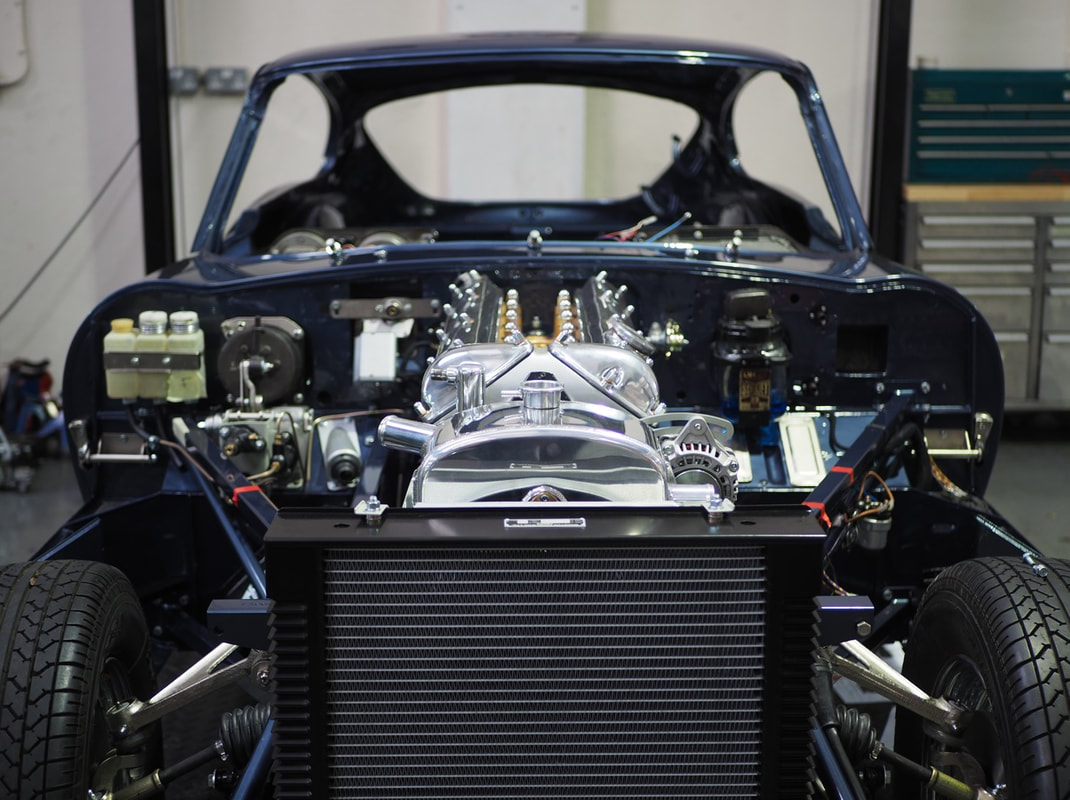
May, June and July saw the initial stages of building the front suspension which naturally leads in to the all-important preparation work of the engine bay to welcome the beating heart of the car. As with every restoration build we do, one of our main priorities is to use as many original components from the car from its strip stage as possible. If it can be re-conditioned and given a new lease of life then we will always favour this over replacing with new. In this instance both the steering rack and pedal box were delicately stripped, assessed and cleaned for any remedial works, before being re-assembled and reunited back with the car. The heater valve and wiper rack were installed along with the washer jets, followed swiftly by a close replica of the Marston radiator with the original fan shroud where bespoke spacers were fitted for a perfect fit. Cunifer brake lines were beautifully hand bent acting as golden veins to match the gold engine head, and a heritage-correct aluminium cast 3.8 water pump replaced the cars original perished pump.
Finally with the 4-speed gearbox and bellhousing mated up to the engine, the time had come to lower the car over the block. It's always a special journey we embark upon with restoration clients, so whenever we have the opportunity to share milestones with the owner we then relish it. So with fresh cups of tea in hand, and the red carpet rolled out, we invited the customer to the workshop one Friday morning to enjoy a memorable viewing of the engine being married up.
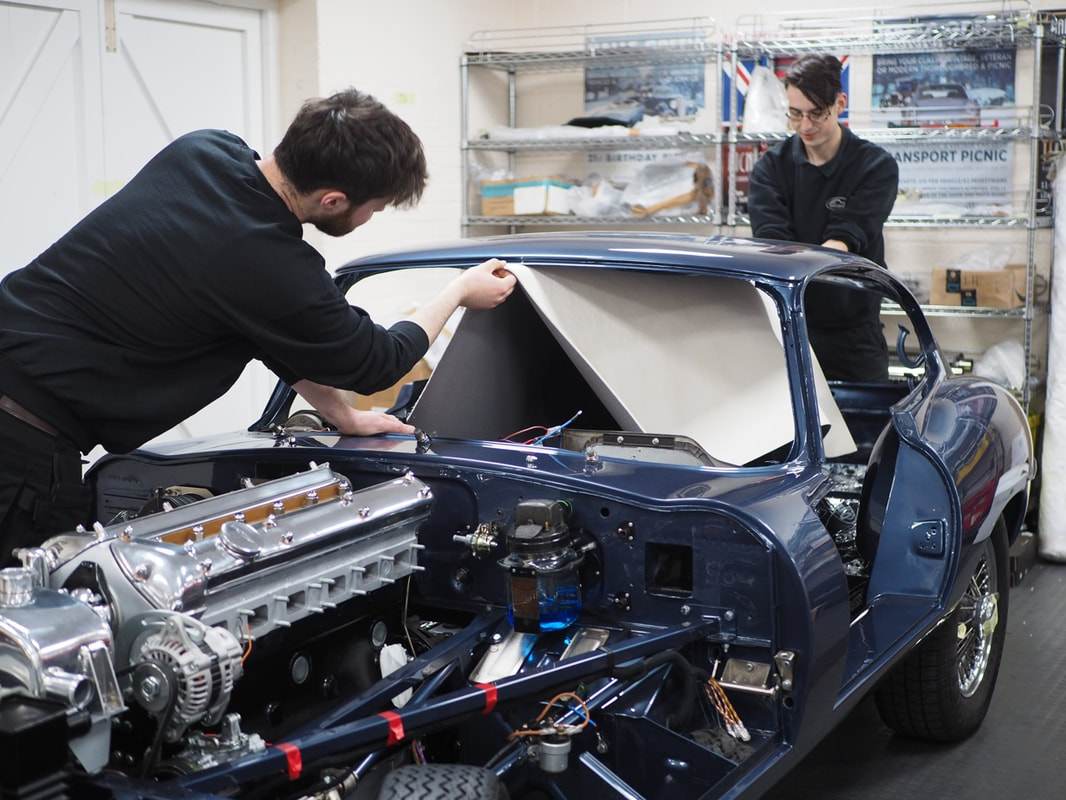
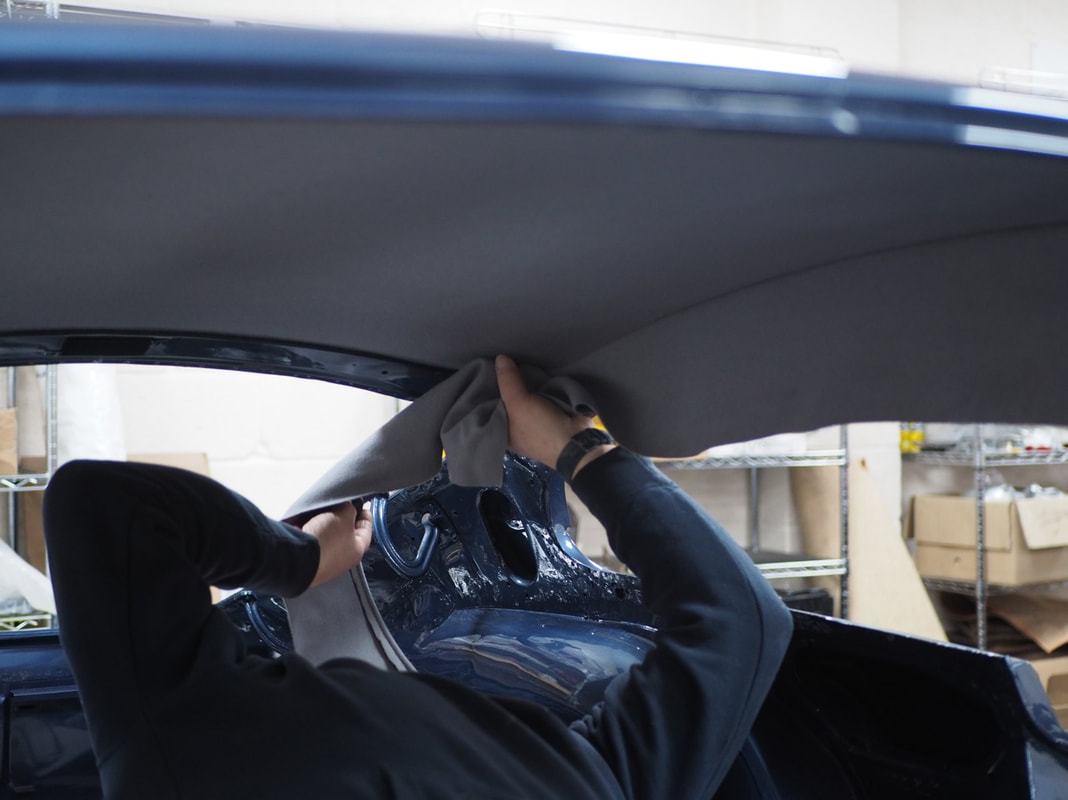
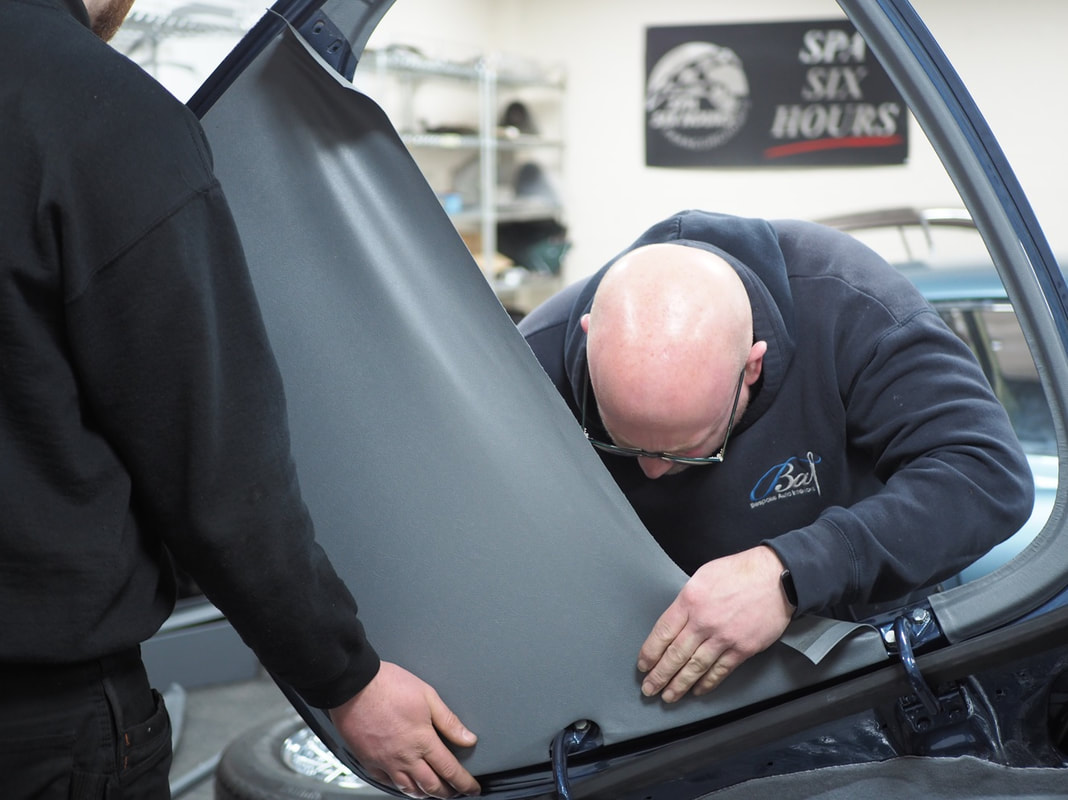
Now was the time for the car to be handed over to our trimmer to install the grey wool headlining. As simple as it sounds, this stage of the trim work can be nerve wracking to watch and takes longer than expected. The centre of the lining is lined up to the roof with precision measurements before the adhesive is applied. Then, with the trimmer inside the car guiding where it should be stuck, the lining is carefully attached little by little until the whole surface is subtly covered. It's always best for the trimmer not to have an audience as mistakes can be made easily and the whole process would have to start all over again. Once the lining is stuck to the roof it cannot be manipulated in to place, and luckily for the boys the customer was present to witness this initial trimming stage so the pressure was on for the fit to go right first time!
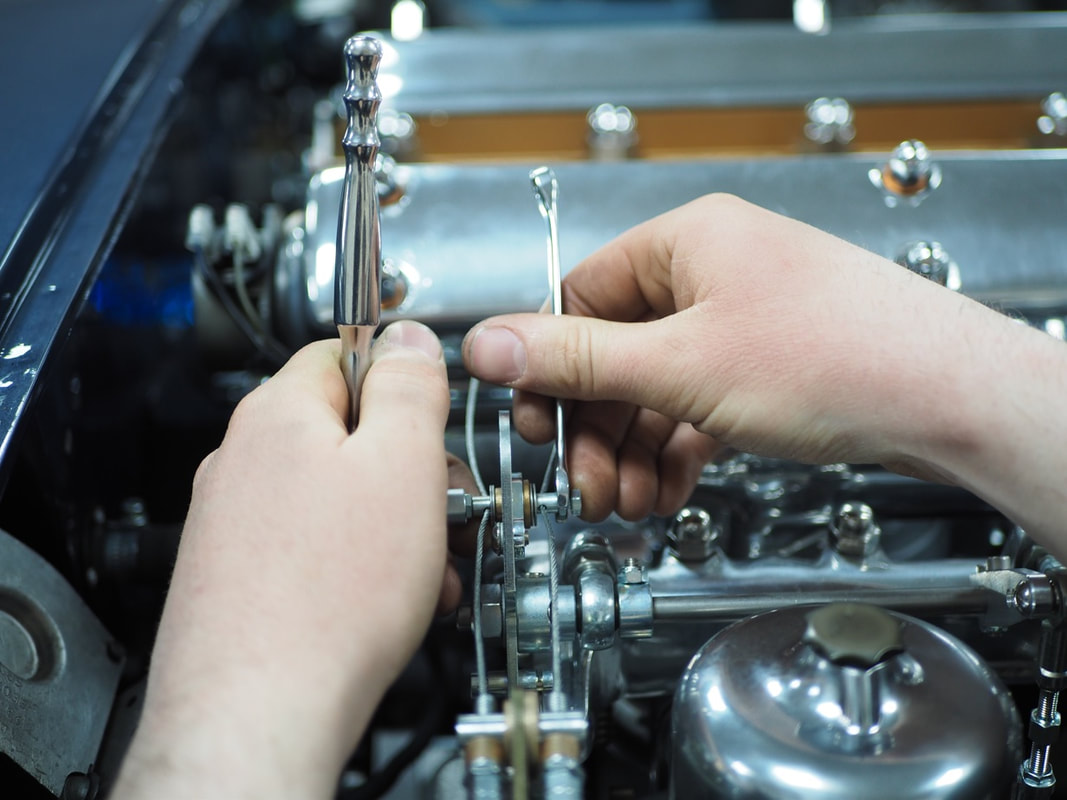
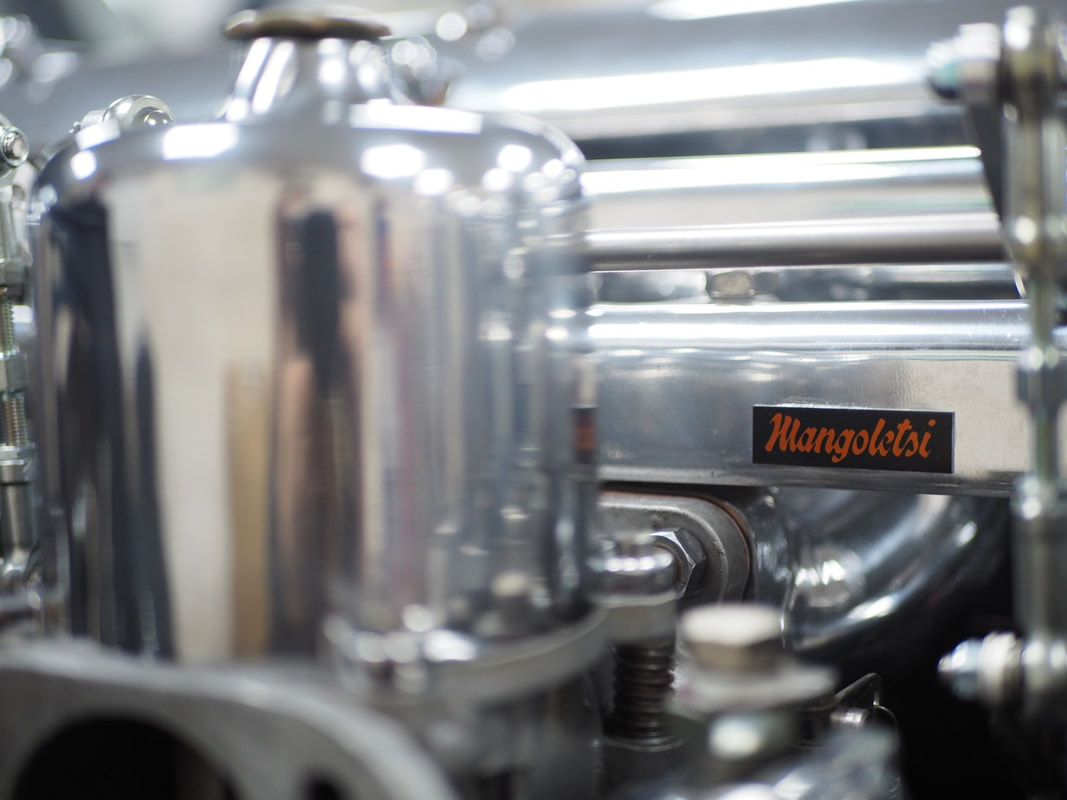
The original carburettors have been stripped, polished and rebuilt with upgraded, ethanol resistant floats and diaphragms. Bearing in mind the amount of wear in the original throttle linkages, we like to fit a Mangoletsi Cable Throttle upgrade to all of our cars as it not only overcomes these problems, but also gives a better throttle pedal response.
With the inlet manifold and carburettors polished, and the upgraded cable throttle connected up, the time had come for another important milestone on the build to be ticked off. The preliminary electrical check comprises lights, heater, wipers, gauges, anything with a wire connected to it, is thoroughly tested and has to function as designed. Once successfully signed off, our next task was to build up the doors.
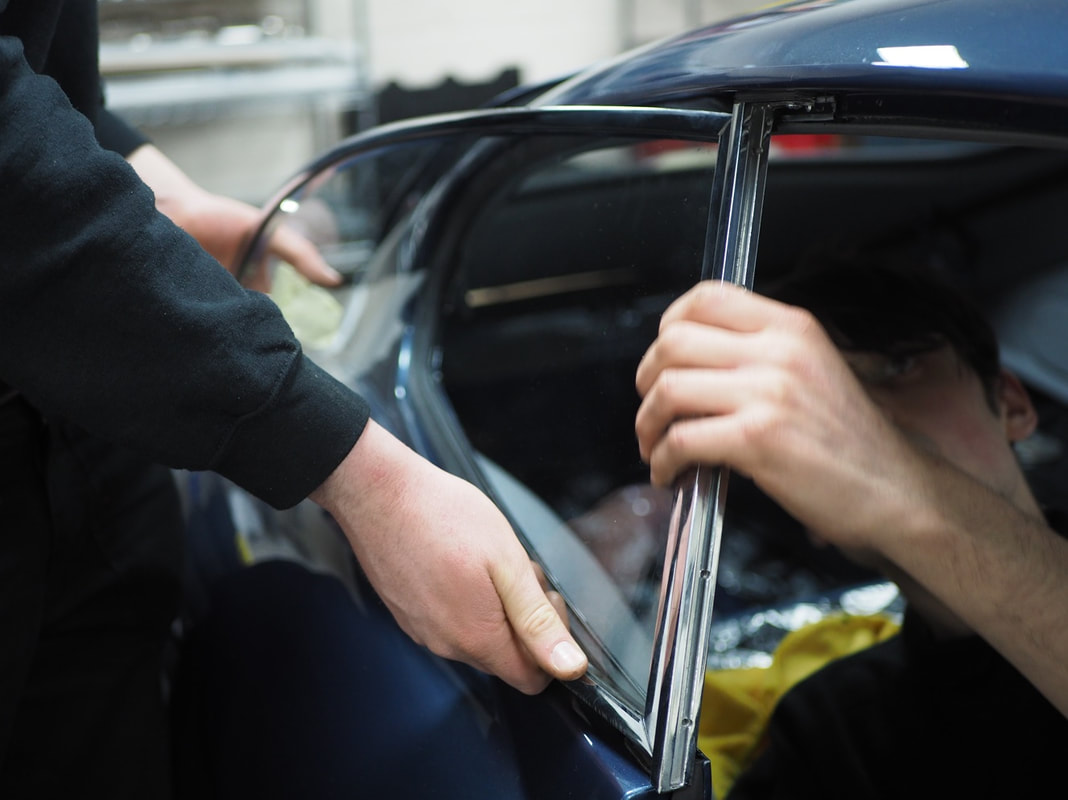
What would seem to be an easy fit up to the body, can be surprisingly difficult and very time consuming. Around 27 hours were spent building up the doors which included waxoyling the inner workings to prevent rust forming, dynamat to insulate and drown out any road noise, and meticulous adjustments to achieve the correct lines and gaps. To finish the build, both window frames were fitted along with rebuilt locks and a Union key that works both doors and the ignition.
Focus quickly switched to the rear of the car with the build up of the brake and fuel lines before the galvanised fuel tank could be installed. Cunifer, not copper is always used for brake lines on our restorations, and for longevity and originality we use Nylon for the fuel line.
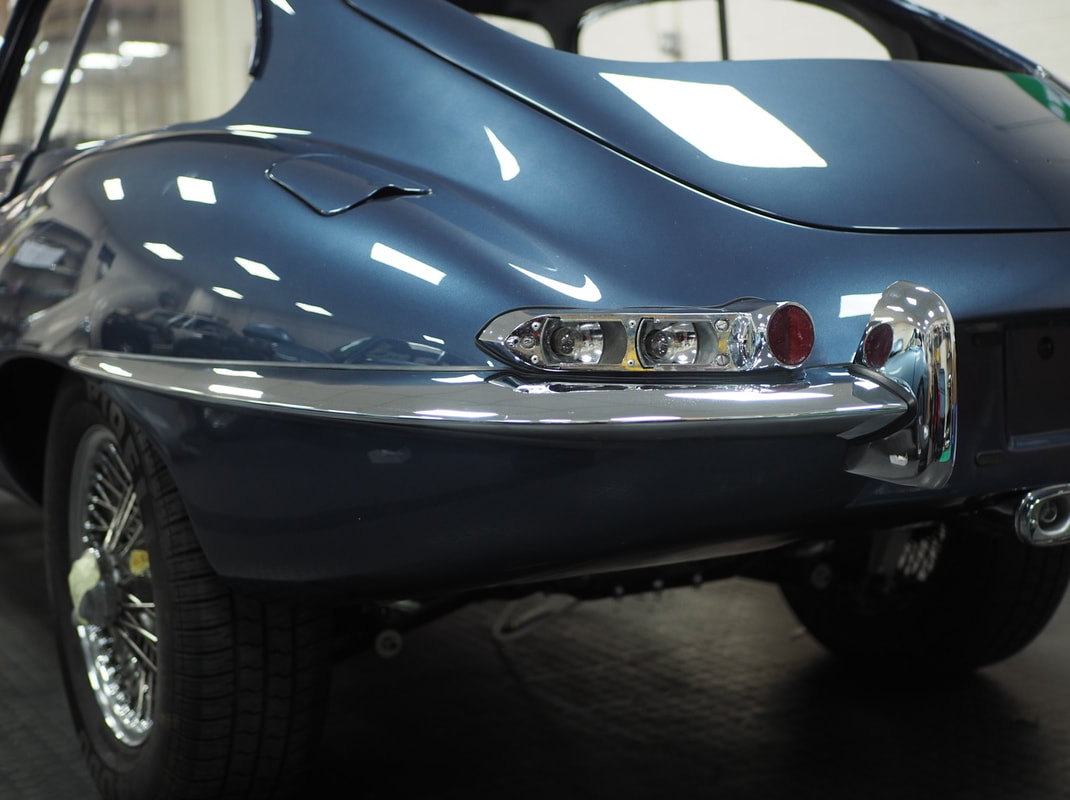
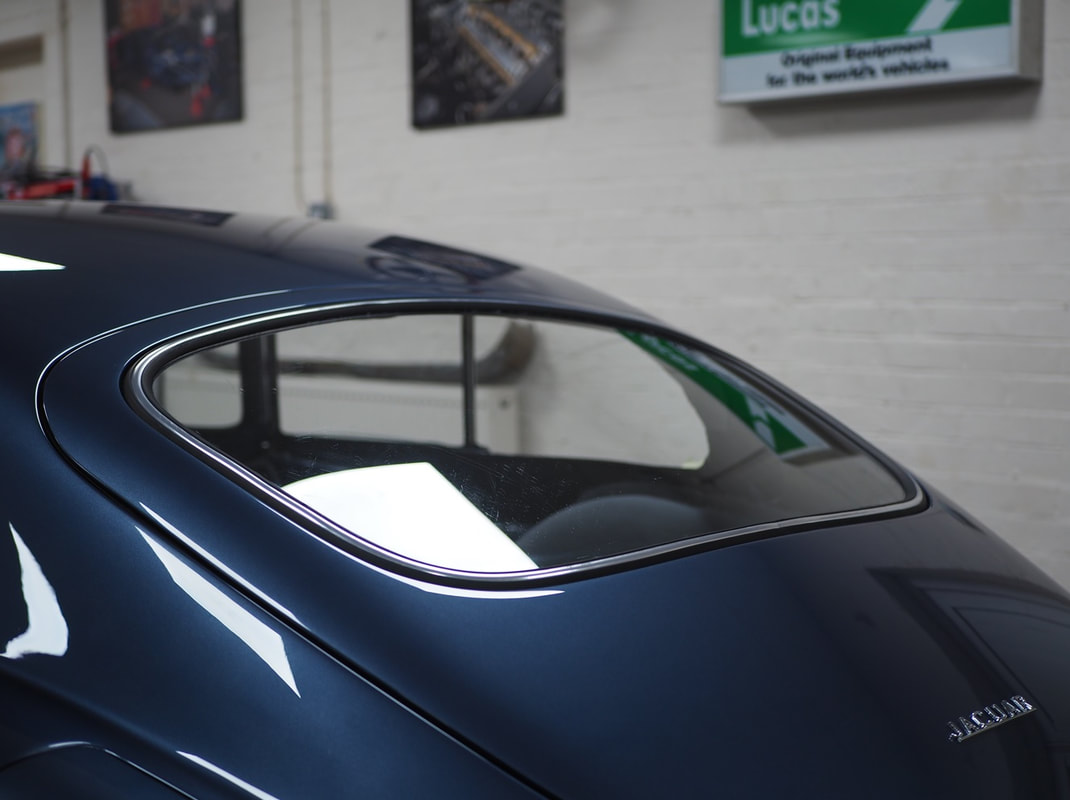
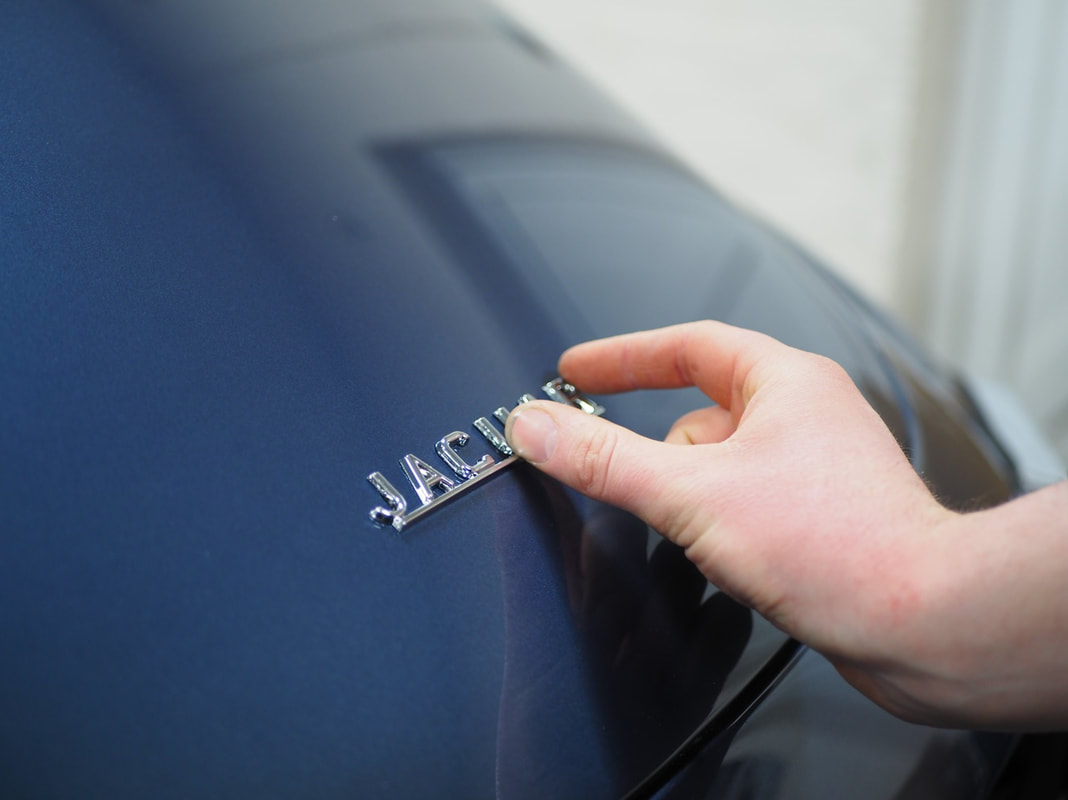
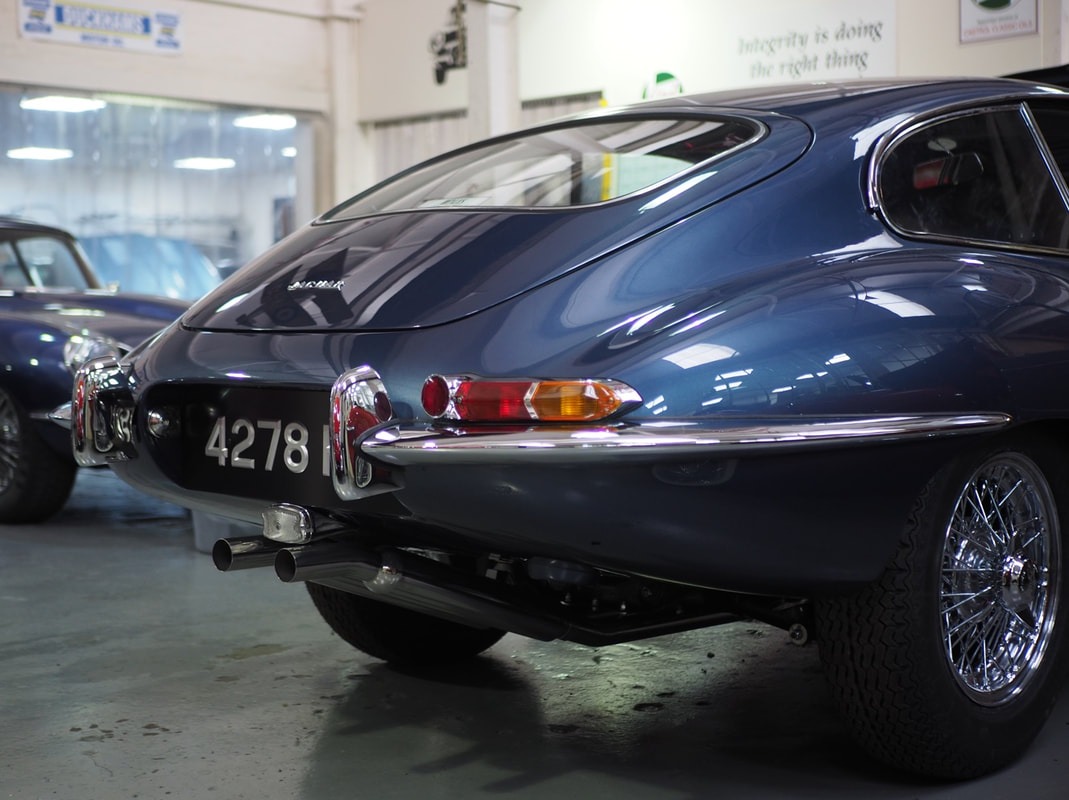
Once the lines were laid in the boot ready to marry up to the fuel tank, the first of the re-chromed brightwork could be added to the car since its trial fit at the body work stage. Before the rear hatch could be fitted and trimmed with Jaguar Light Blue vinyl, the rear bumpers and light housings were bolted up completely changing the look of the build. Adding some final regalia to the rear hatch, and sitting proud against the Opalescent Dark Blue the infamous Jaguar badge was awarded to the coupe.
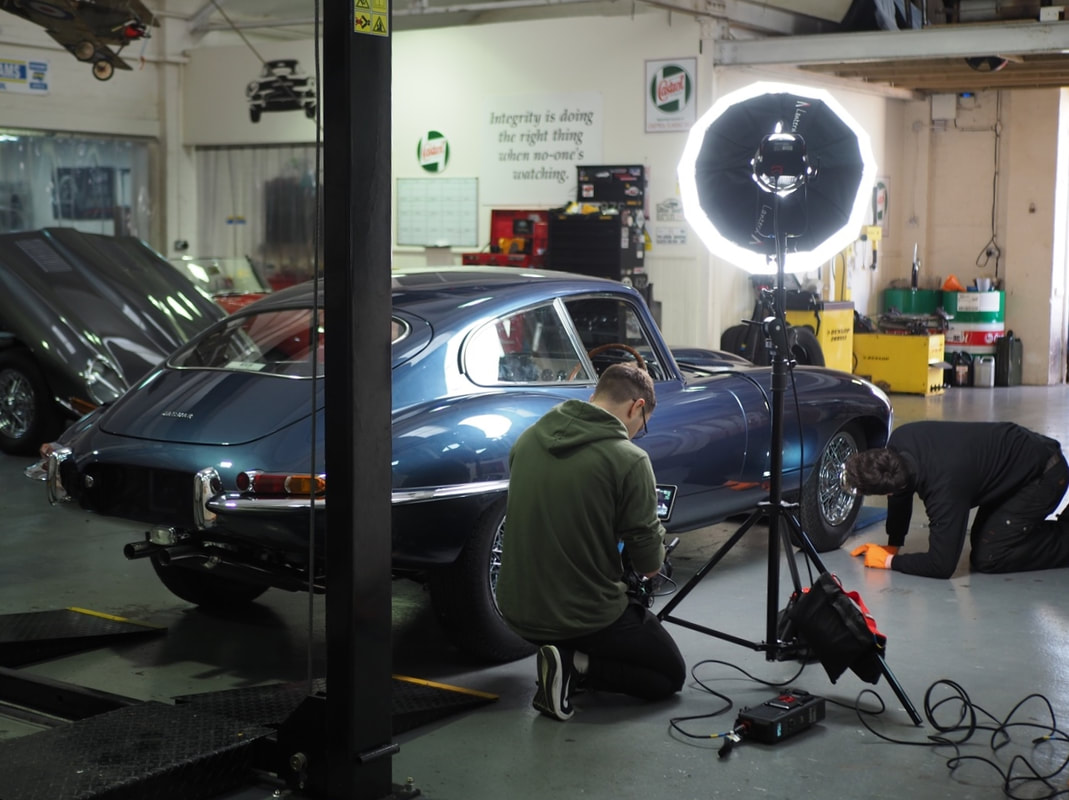
Now we had passed the major milestone of starting the engine for the first time and carrying out a coolant bleed, the time had come to tick off another memorable milestone - fitting the bonnet. Usually, we love to involve the customer at these stages by inviting them over to the workshop and make an event of it but on this occasion, this wasn't possible. We did, however, have a film crew to hand in the workshop to capture the moment which will be shown in a promotional video about the work we do so the customer will be able to watch it back for years to come. When it comes to fitting the bonnet on every restoration, there will always be a lot of adjustment time once its on the car as normally the last time it was fitted would have been back in the bodywork stage before being painted. During this time, the bonnet would be safely stored upright until we needed it which results in some slight movement of the form itself.
Once adjusted and sitting with crisp, even gaps and lines, we could now begin laying in the wiring loom to connect up the headlights. Whilst at the nose of the car, we could also commence with the brightwork build starting with both bumpers complete with the infamous overriders. The aim is to get both sides even and giving the impression of one continuous chrome line, so if one side is mis-aligned this is instantly noticeable and affects the overall appearance of the front of the car.
With both the Light Blue cantrails and quarterlights fitted, we could continue with the interior build on both doors and installing the hinged luggage board that sits behind the seats.
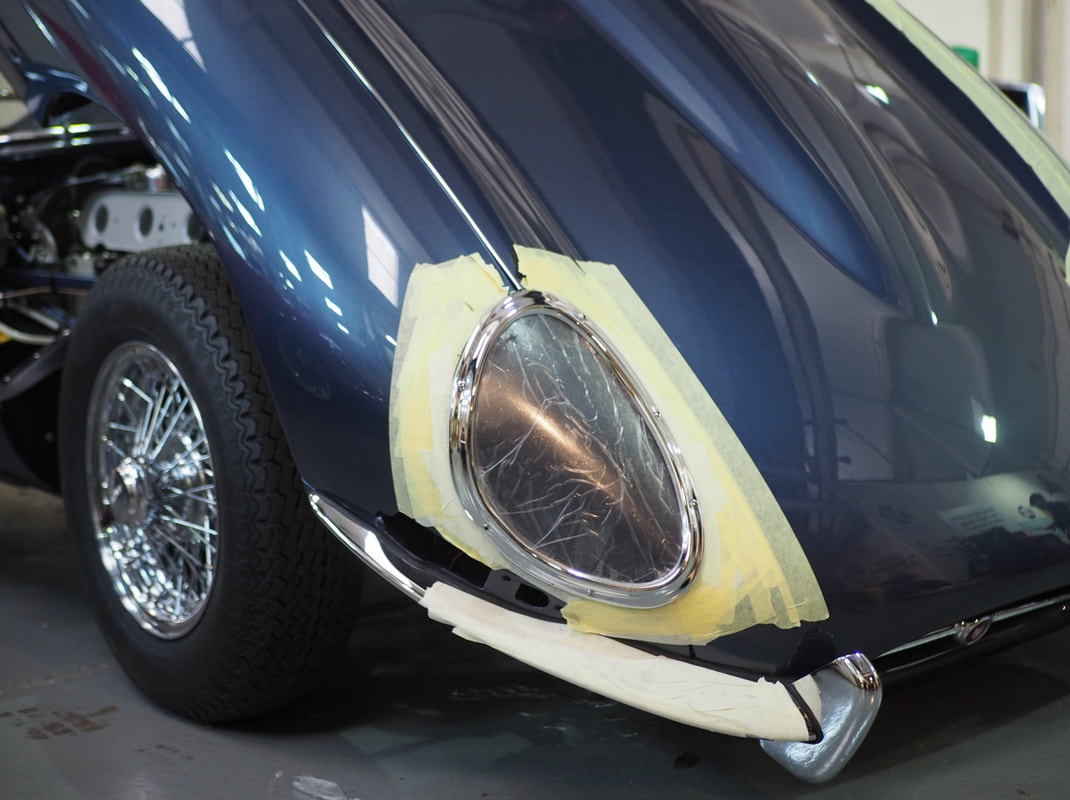
Once the bonnet and bumpers had been fitted, we could finally get a glimpse of how the car would look upon completion and it didn't disappoint. Fitting the bonnet alone is a milestone in itself, but we knew that the minute we offered up some brightwork the car would be transformed again. The first step was to ensure the correct fit, and alignment, of both headlight chromes which requires an accurate eye and lot of trial and error. Plexiglass headlamp covers replaced the glass pair to not only allow for more flexibility during the fitting stage, but in the likely event of a stone chip they won't smash. Finally, slotted screws will be used to secure the chrome surrounds, and covers, in place to keep to the correct heritage of the car.
Now that the headlight surrounds had been trial fitted, we could now measure out the correct lengths for the long and short sections of the bonnet beading. Kissing the top and bottom edges of the headlight chromes, we cut a slight angle at the ends of each length so that the fit is spot on and not continuing underneath each surround. Once we had the correct lengths, it was then a case of securing each piece in place using the correct clips by hand on the underside of the bonnet.
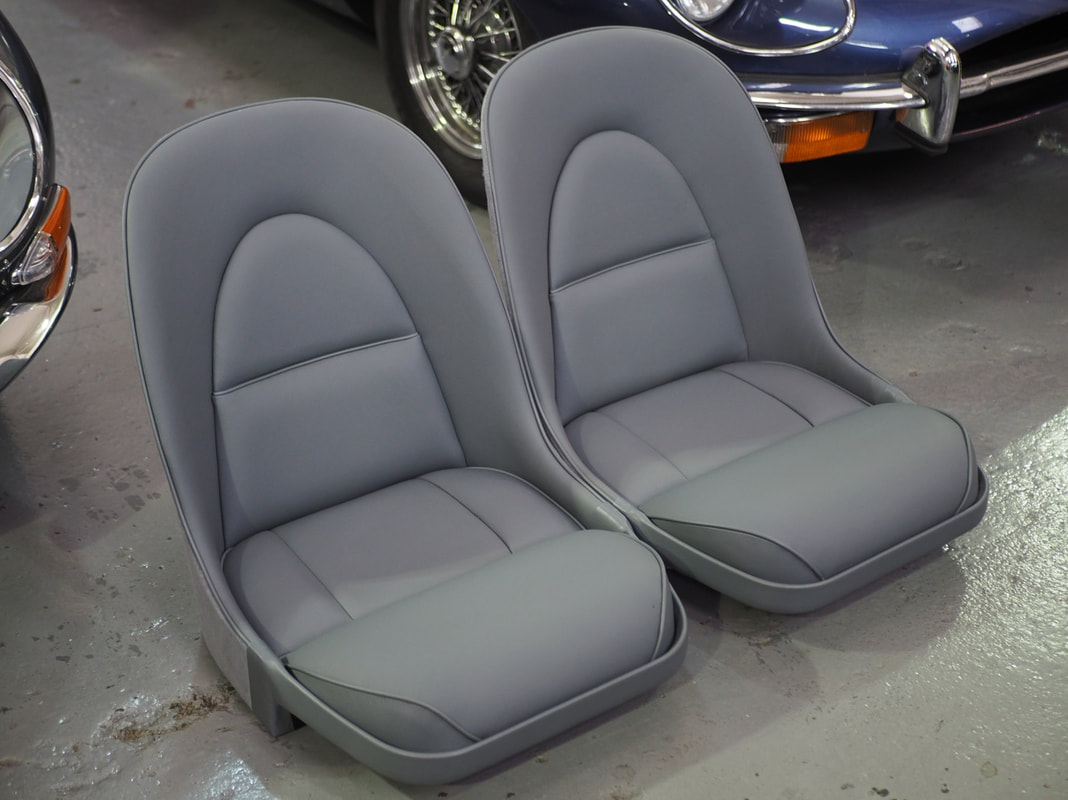
Whilst the bonnet brightwork was in build, focus was also on the interior trim including the beautifully re-trimmed 3.8 seats in Jaguar Light Blue. Before we could offer the seats up, we first had to bolt in both pairs of the original runners so the seats could be mounted inside the cabin. The seats will be amongst the final pieces to be fitted to the car but at this stage, we were still needing to install all of the carpets, underfelt, and transmission tunnel cover so the seats were placed back in to clean storage until we were ready to fit them.
Finally, to finish off the rear of the car we had to fettle the rear number plate down to size so that it covered the aperture perfectly.
With all the headlight chromes trial fitted and looking crisp, and the plexiglass covers now in place, the time had come to install both headlights. Given that the brief from the customer was to keep as close to originality as possible, but with reliability as a priority, we fitted PL700 H4 LED headlights which are a modernised version of the factory originals thus keeping the look true to how they were on the production line.
Now that we had all the carpet and underfelt firmly in place, the time had come to reward the car with its exquisite pair of Light Blue leather 3.8 seats. Matching inertia reel seatbelts complete with Jaguar chrome buckles soon followed so once tested for security, the aluminium topped centre console and re-trimmed radio console were fitted completing the subtle tones of the cabin.
All that was left to do was to get the car road worthy. A full, thorough service and MOT was necessary before we went anywhere near the road so all fluids were checked, final spannering up underneath was a must, and timing and wheel tracking was also carried out. Whilst one guy was working under the bonnet, the other was fitting discreet USB ports in to the glovebox so that the customer could plug in necessary touring lifelines such as a phone or a satnav.
Finally, with 6 hours of rigorous Hertfordshire road testing added to the odometer, and the total build time just shy of 900 hours, the time had come to make the exciting phone call to the customer to be treated to the ceremonial big reveal and handed the keys.
