1970 JAGUAR E-TYPE SERIES 2+2 4.2 RHD
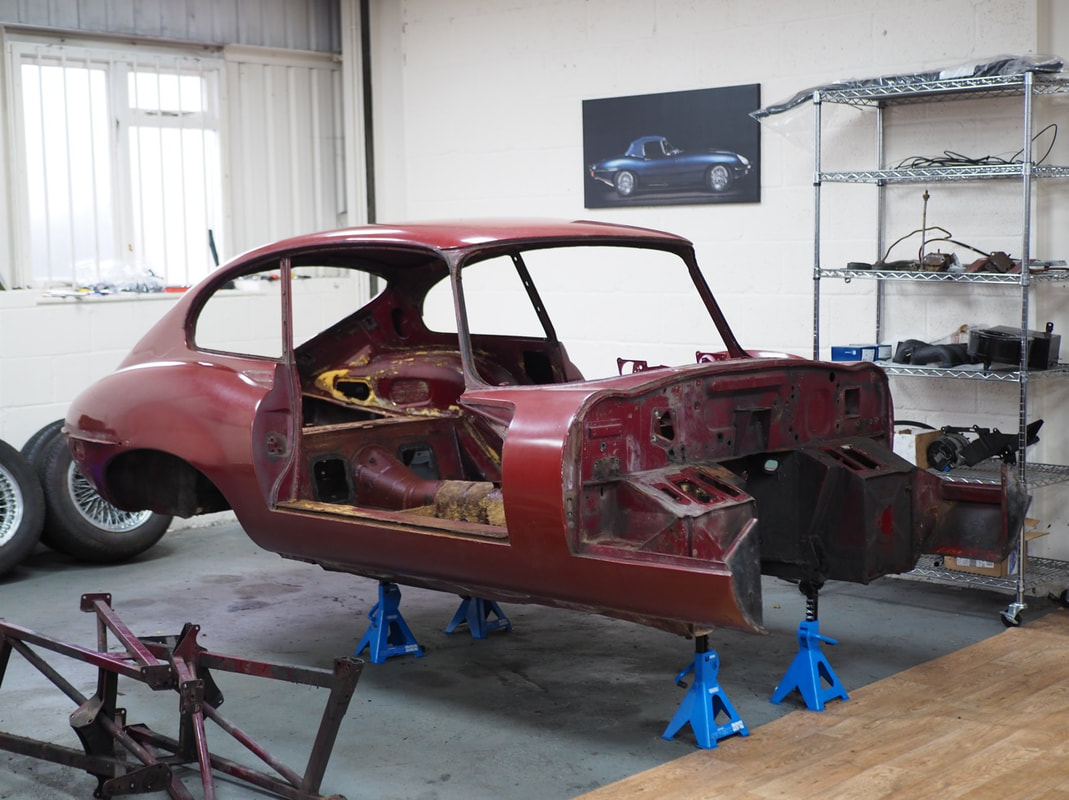
The latest addition to our complete restoration portfolio is this matching numbers 1970 Series 2 plus 2 which has fortunately come from the dry US state of Idaho and originally distributed through British Leyland, New York. Approached by an enthusiastic customer yearning to be an E-Type custodian with a dream of touring around southern France, the 2 plus 2 is not only the perfect boulevard cruiser for long continental journeys but was the ideal option to accommodate the client's height.
Showing all the signs of being a perfect donor car, and knowing the conditions it was kept in, we are confident that the initial strip stages of the restoration shouldn't encounter any major concerns and will be the start of an exciting journey for the customer.
Showing all the signs of being a perfect donor car, and knowing the conditions it was kept in, we are confident that the initial strip stages of the restoration shouldn't encounter any major concerns and will be the start of an exciting journey for the customer.
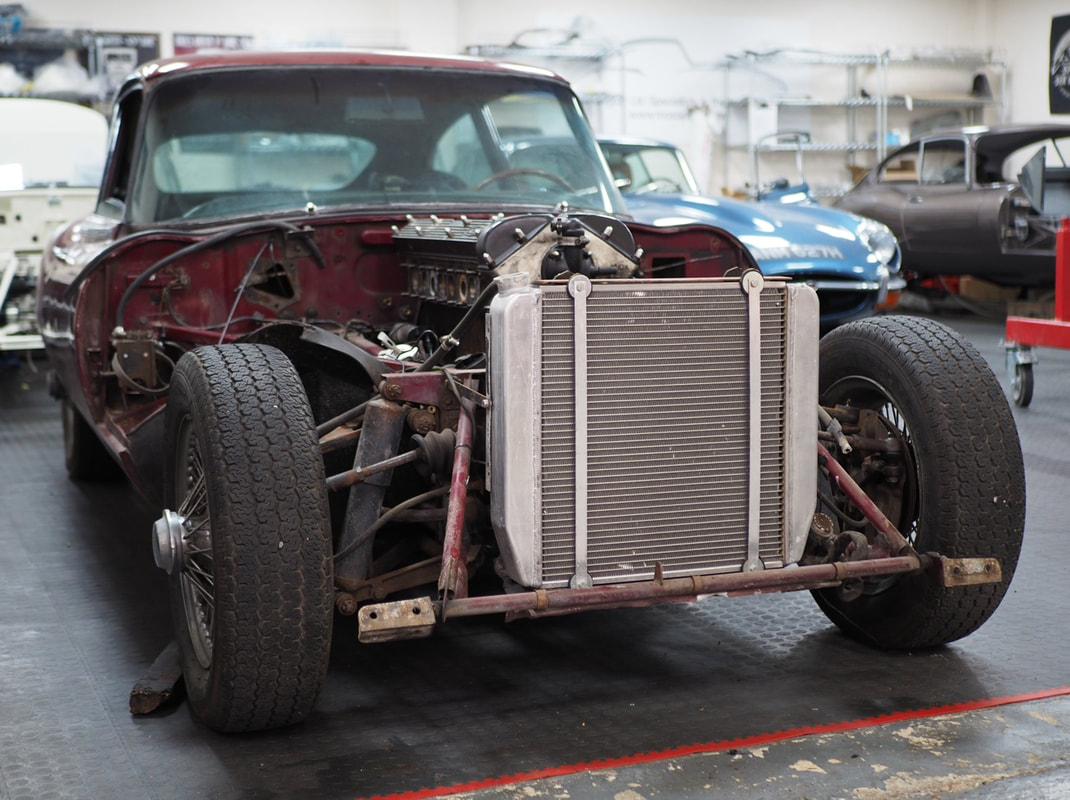
As with all of our full restoration endeavours, we begin by stripping every component off the car ready for the shell to be blasted and parts to be inspected. When originality is involved, we will always favour to re-condition and reuse over replacement, but some areas where reliability is key, we will replace with sympathetic alternatives or upgrades. This particular customer has dreamt of owning an E-Type for a long time, so a combination of originality and reliability was the best solution all round. Always keen to get customers involved at all stages of a restoration, this custodian has been hands on from the start by coming in to help with the initial stages of the strip, including a day spent breaking down the bonnet panels alone.
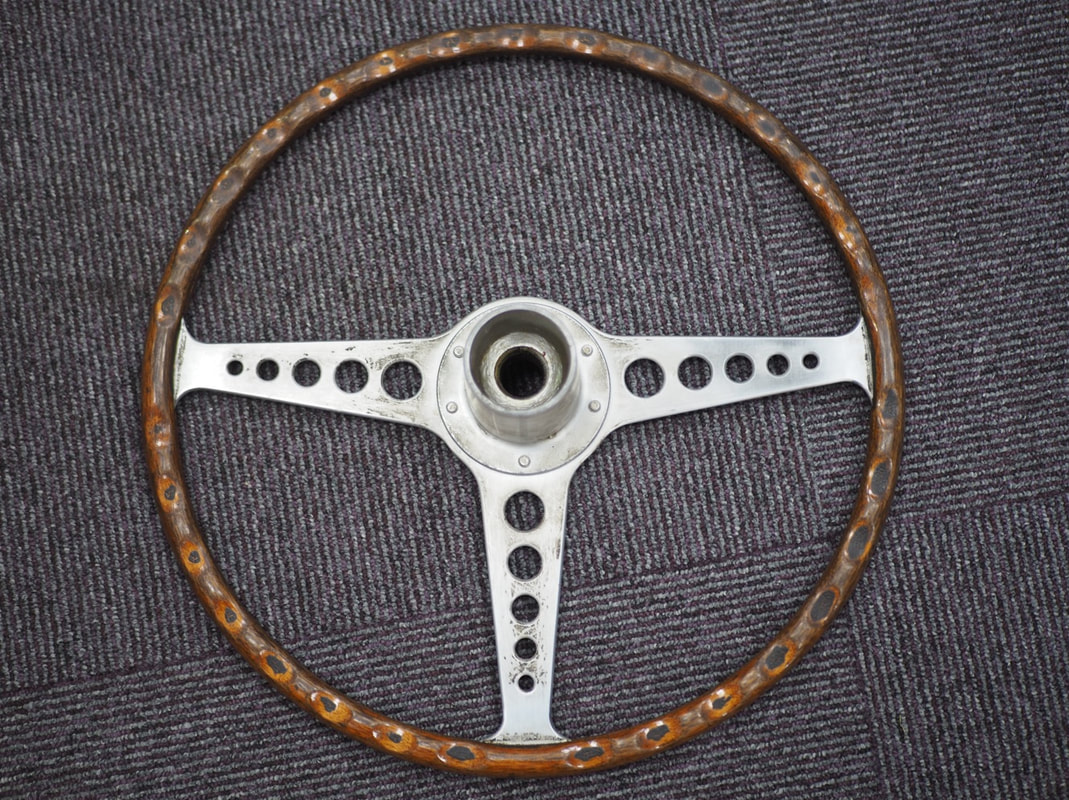
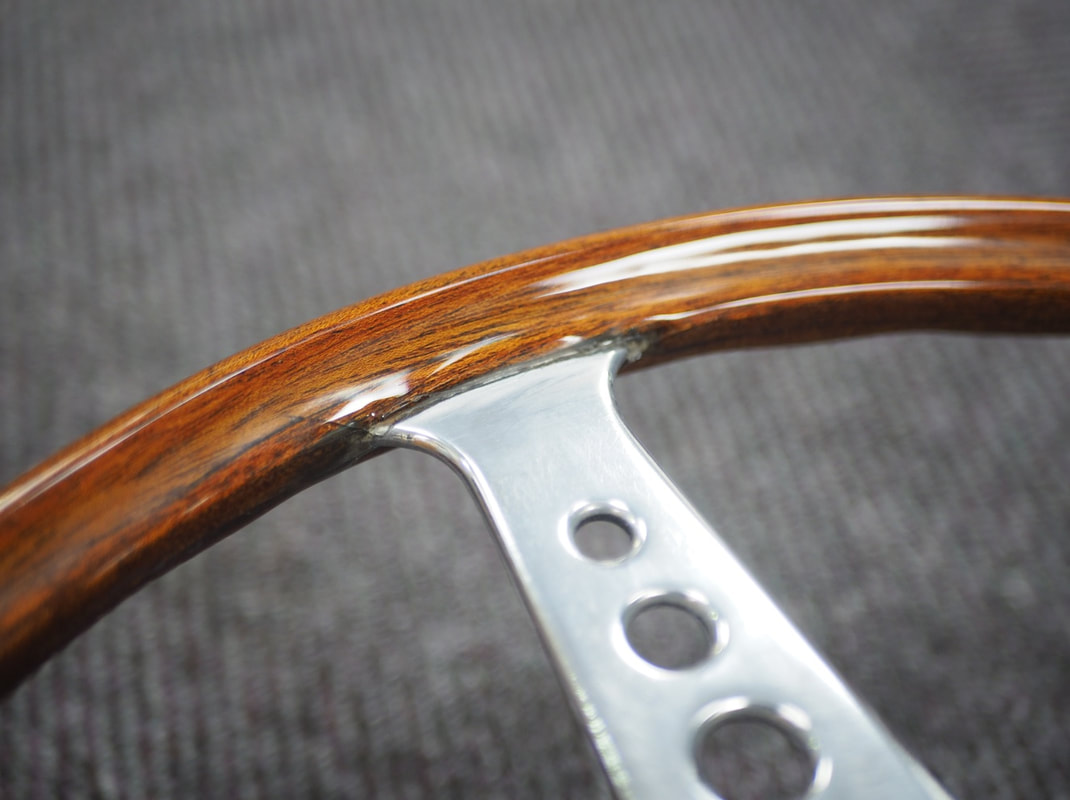
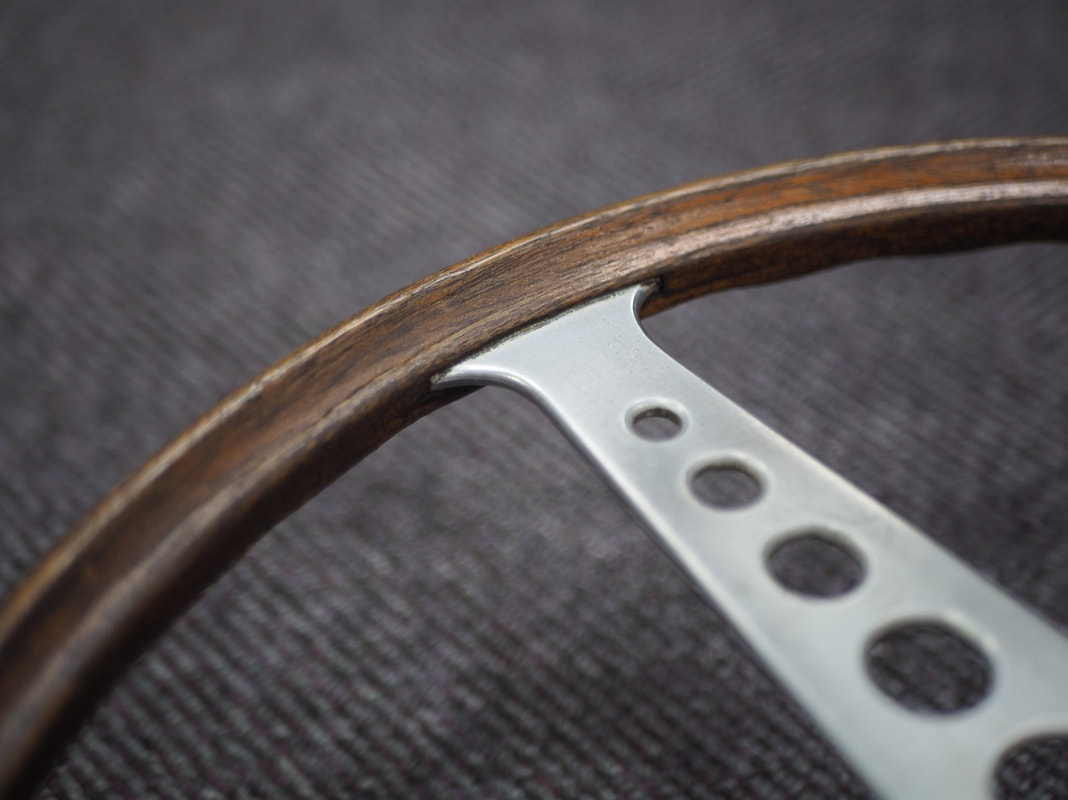
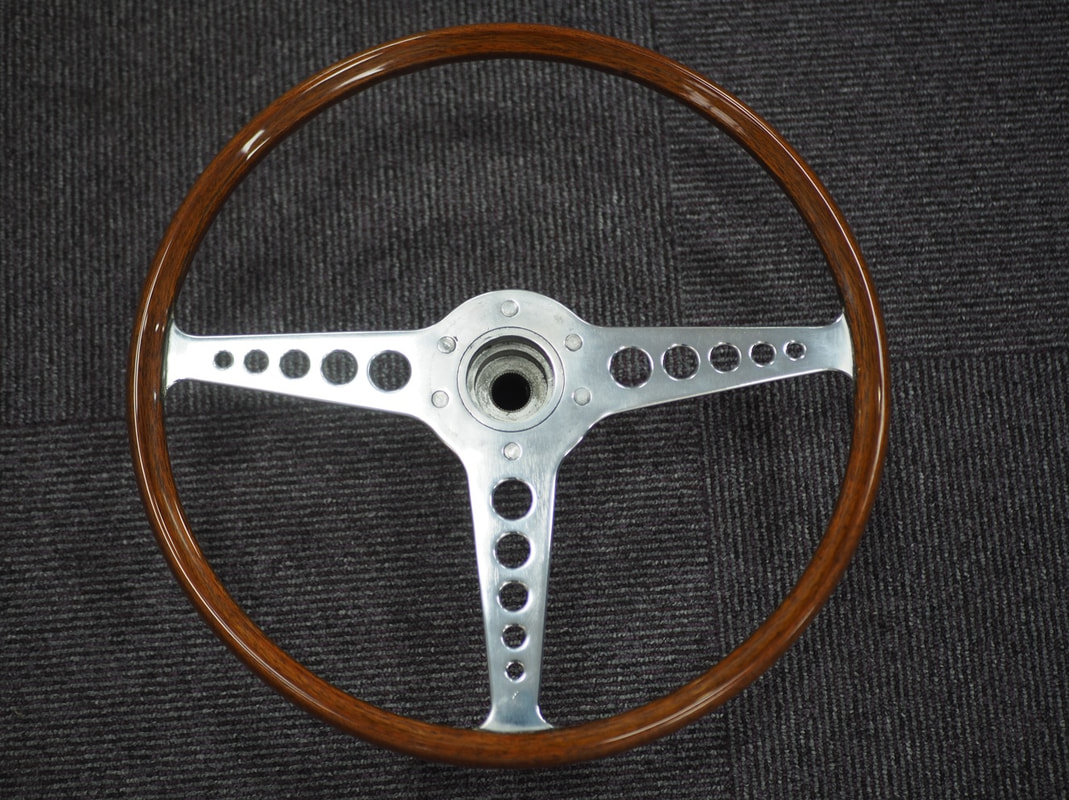
Restoration projects aren't just a visual journey, they are also an emotional one. The moment when the customer is handed the key and told to make memories, is where every customer is desperate to get to even at the very start of the project. Making memories with loved ones however is priority number one, and when certain members of the family are no longer with us to share in the journey adds an element of sadness. As a tribute to his father, who we were lucky enough to meet and who came to see the car before we stripped it and fell in love with it, the original steering wheel was removed and carefully repaired and buffed before being re-polished and re-lacquered. So when the client is cruising along some sun drenched B roads in the depths of France, his dear old dad will be right there with them.
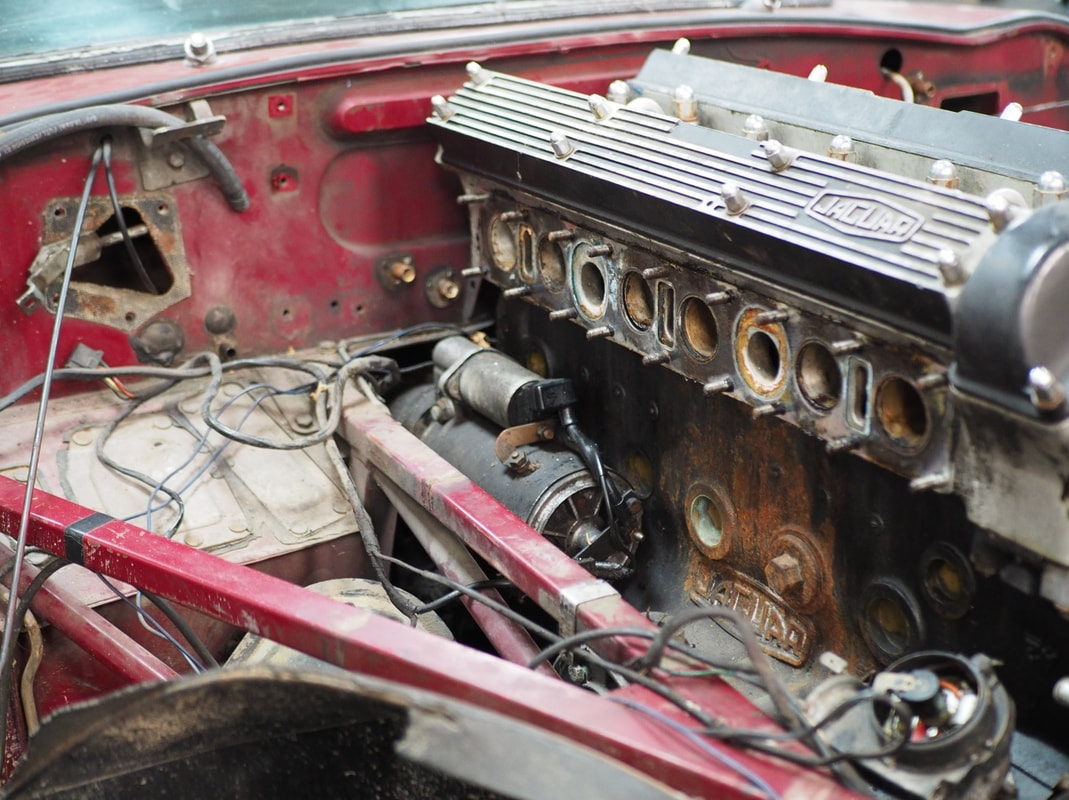
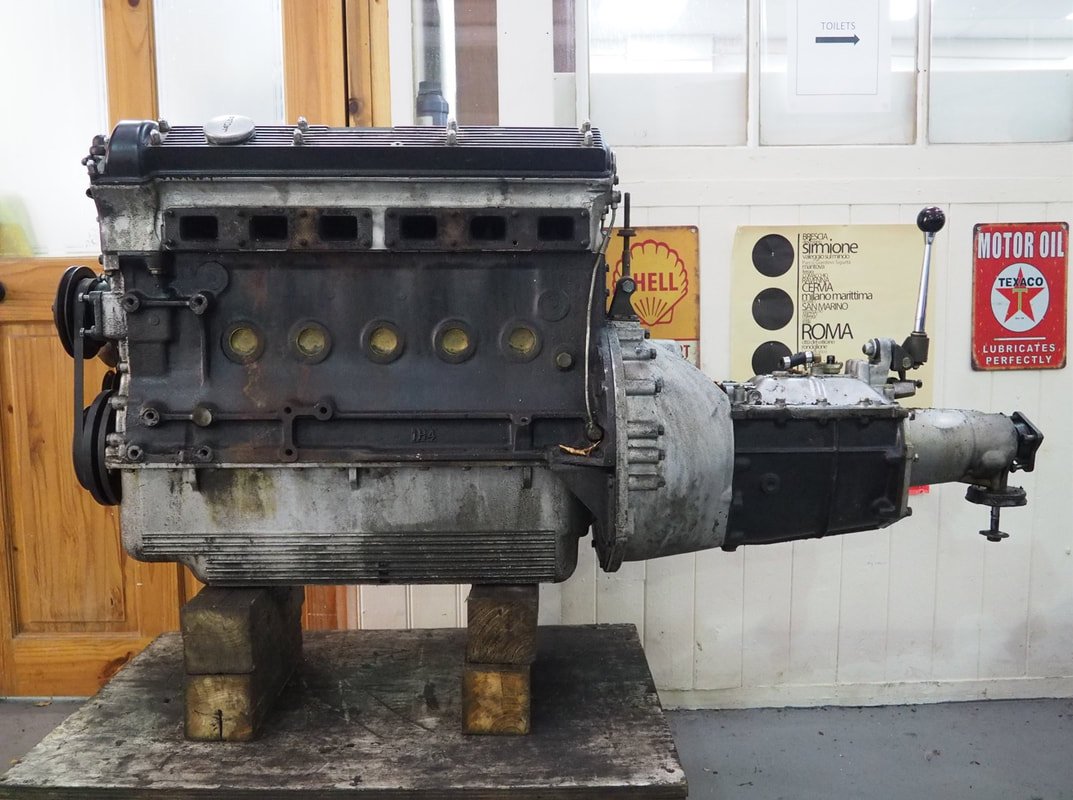
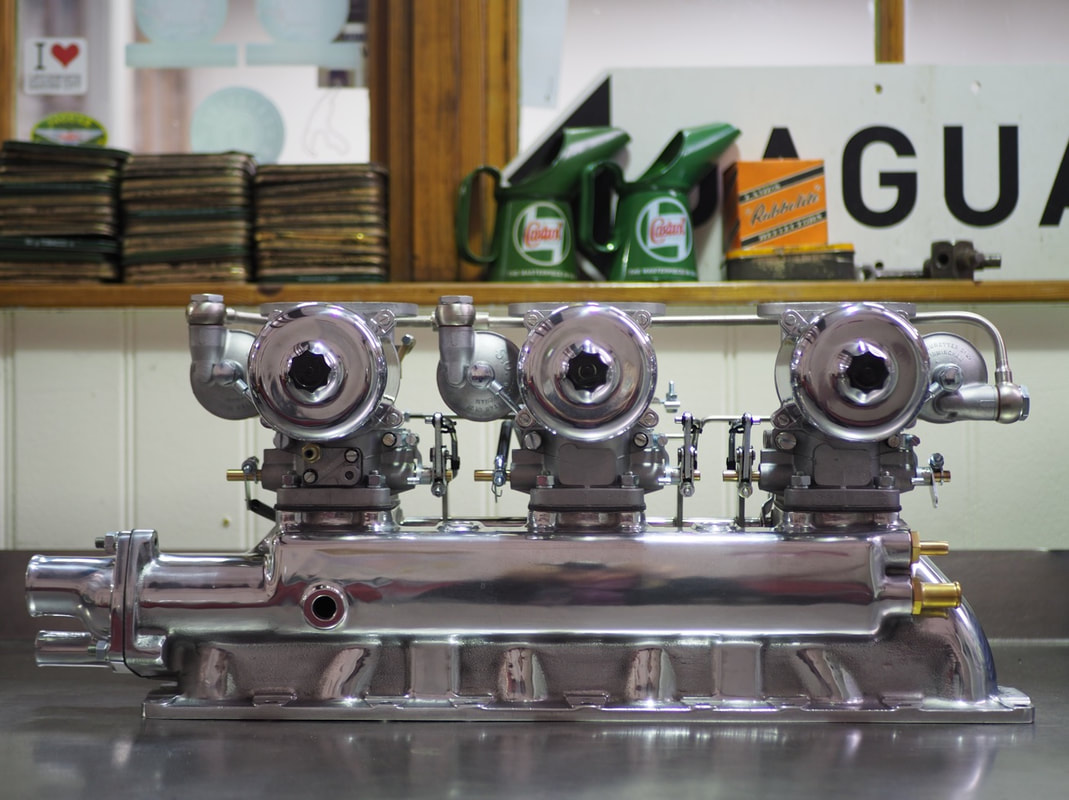
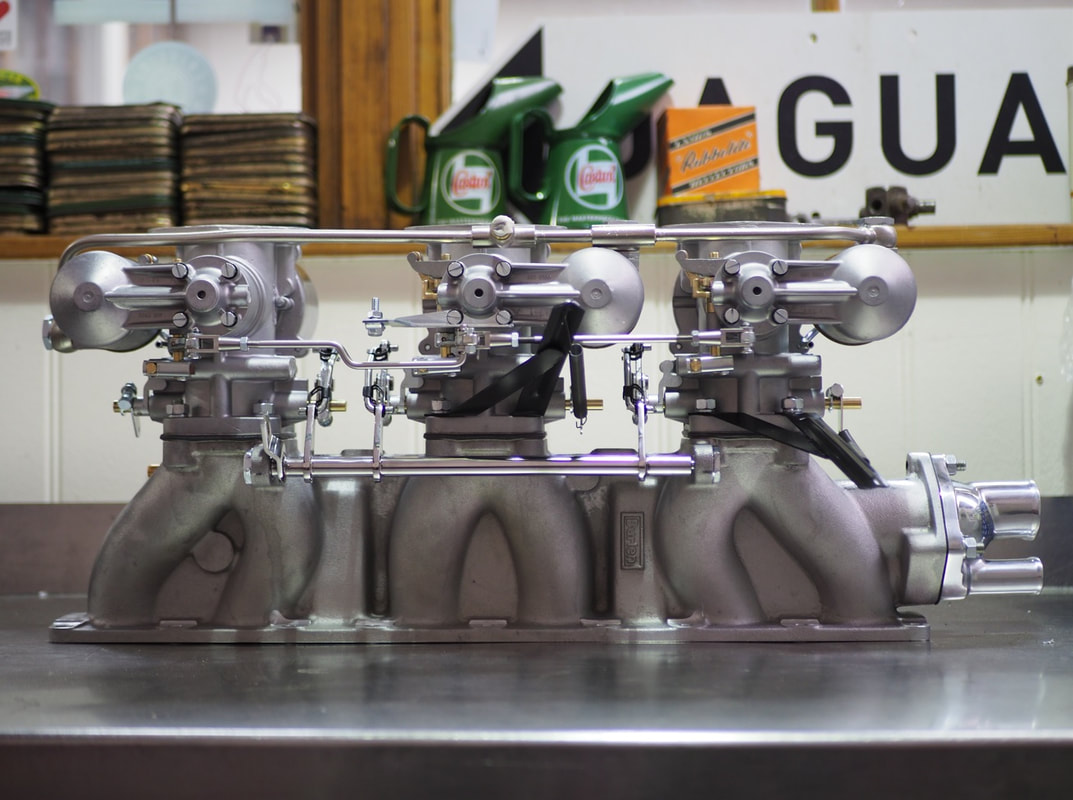
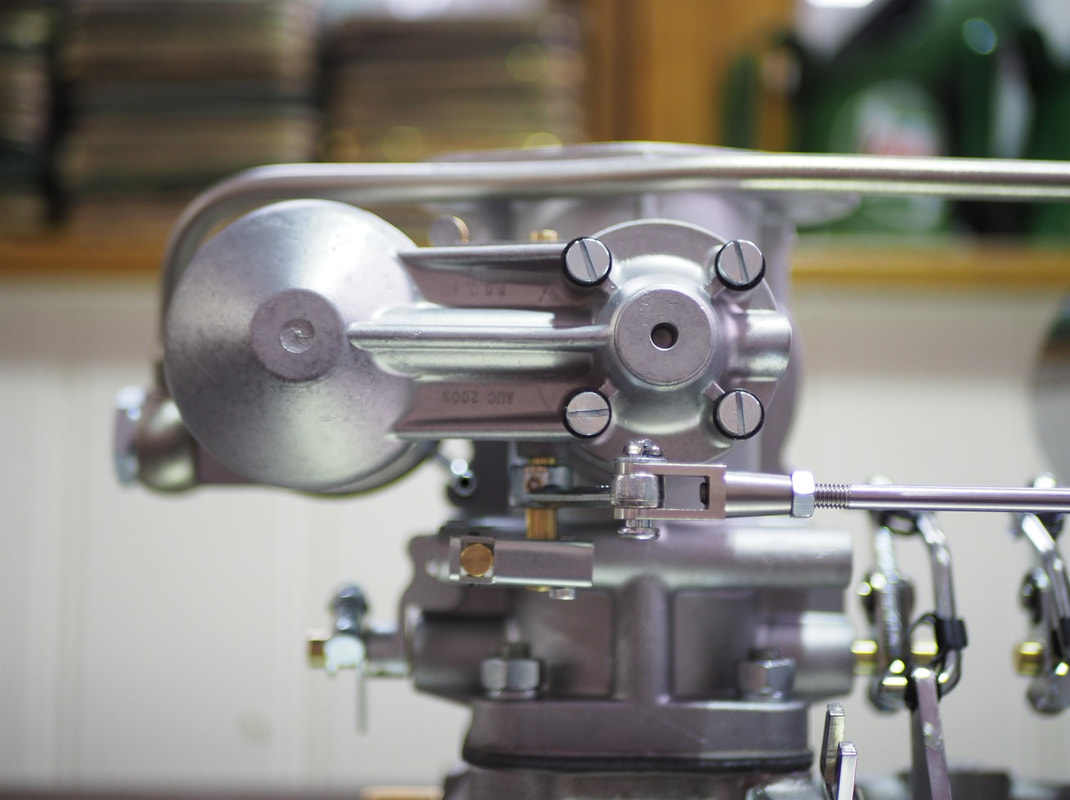
Now that the weighty 4.2 engine and Jaguar gearbox with overdrive were out of the car and awaiting full overhauls, the set of Burlen Triple SU HD8 carburettors could now be rebuilt ensuring the correct mixture strength under all operating conditions of the engine. With a new thermostat and cover and gasket, temperature sensor, rear slave shaft, rear spring, and air filter gaskets, they look like they should be placed inside a display cabinet rather than bolted to the side of the engine.
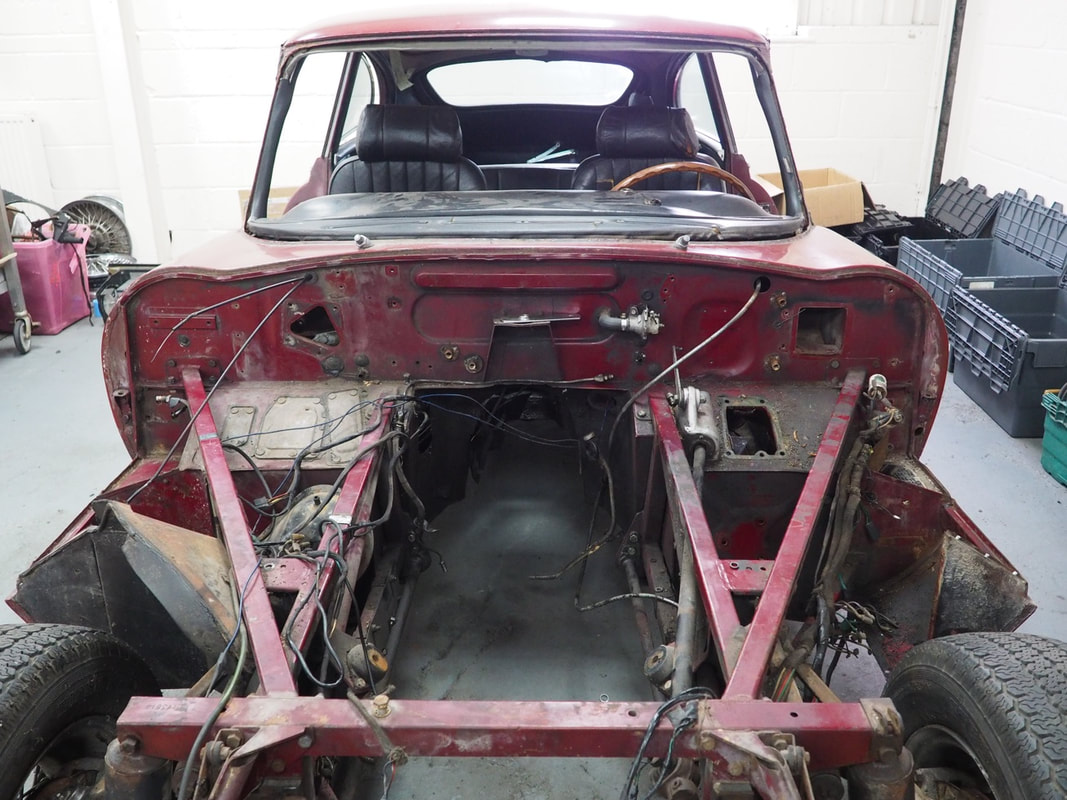
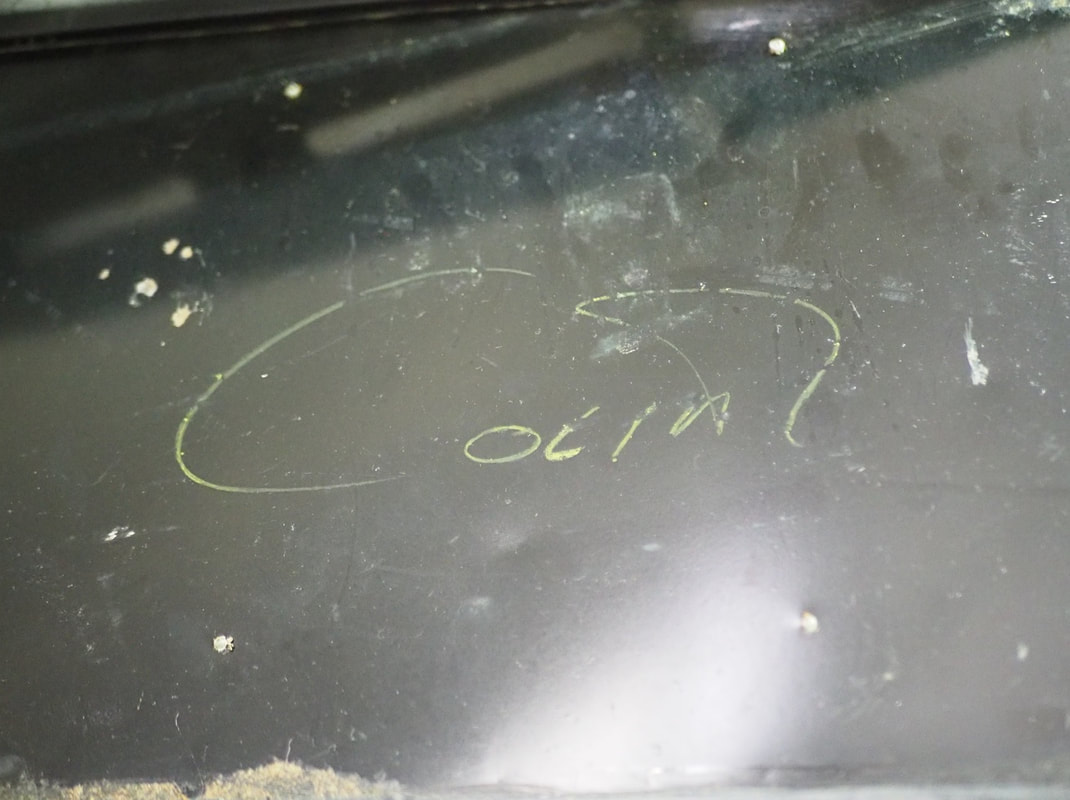
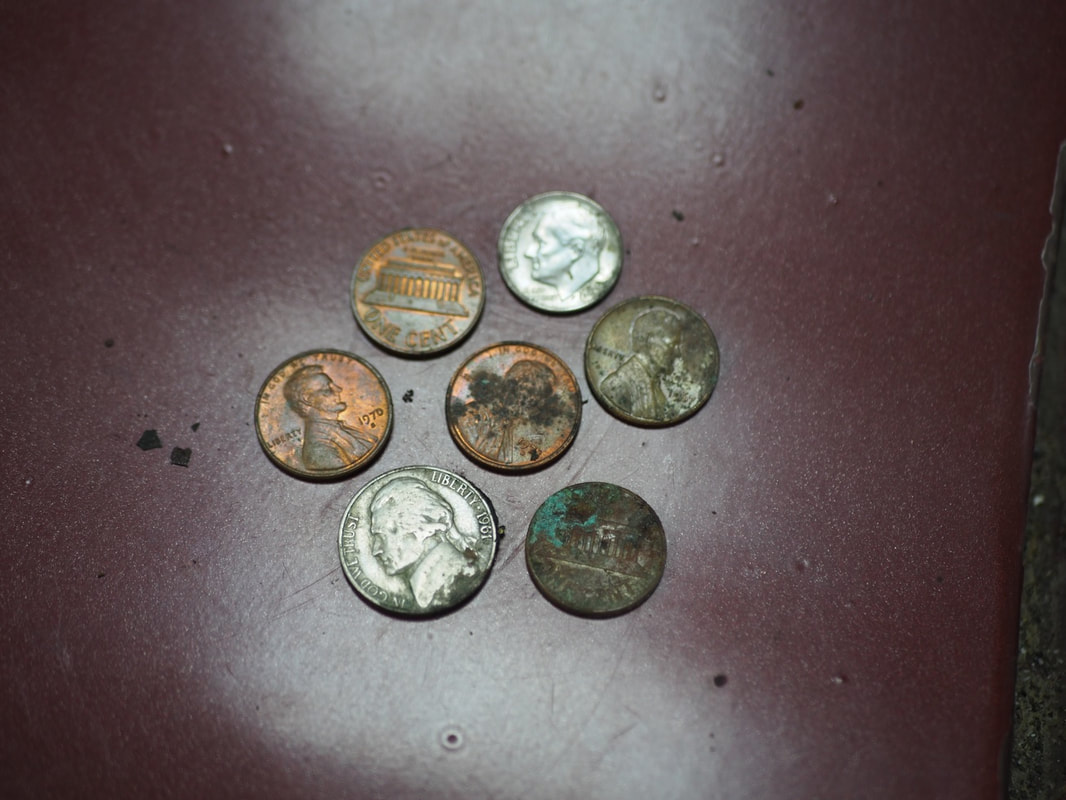
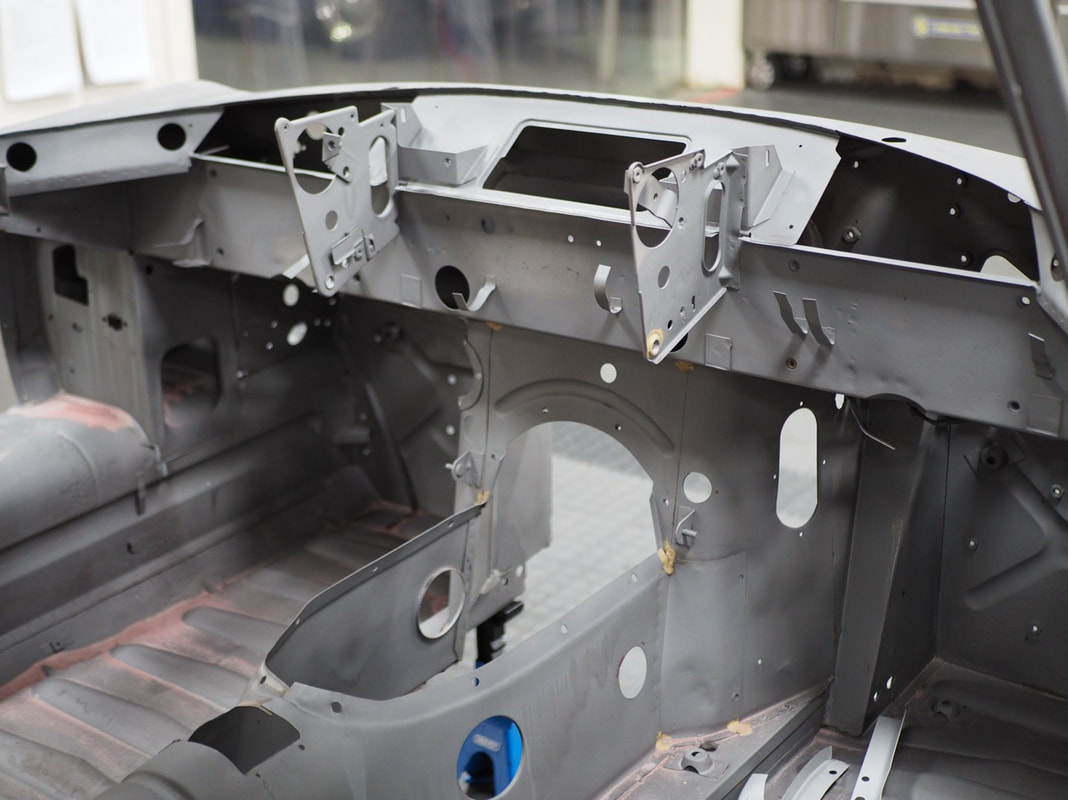
Starting the strip down phase of the '70 Series 2+2, the team have been carefully cataloguing and photographing as they go with major components being documented and safely stored with the removal of the bonnet and the 4.2 engine. Initial inspections reveal that the car is extremely sound and solid and whilst focusing on the interior we removed the dash, the tattered carpets, and the headlining section. Evidence of a previous owner was also discovered when we uncovered a mouse nest, complete with a long since deceased mouse. It had taken up residence behind the drivers' seat leaving behind traces of food which it had also stored within the transmission tunnel close to the propshaft. American coins from the 60's and 70's were also found, and the name "Colin" inscribed on the underneath of the rear seat section in yellow chinagraph leading us to believe this would have been added on the production line at Browns Lane.
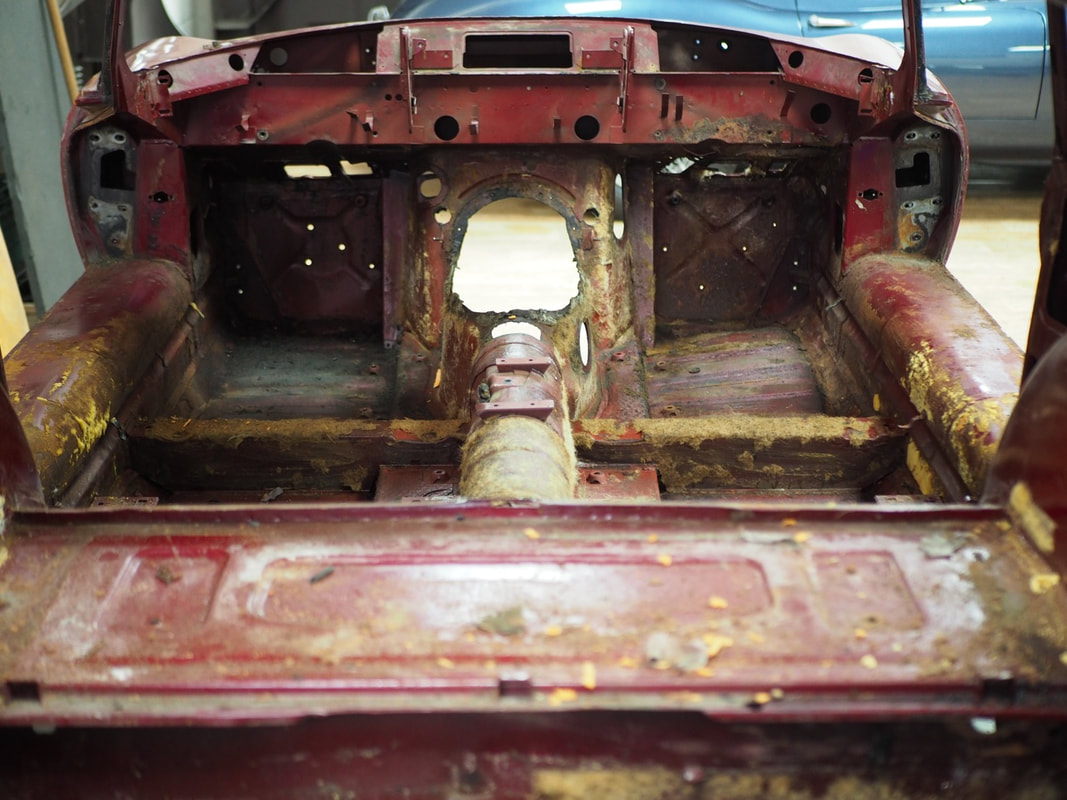
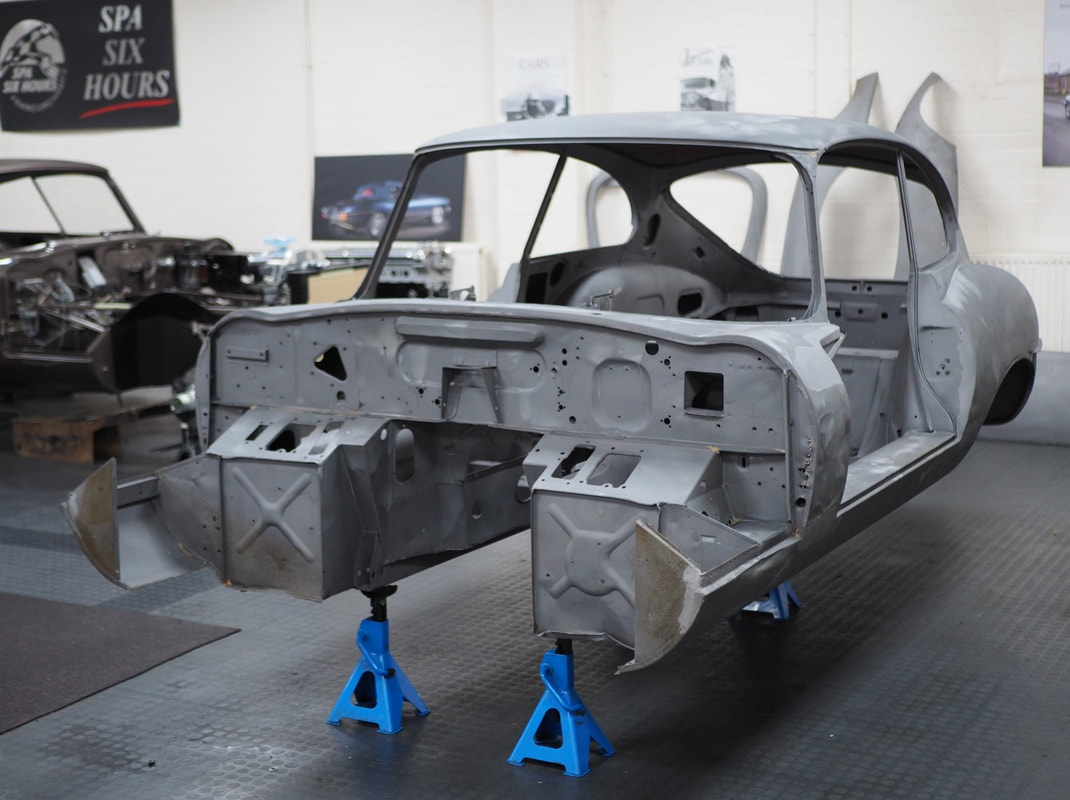
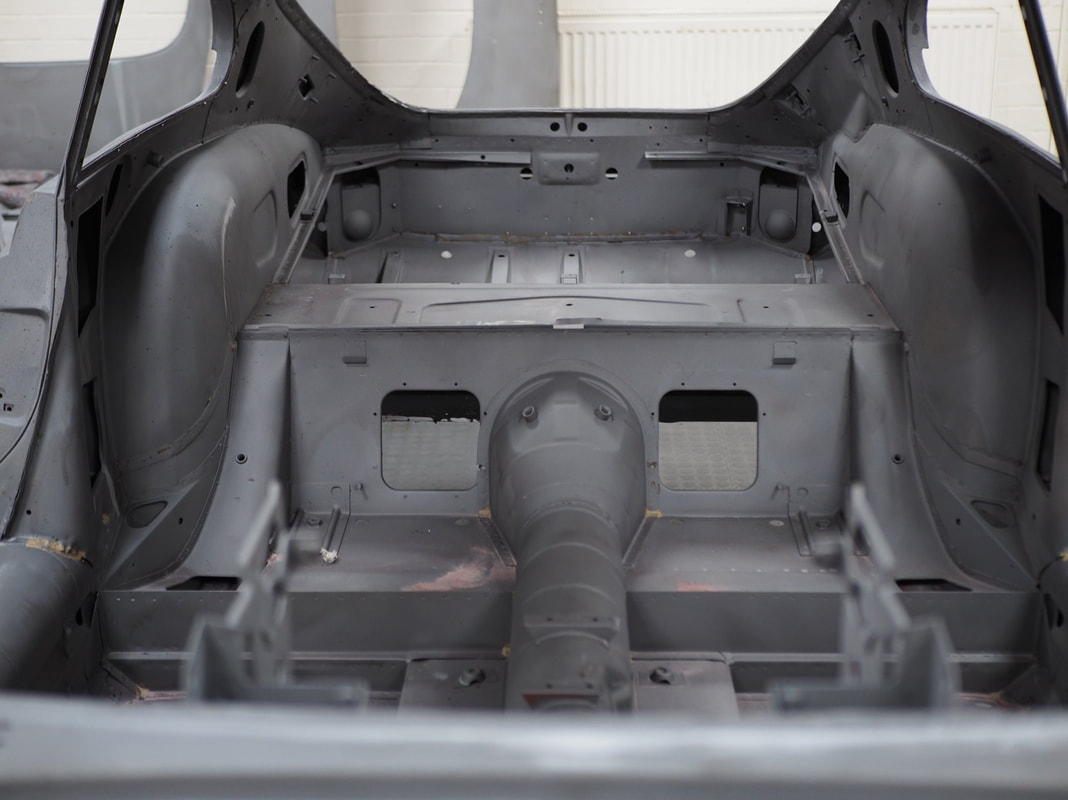
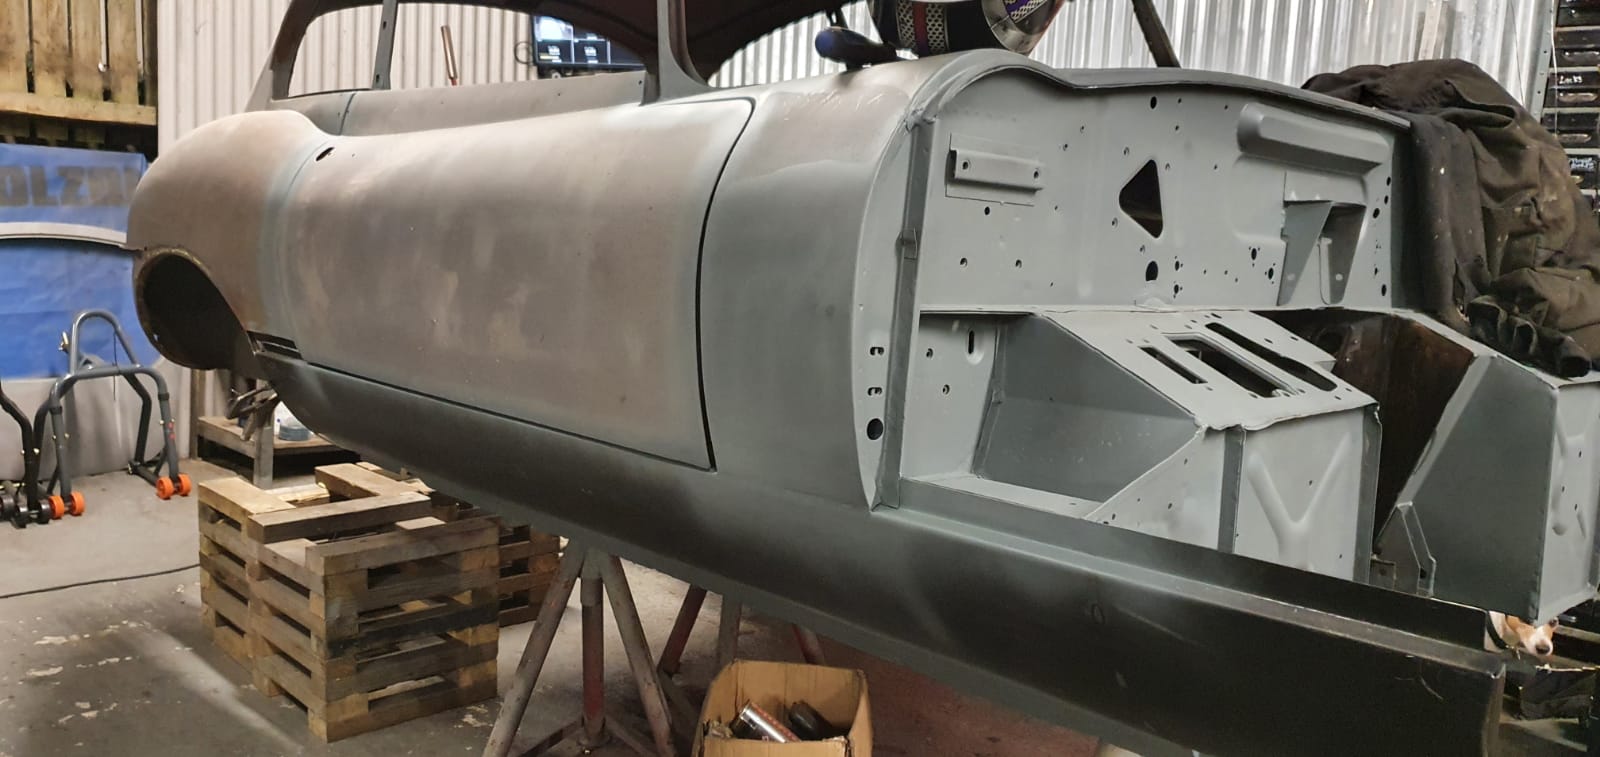
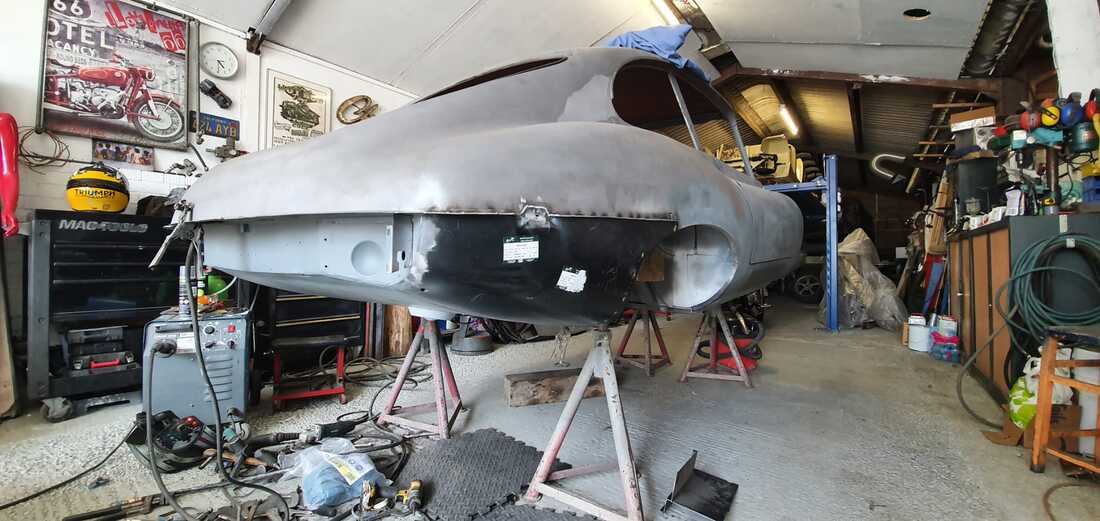
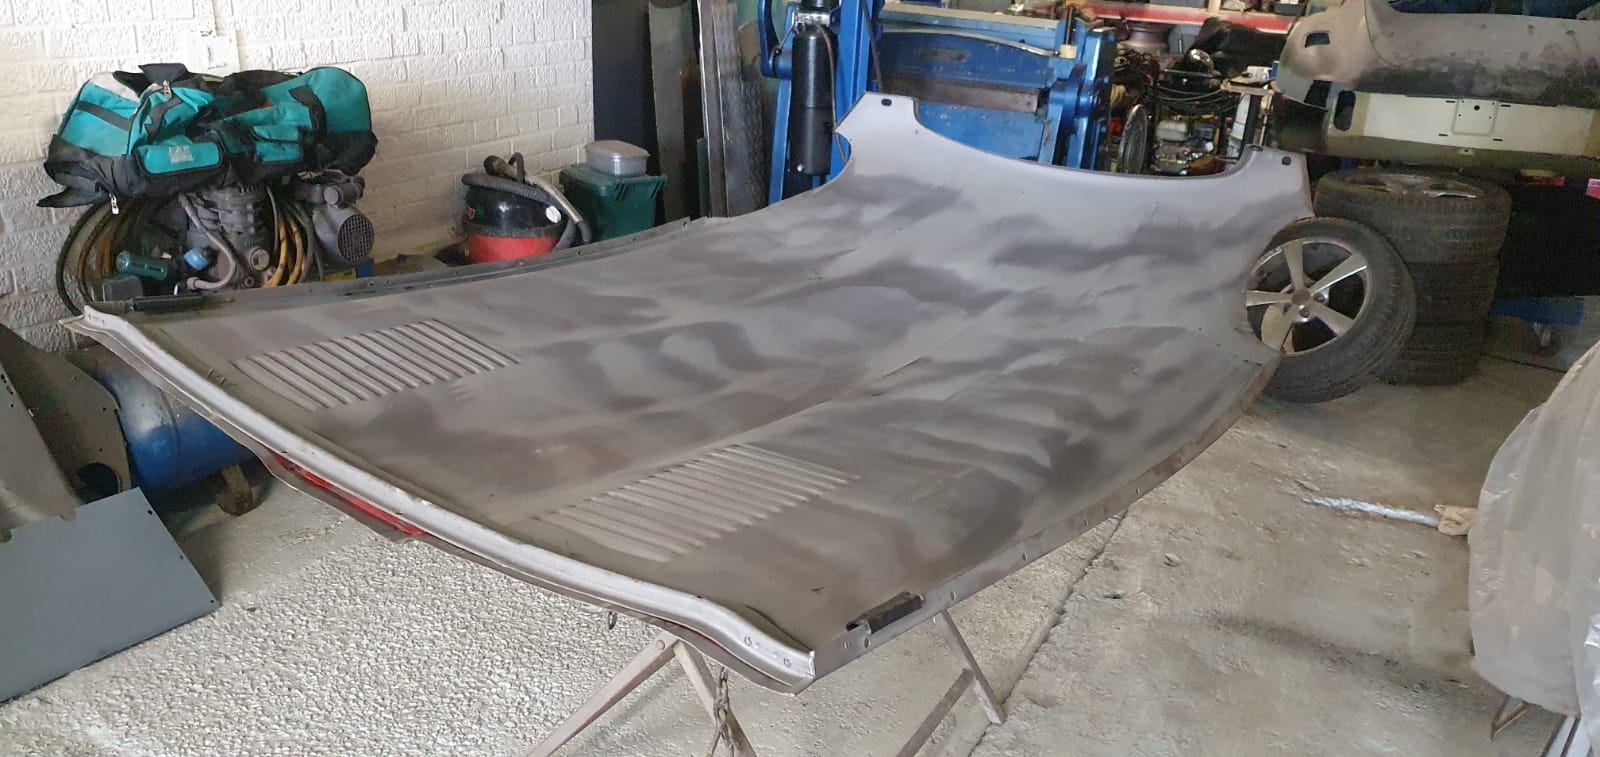
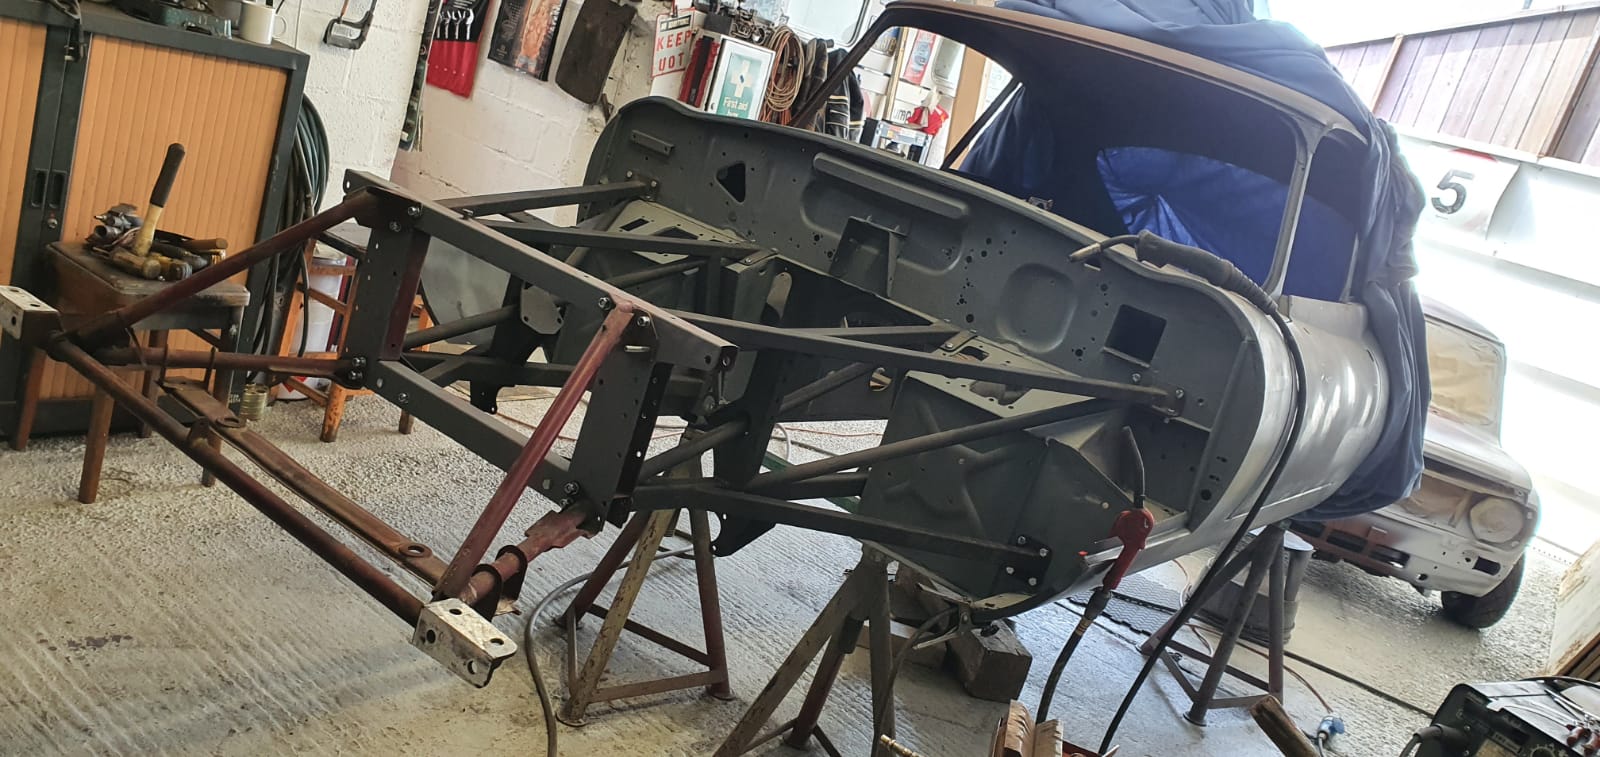
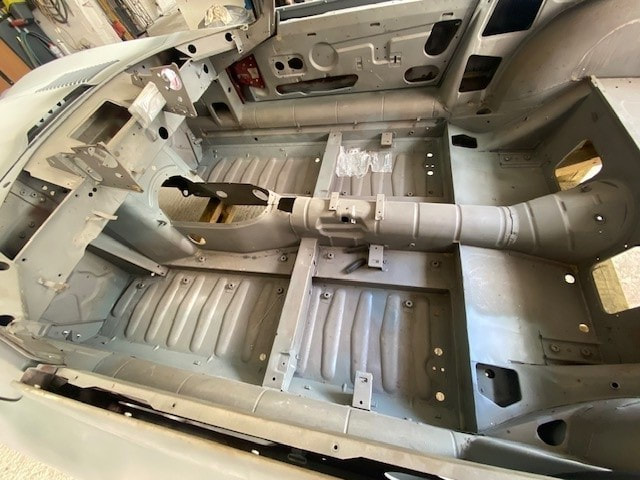
Shotblasted with a fine grit and coated with a rust preserver, the tub and bonnet panels of the 2+2 are safely back in the workshop ready to start the necessary repair works. The team can now see the extent of previous repair work that has been carried out, but the advantage we have is that this particular car had previous in Idaho so there is minimal amounts of rust. A variable degree of work had been applied over the years which will be expertly put right during the panel work stage once jigged. Upon initial inspection, the first areas that are in need of some immediate TLC are the door sills and the boot floor.
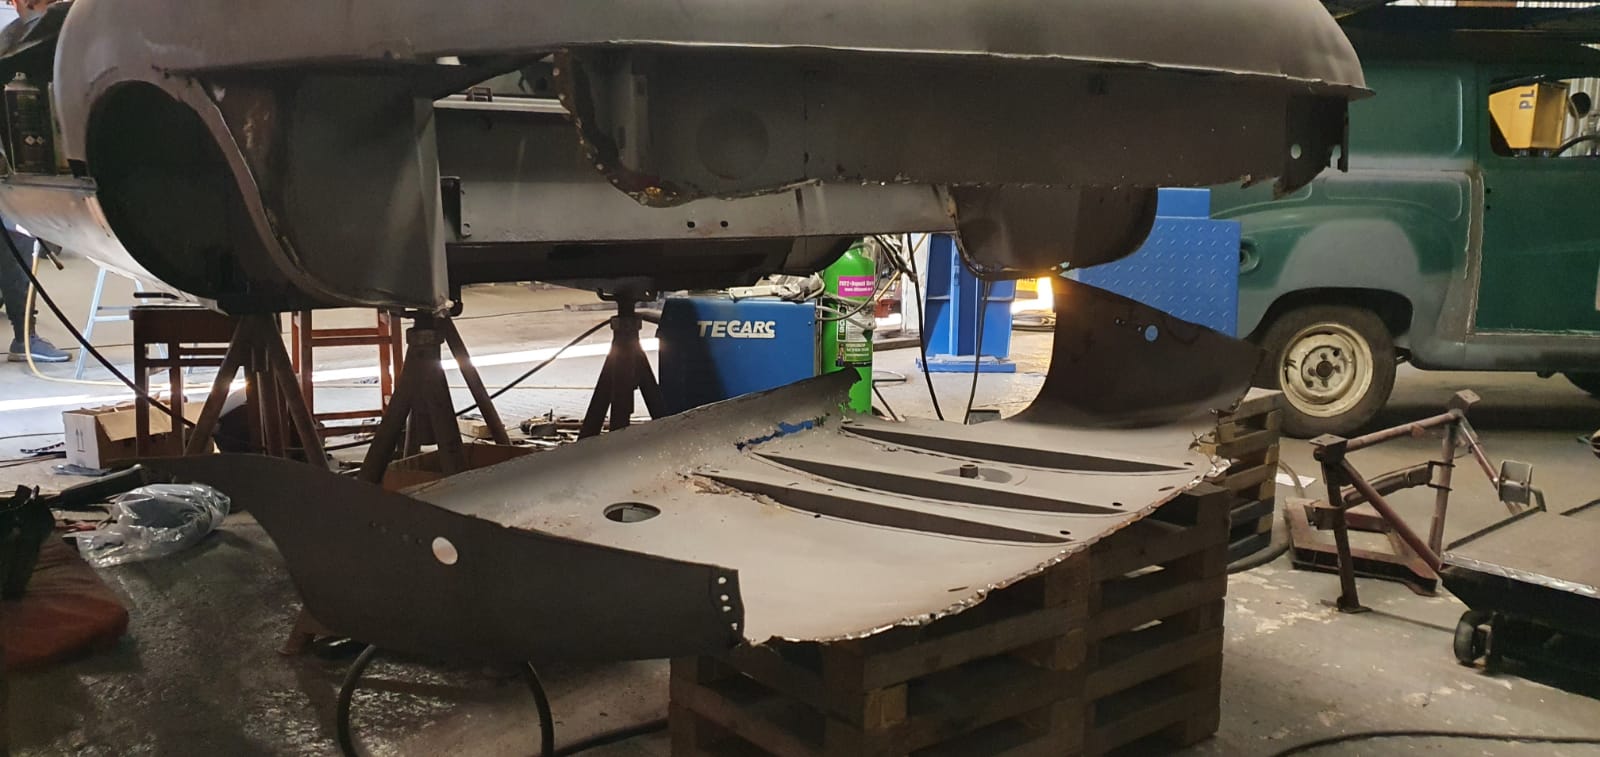
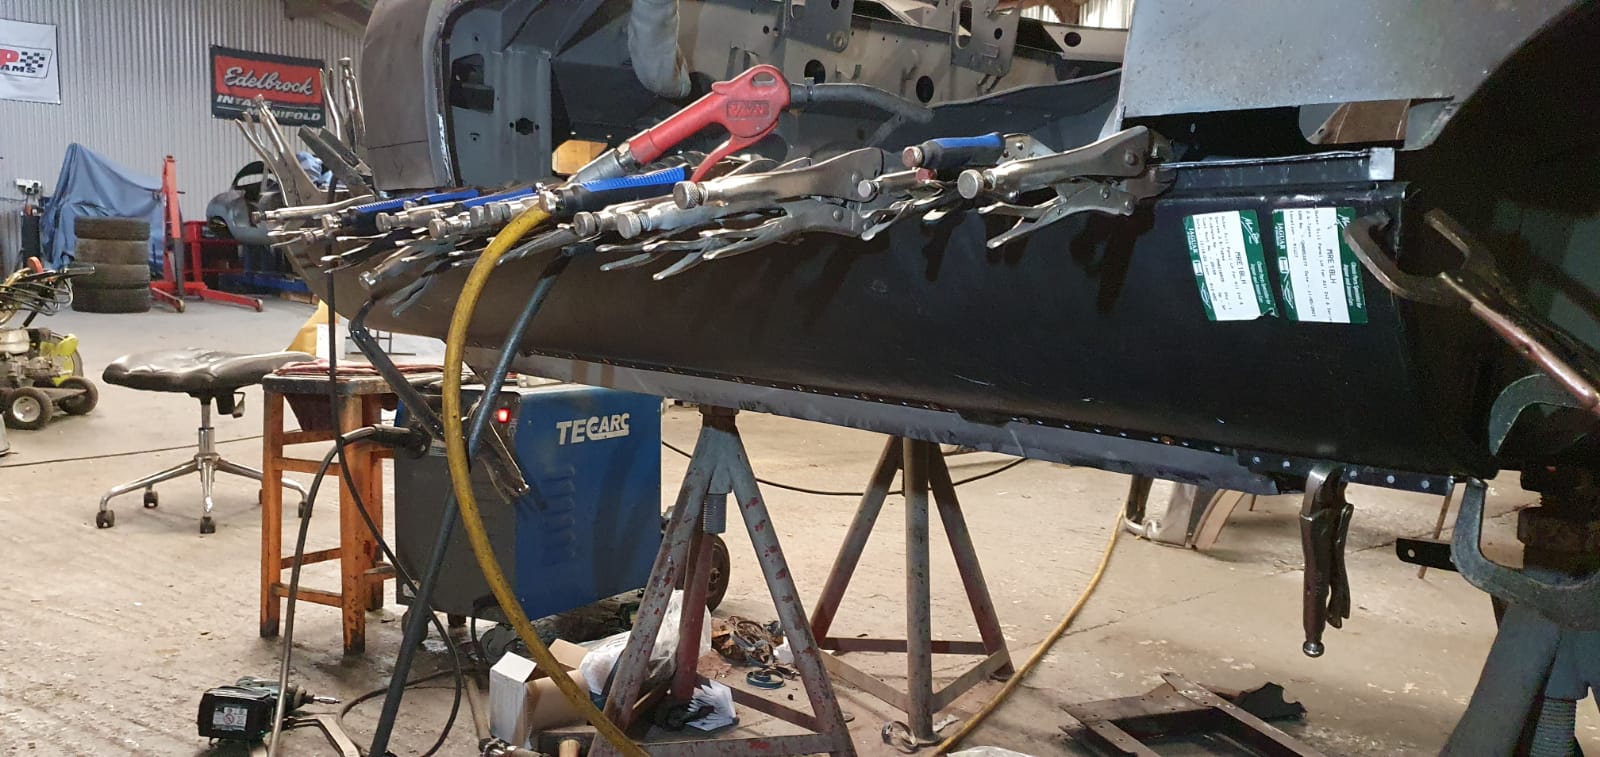
Now in the skilled hands of the panel workers, the 2plus2 could finally begin its journey to becoming structurally and aesthetically sound. Before works could start, the body was thoroughly inspected to see what areas needed addressing and the relevant panels sourced. One area that was in desperate need of TLC, and you could see the floor through, was the centre section of the boot floor. Both the outer sills, front sill ends, outer and rear sill braces all needed replacing, with both rear wheelarches needing necessary repairs. The front jacking point was also rusted and subsequently cut out, whilst the bonnet latch panel and outer bulkhead side panel were too both replaced. Finally, both doors were temporarily re-fitted in order for the gaps to be checked.
Focus had now turned to the underside of the shell where we were already aware that the boot floor needed extensive repair works. To begin with, the rear floor to chassis section, and the rotten boot floor itself, were cut out and replaced with new panels. Both the off-side and near-side rear lower quarters were also welded to the boot floor with some fettling carried out where the lower quarters meet the wheel arches. Whilst in this area, rusted sections of the off-side inner wheel arch guard were removed and repaired.
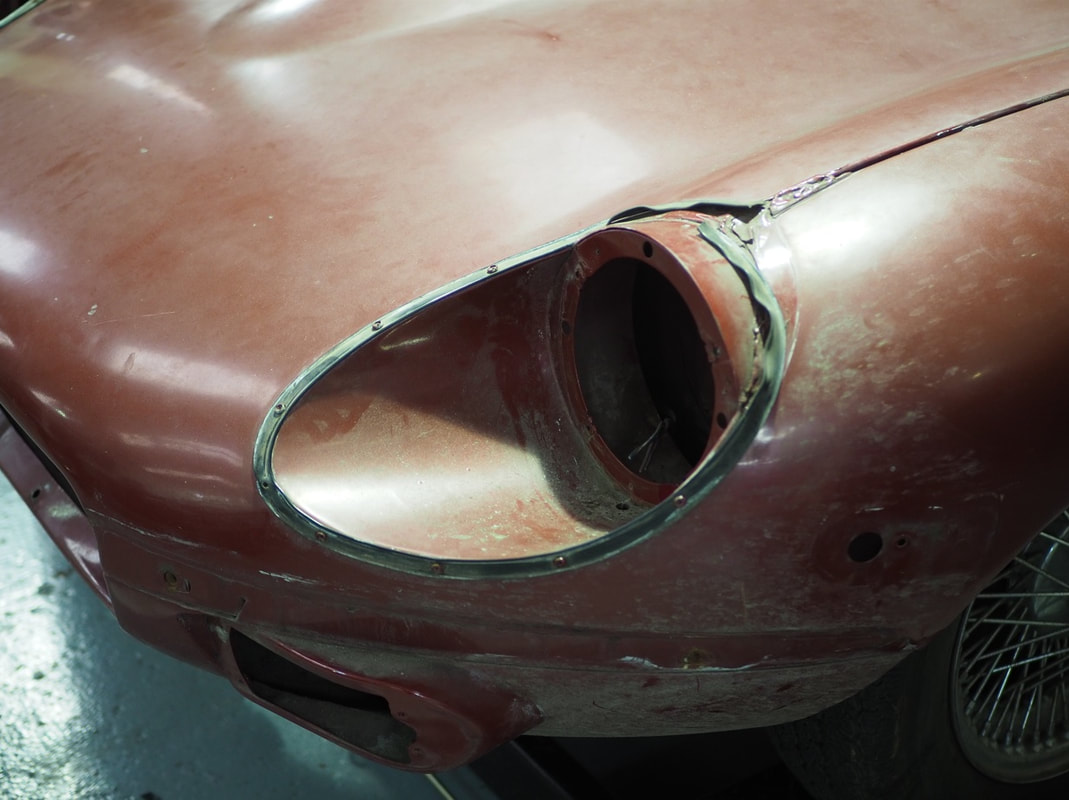
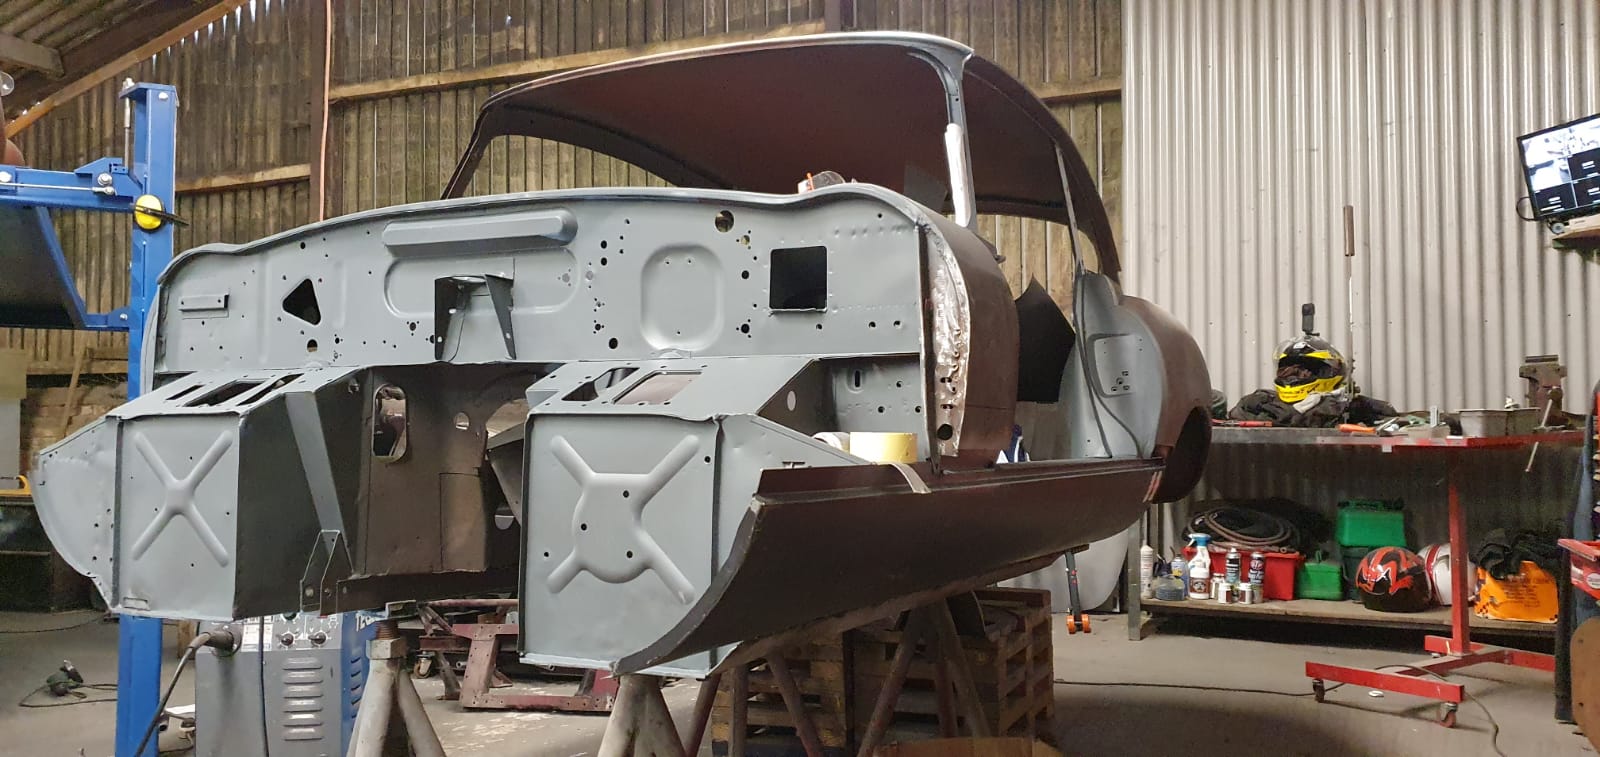
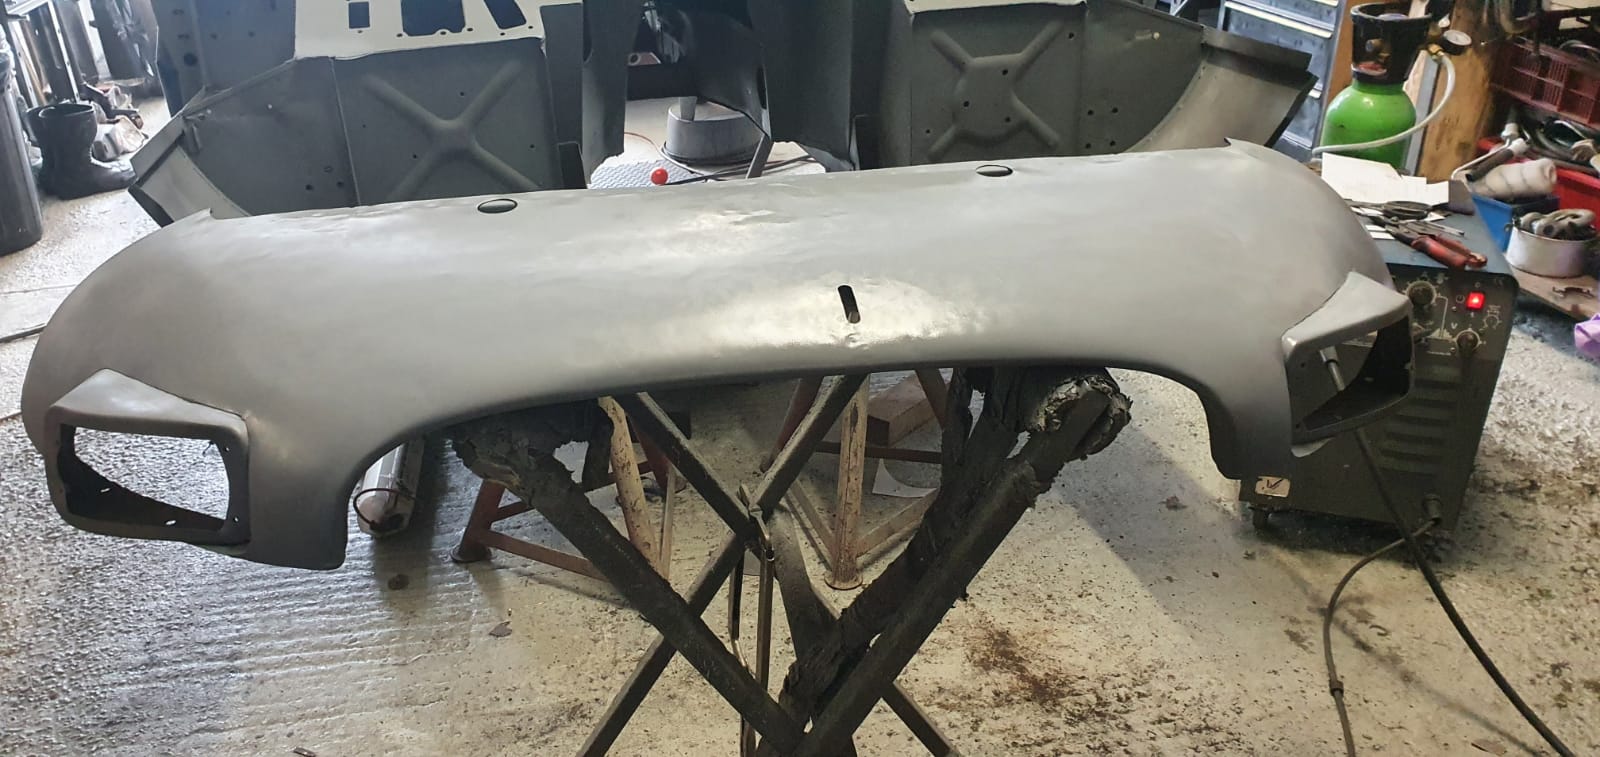
Remedial works were also continuing on the bonnet to the off-side and near-side head light panels. Un-wanted holes were welded over in the wings of the off-side head light aperture, whilst localised repairs were made to the bottom of the near-side front wing. Sections of the near-side wing where the mud guard bracket resides were strengthened before both engine frames and the picture frame could be fitted up. Finally, splits that were present in the bonnet tunnels were welded and both bonnet hinges were freed-up ahead of reassembling the bonnet back together.
Remedial works were also continuing on the bonnet to the off-side and near-side head light panels. Un-wanted holes were welded over in the wings of the off-side head light aperture, whilst localised repairs were made to the bottom of the near-side front wing. Sections of the near-side wing where the mud guard bracket resides were strengthened before both engine frames and the picture frame could be fitted up. Finally, splits that were present in the bonnet tunnels were welded and both bonnet hinges were freed-up ahead of reassembling the bonnet back together.
Nearing the end of the bodywork phase, and edging closer towards the shell being painted, only a handful of repairs remained for the 2plus2.
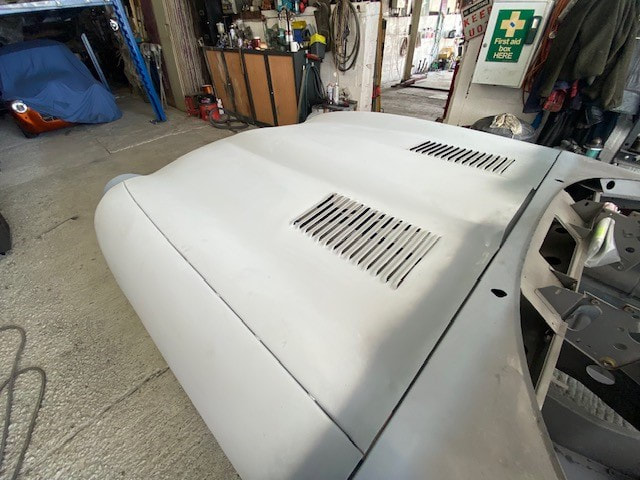
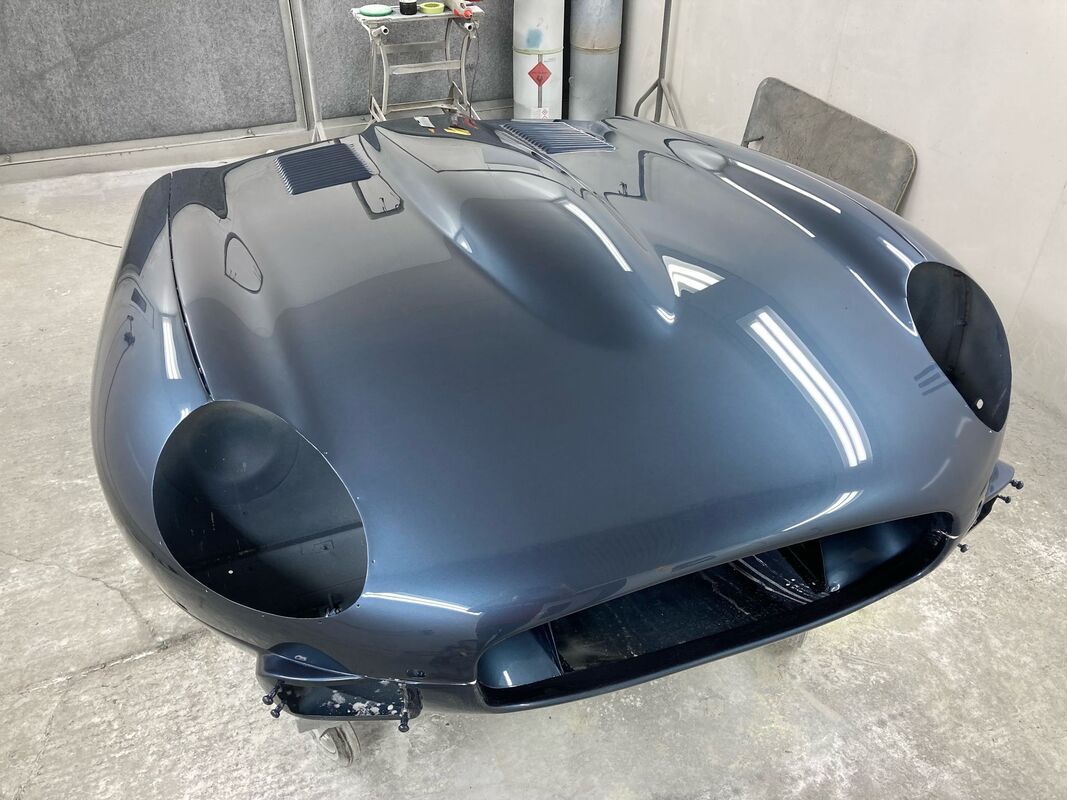
Ahead of the bonnet panels being prepped, epoxy primed, and deemed ready for painting, the lower bonnet hinge panel and both headlight panel mounting brackets had to be cut out and replaced with new. Once in primer, the bonnet could be reassembled and reunited with the car to obtain the perfect gaps to the bulkhead. Finally, both headlight panels were in need of a clean and a rust cure before being fitted back in to the bonnet.
With all complete restoration projects, we always find that the last 10% of effort can take an unprecedented amount of hours to complete. Now that we had a complete car, this was the perfect opportunity to take a closer look at the shell to ensure that we hadn't overlooked any areas that would compromise the structure or the originality. Holes in the top of the doors and transmission tunnel, and where a previous mirror and ariel once were, were deemed not needed or incorrect and subsequently welded over. Better to correct these minor details now before the car goes in to paint.
To sign off the bodywork stage, the lower section of the rear hatch panel needed some localised repairs before being re-fitted and gapped properly for a clean shut.
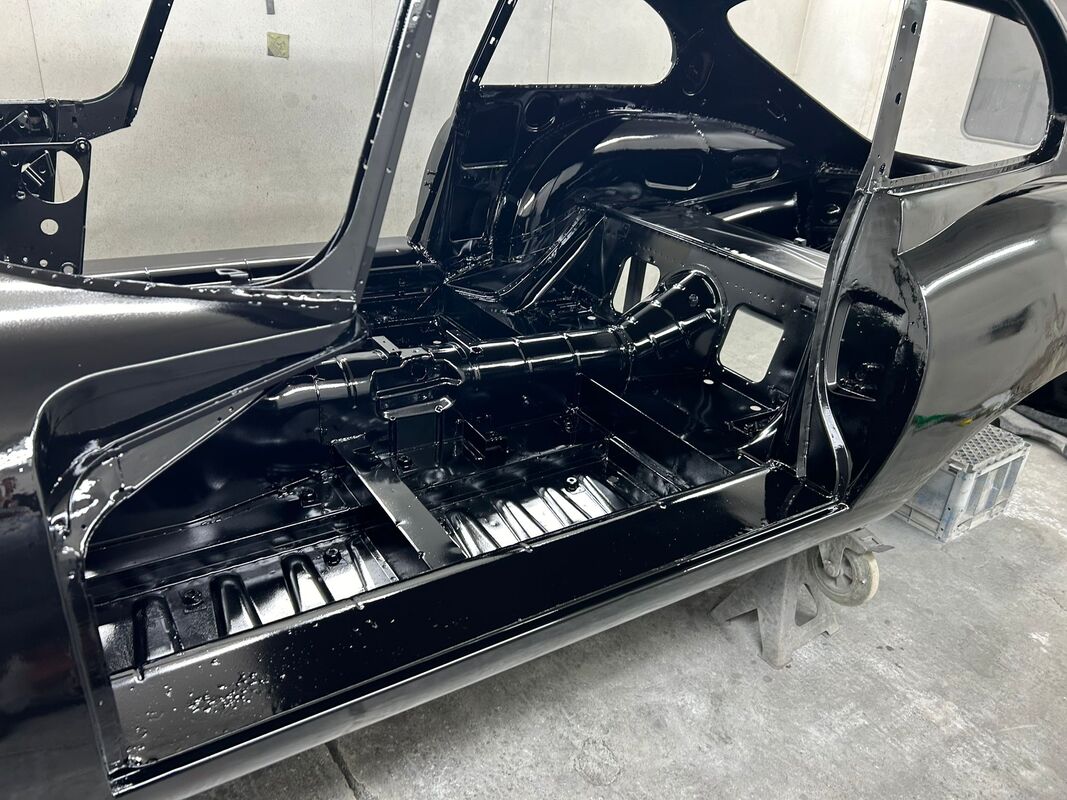
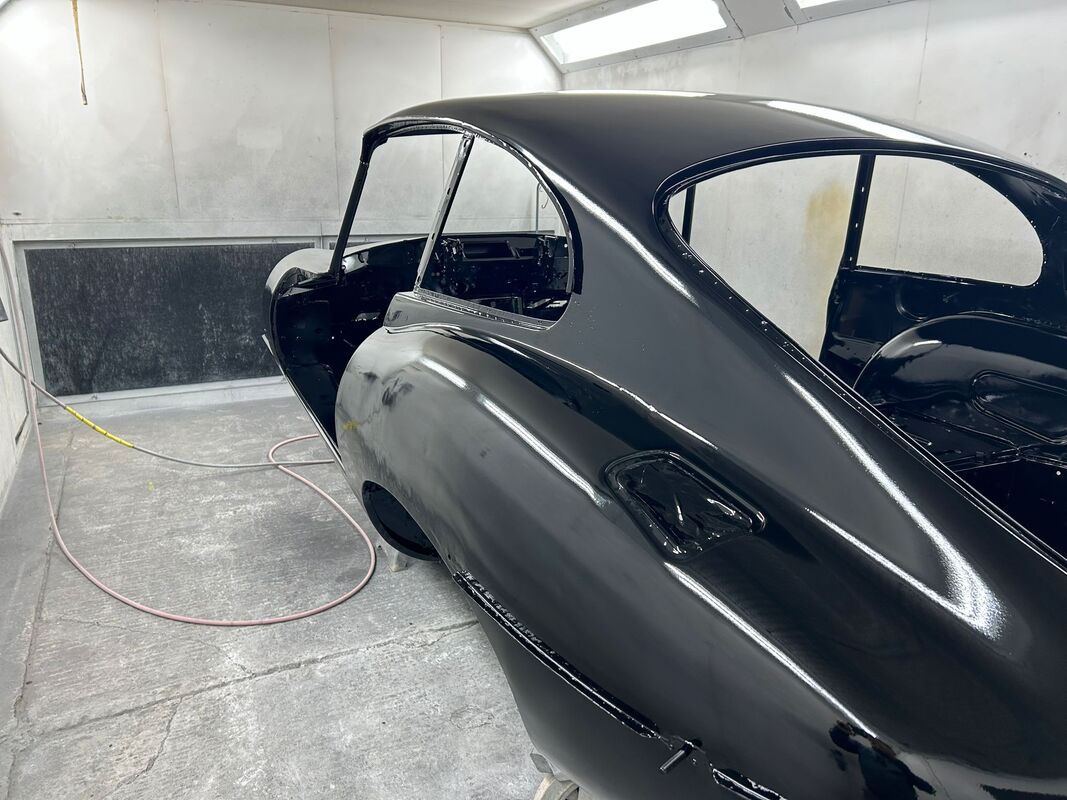
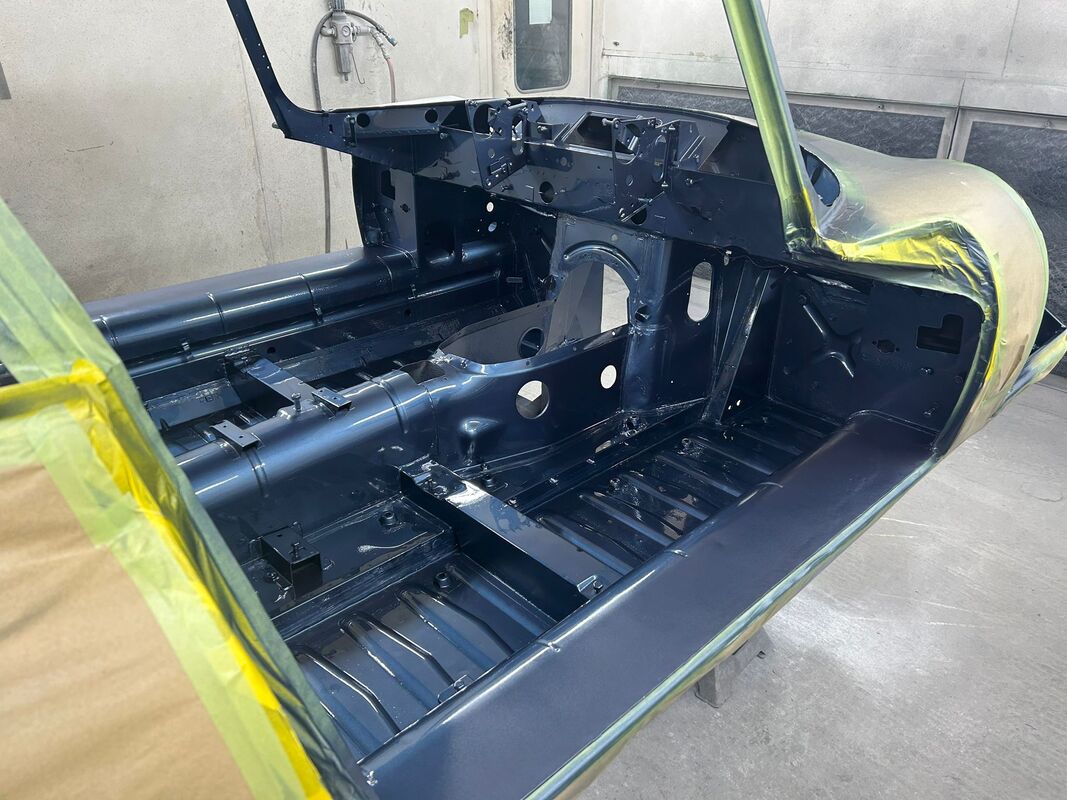
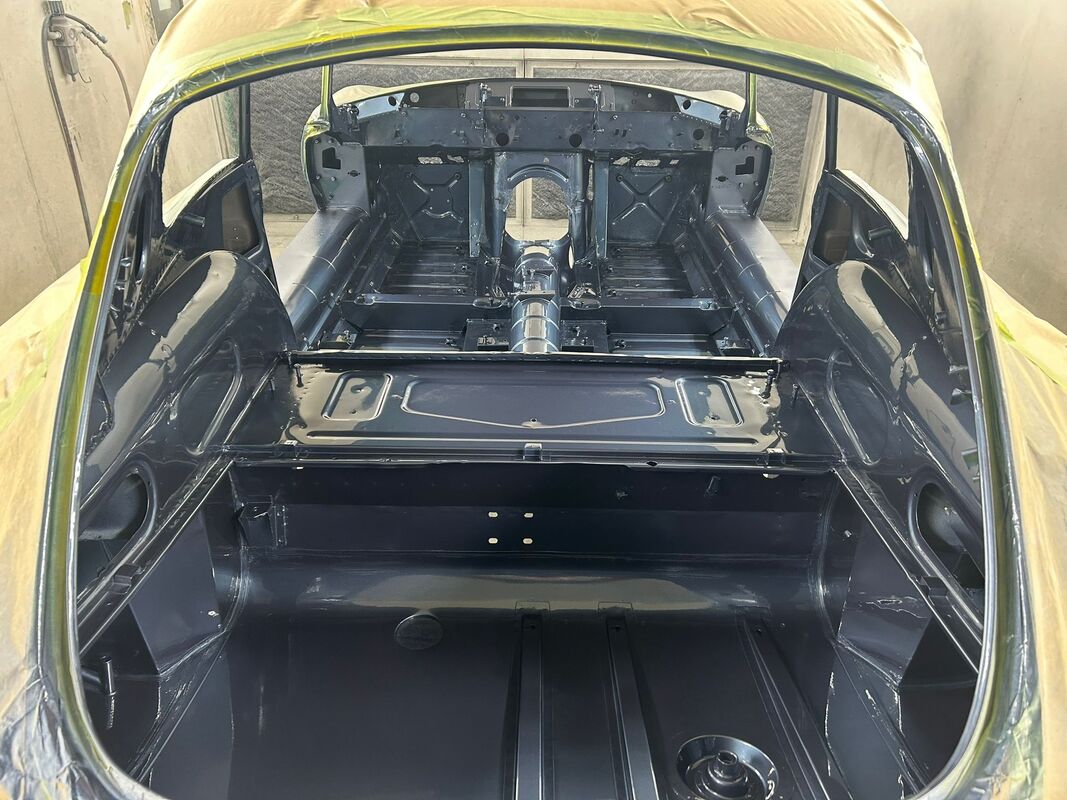
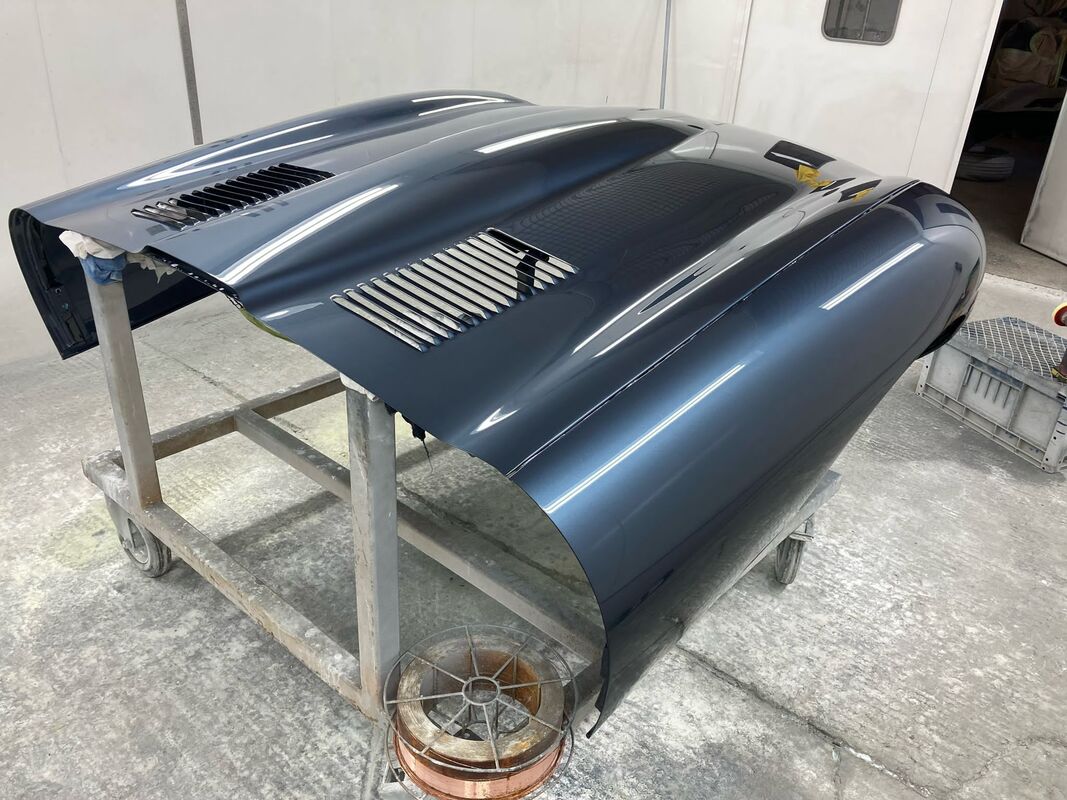
Now in the first stages of the paint journey, the shell was initially coated in an etch primer acting as a protective layer for the bare metal before the final colour is applied. Having fallen in love with the colour of another of our full restorations, the custodian decided not to take it back to its original colour of Regency Red and instead opted for the ever-popular Opalescent Dark Blue.
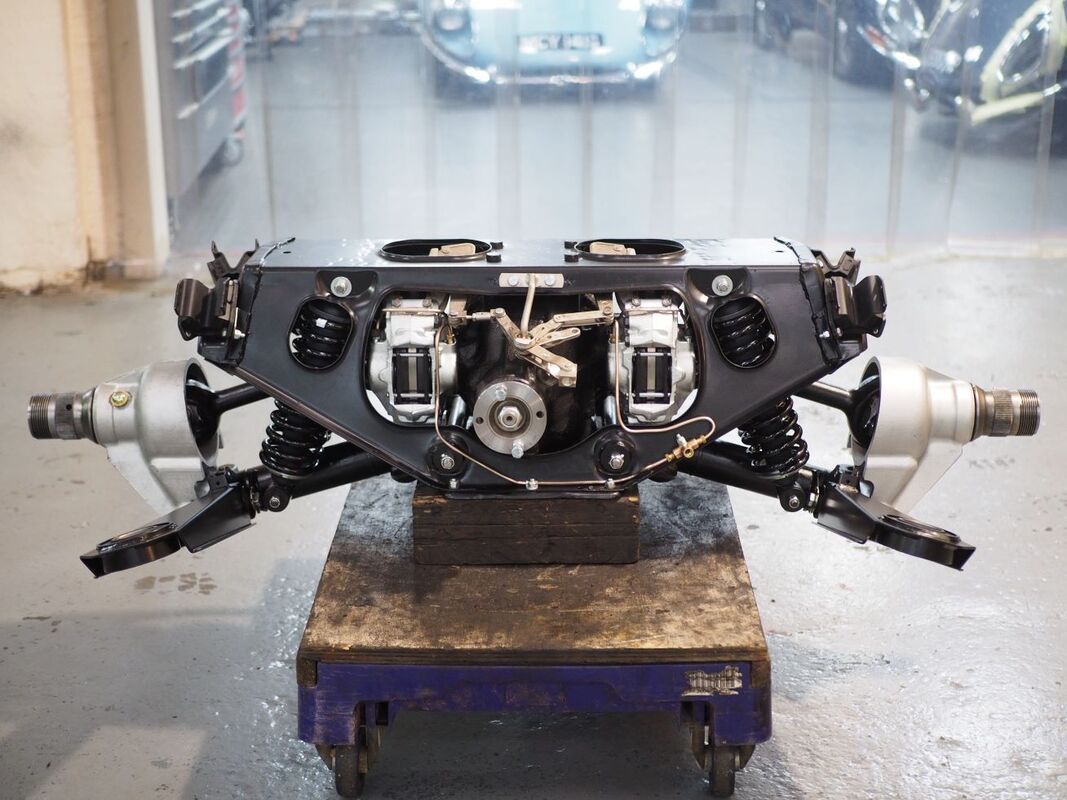
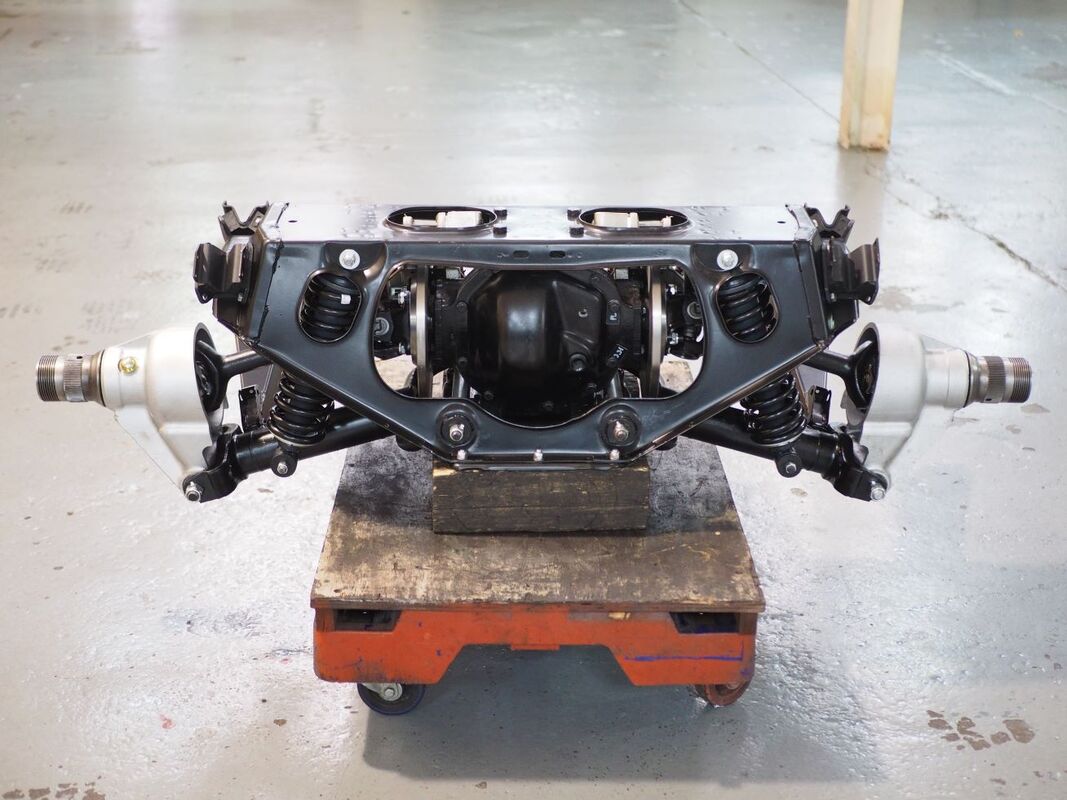
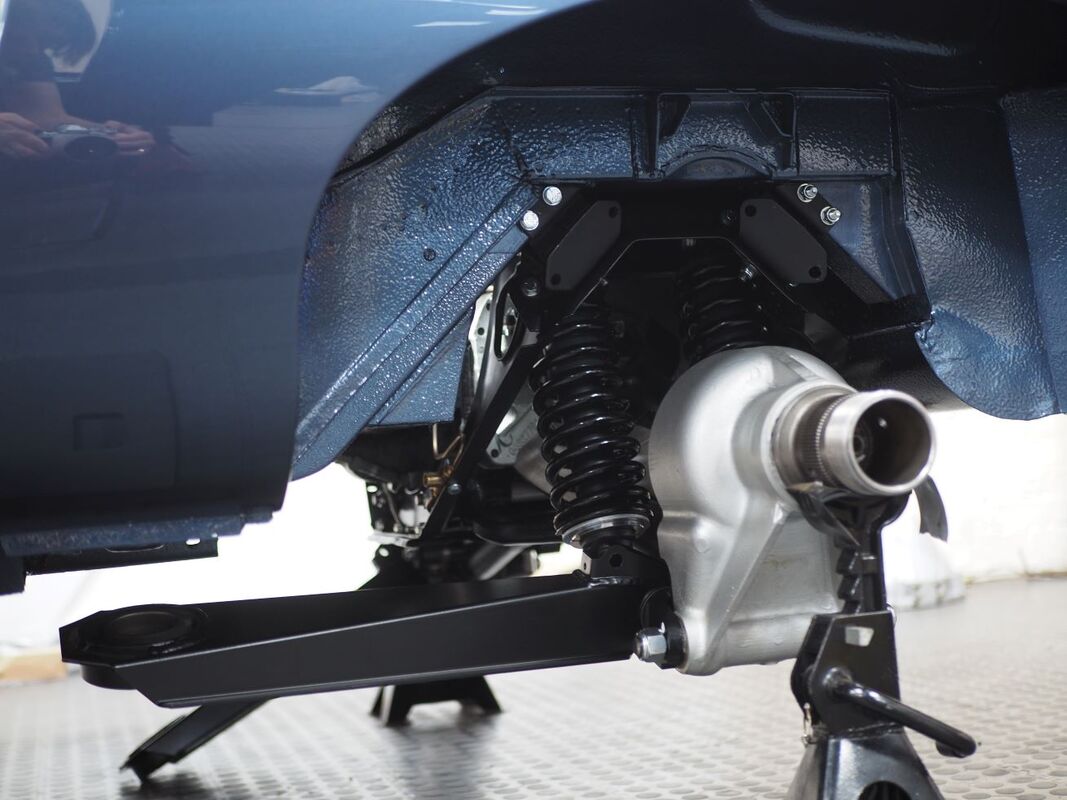
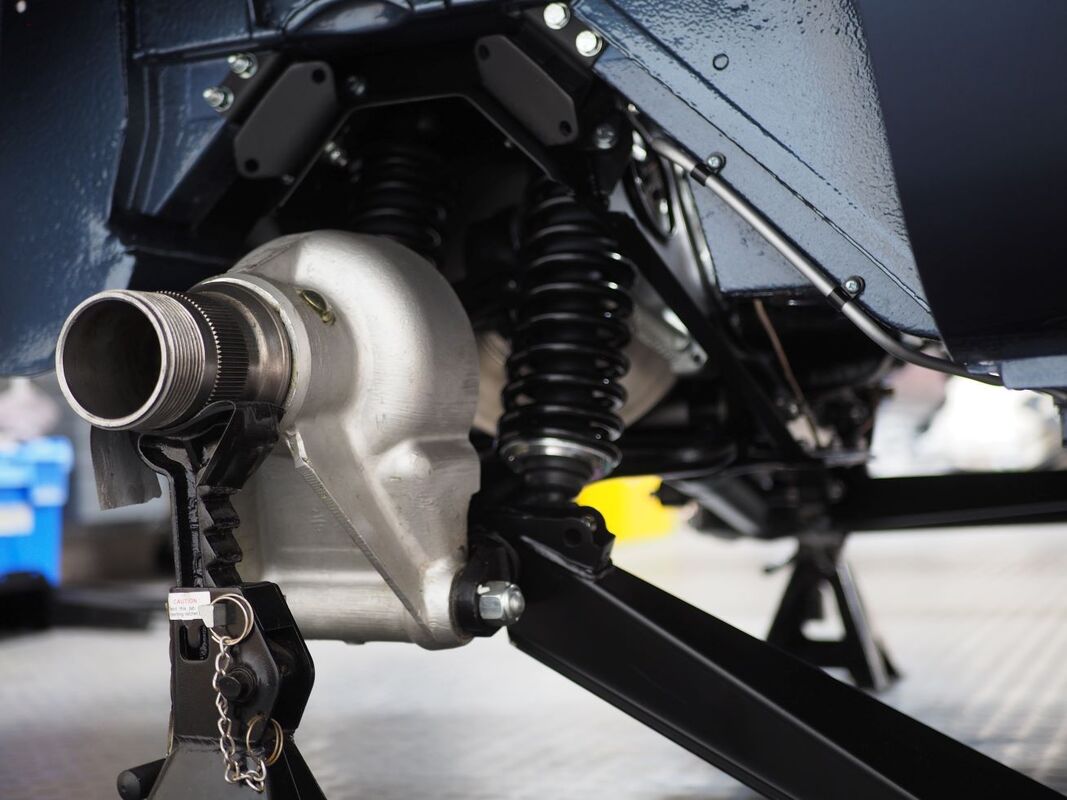
As we eagerly await the arrival of the Opalescent Dark Blue shell from the paintshop, the boys have been rebuilding the Series 2 IRS system so that it can be married up to the body as soon as it is back in the restoration room. Milestone builds such as the rear axle rebuild are ideal to complete before the shells returns to eliminate any valuable time loss. All of the salvageable parts are always blasted before being either nickel plated or powder coated. Rear shock and radius arm assemblies are replaced with new, and the braking system made reassuring and safe with a set of new brake calipers, pistons, and pads. Hand bent cunifer brake lines were also run to ensure longevity, and to avoid potential breakdowns.
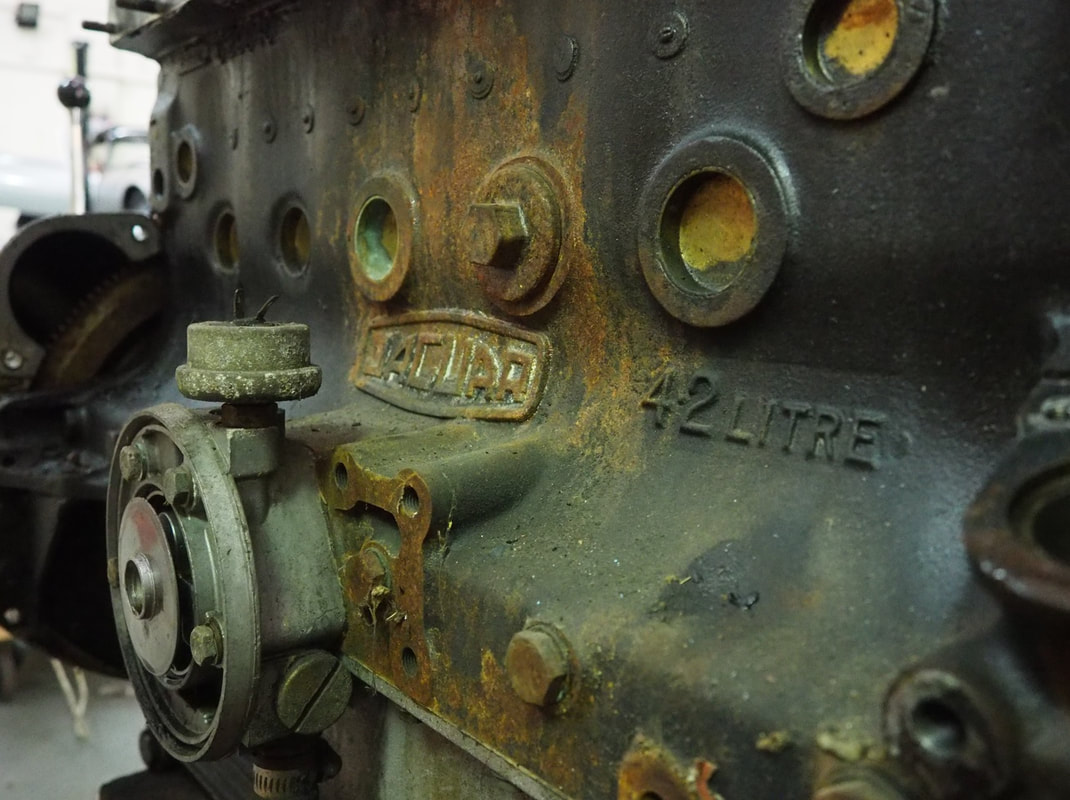
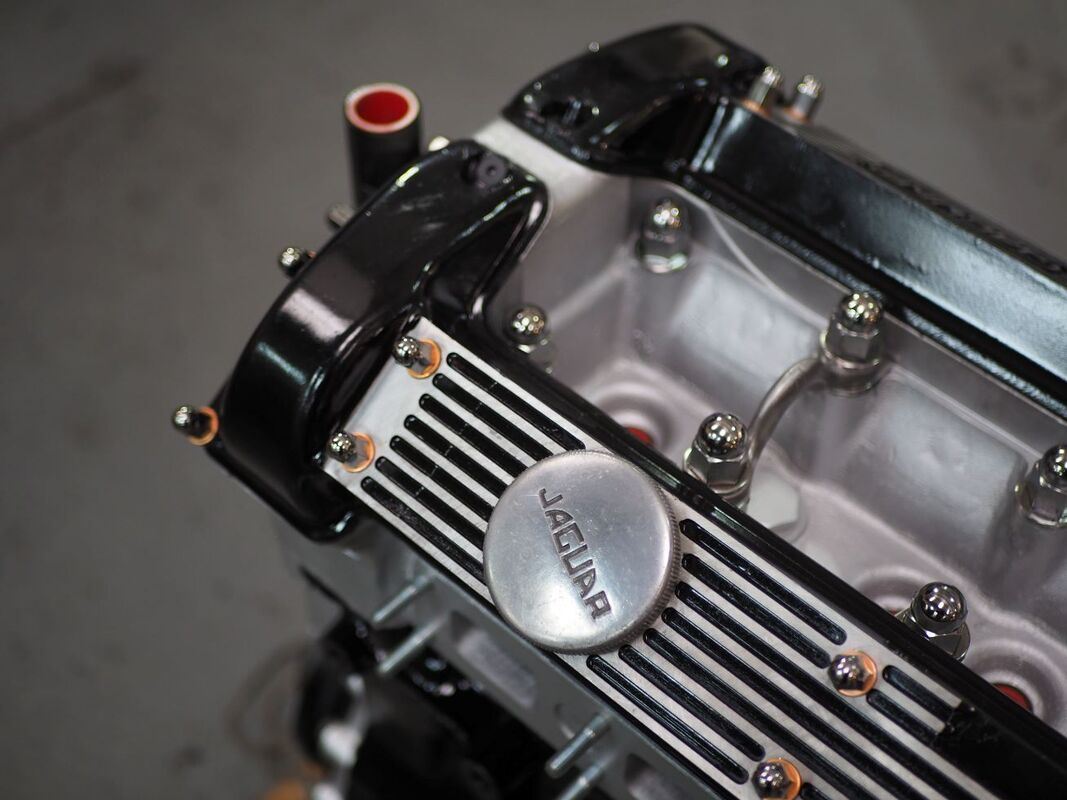
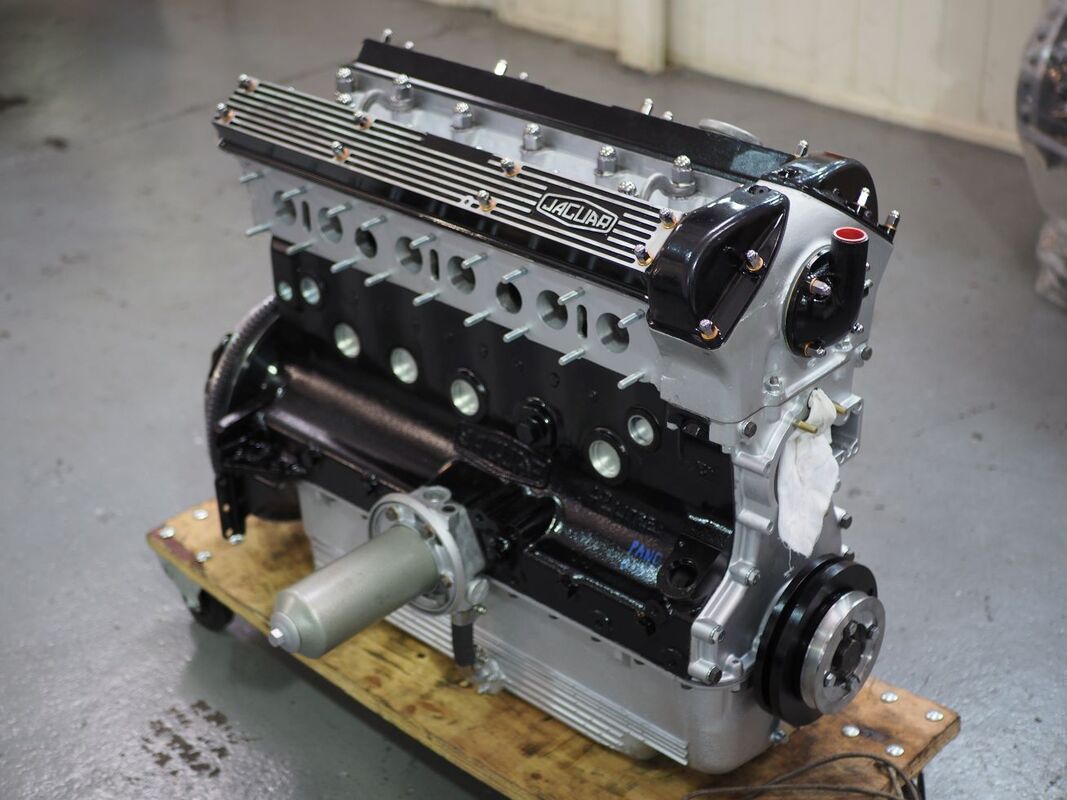
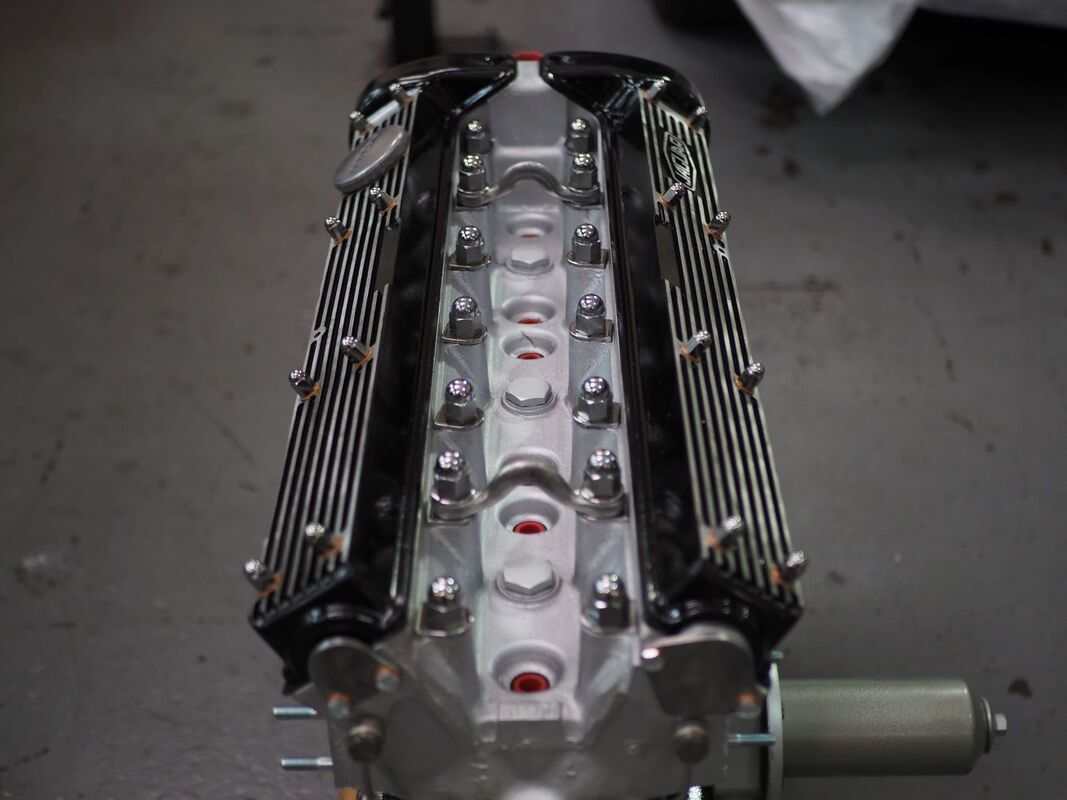
Also included amongst the "big ticket" items is the reconditioning of the engine. As a rule of thumb, we will always carry out a full standard overhaul to every engine linked to a restoration project, including ones that have been previously reconditioned. We have to ensure our clients that our engine builds can withstand years, and miles, of blissful driving whether that is popping to the pub, or a 2000+ mile tour of Italy.
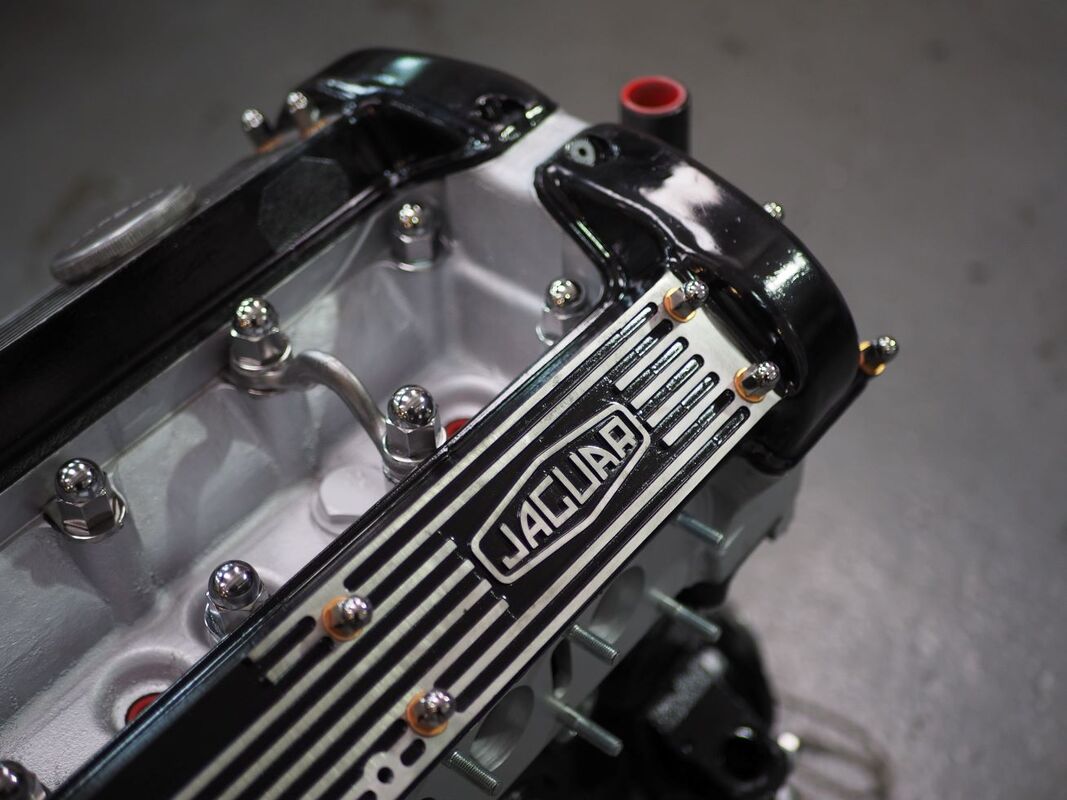
With that said, the 2+2's 4.2 engine was completely overhauled that included a rear oil seal conversion, full balance, new clutch system, 2 original type inner vernier gears, a new head stud kit, local welding repairs to pin down holes, adding a timing pointer and crankshaft pulley.
With that said, the 2+2's 4.2 engine was completely overhauled that included a rear oil seal conversion, full balance, new clutch system, 2 original type inner vernier gears, a new head stud kit, local welding repairs to pin down holes, adding a timing pointer and crankshaft pulley.
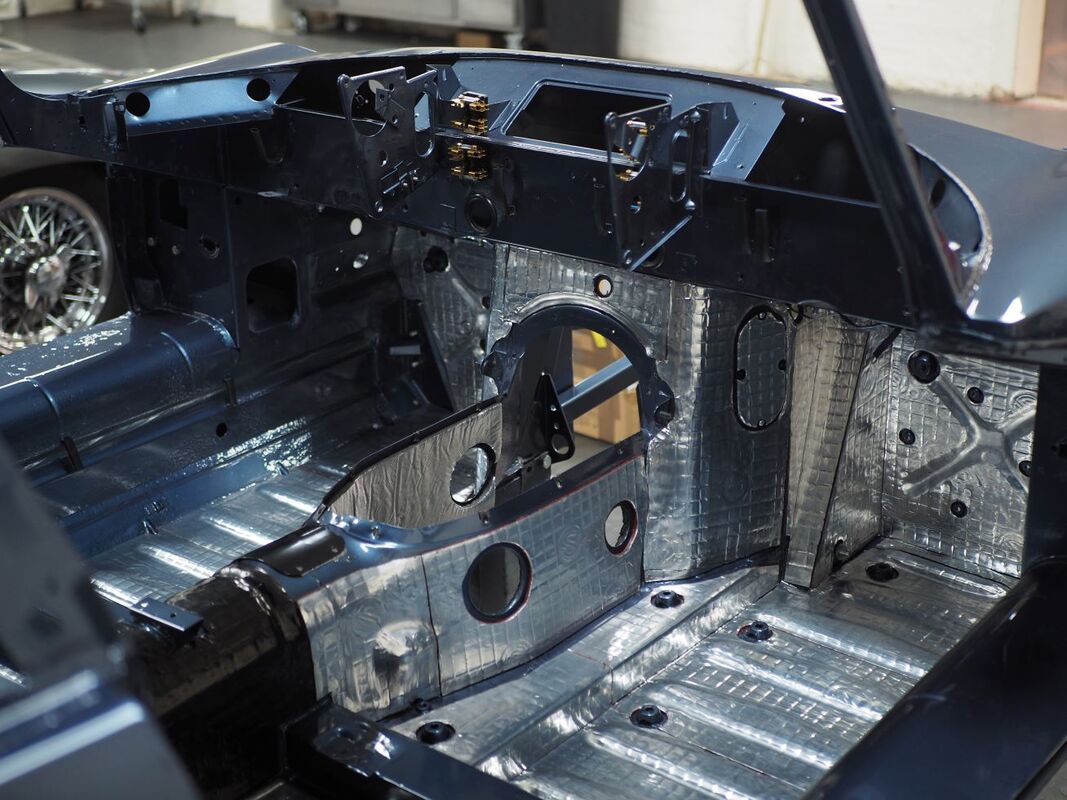
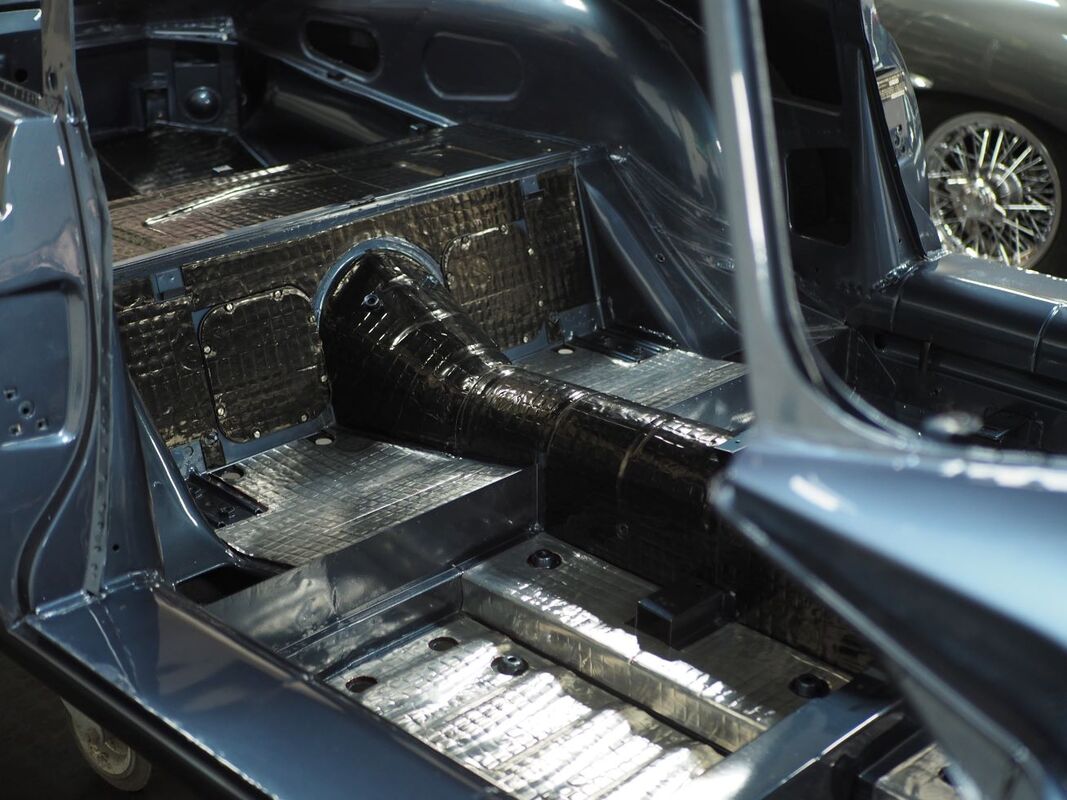
The moment had finally arrived for the Opalescent Dark Blue tub to be delivered back to the workshop to continue the build. Hours of pain-staking polishing in the paint shop had paid off to achieve the highest standard possible. Tempted to leave it as a piece of artwork in its current state, we wasted no time measuring, cutting to size and installing the many sections of sound-proof insulation to the floor pans, footwells, transmission tunnel, rear bulkhead and boot area. A total of 32 hours was spent on this one task alone which goes to show the depths of detail we go to with every restoration.
Now safe in the knowledge that the cabin will be as quiet as possible when out on the road, and cool due to the insulation sheets deflecting the heat from the engine and gearbox, it was time for the remaining panels to be delivered from the paint shop. Transformed into ODB we welcomed back the bonnet, both doors and rear hatch along with the accompanying sugar scoops, door and rear hatch hinges, oval bonnet washers, fuel filler flap and spring, quarterlight seal channels, bonnet strengthening panels, door check straps, and all A and B-post seal channels.
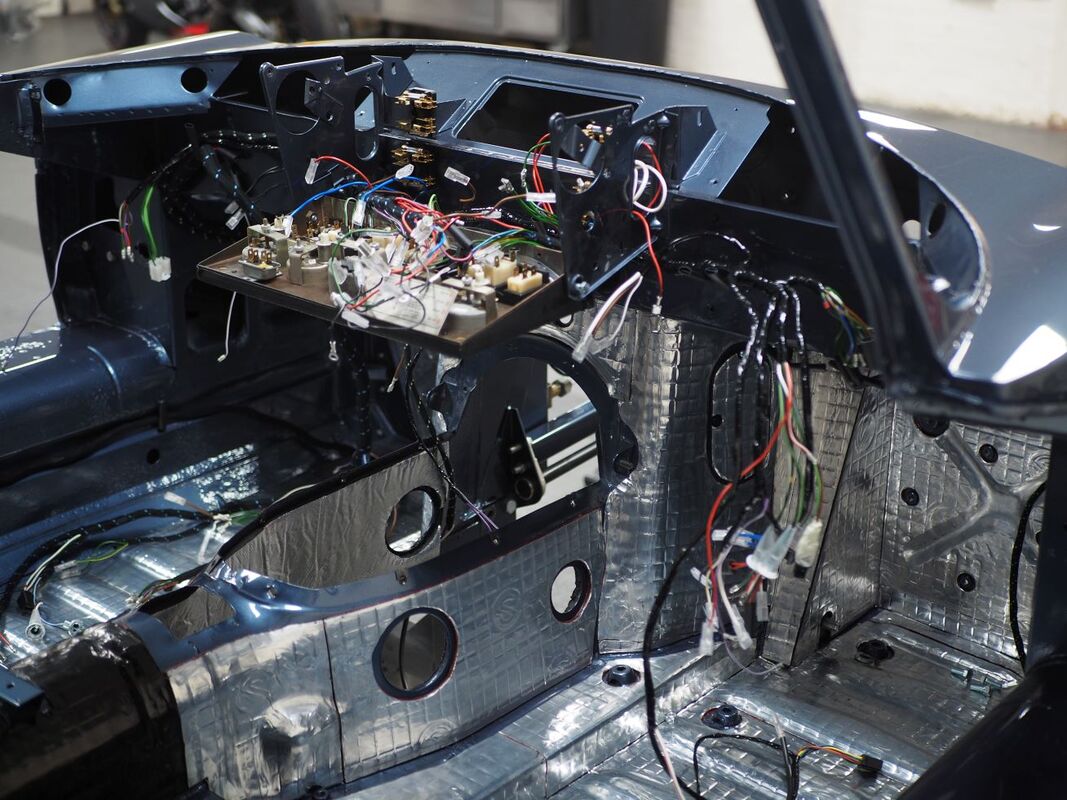
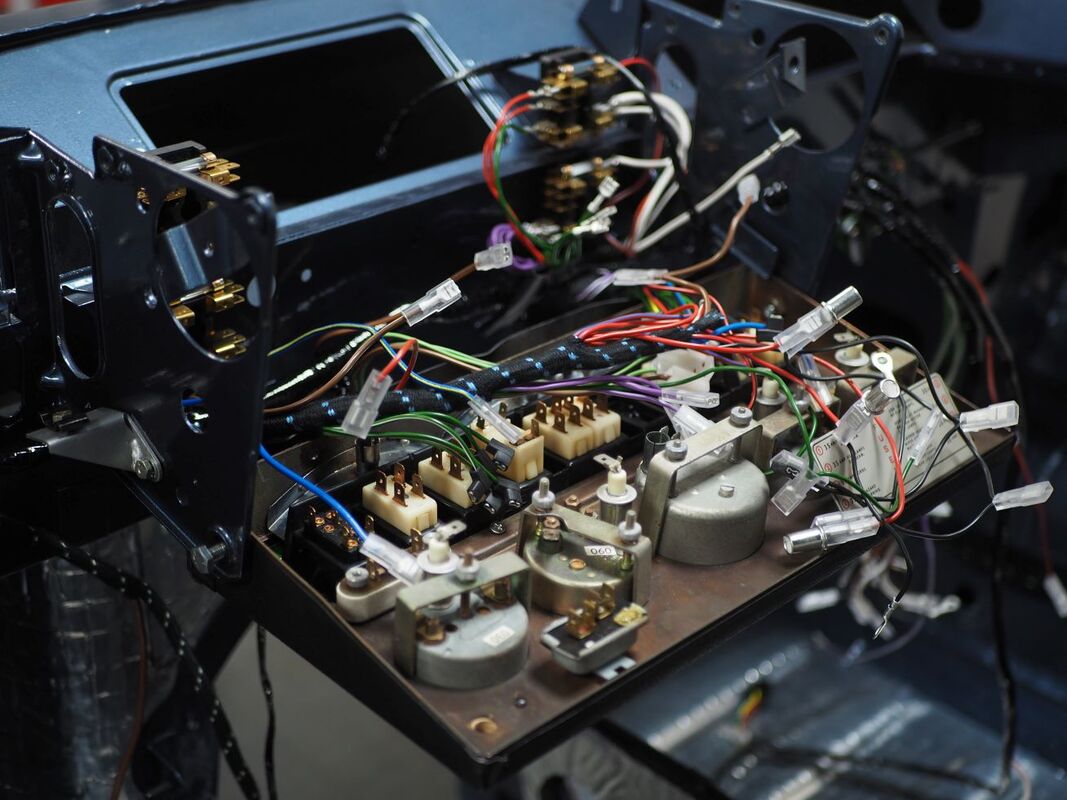
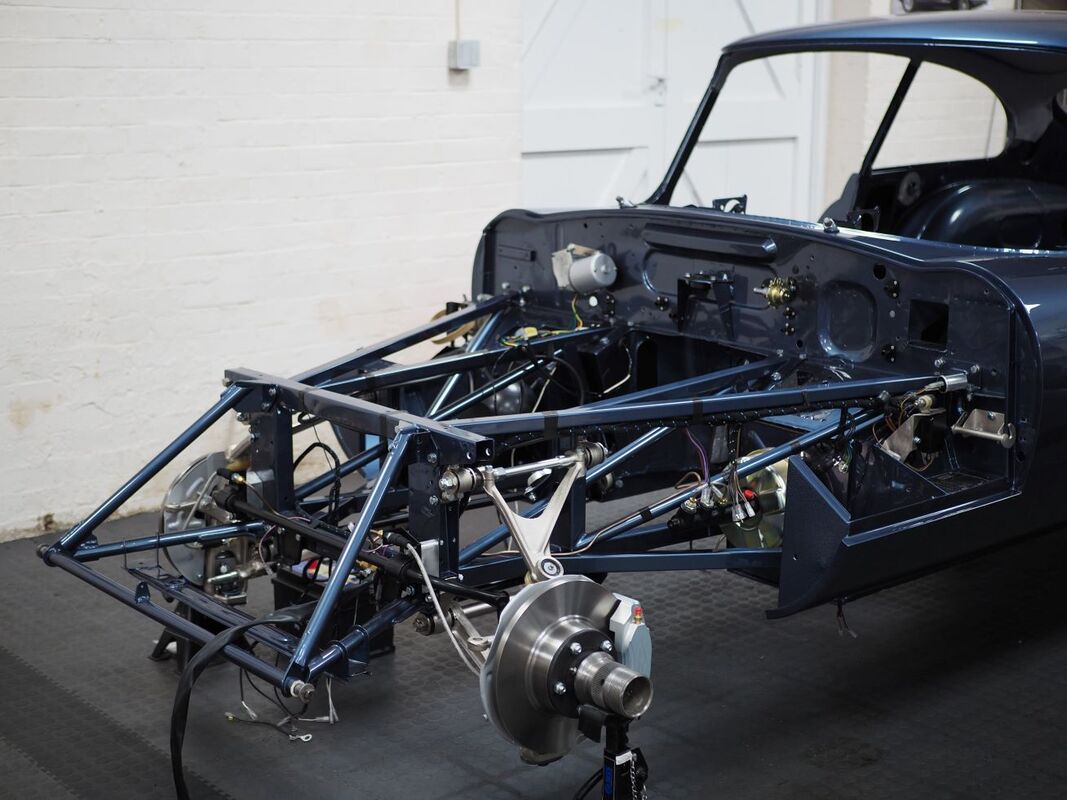
With the entire car back in the safety of the workshop, and assigned to its own designated bay in the restoration room, we could start where all other builds begin their restoration journey's - wiring. Vital electrical veins slowly start to run along the length of the car supplying power to all related components and upgrades. At this early stage we we ideally like to get ahead of ourselves saving future time, so we run the wires for the rear lights, interior lighting including the dash, boot internals and the rear number plate wiring. This particular client has specified some additional upgrades for when they are touring in Europe so sub-looms were made and fitted for when we install the air-conditioning and power steering systems.
Now it was on to the front suspension. Waiting in the wings were a myriad of original components that had either been powder coated or electroless nickel plated, instead of replaced with repro, which could now be offered back up to the car. Refurbishing original parts will always be preferable in any complete restoration as we a. know it will fit, and b. it has and will stand the test of time. Hub knuckles, upper and lower wishbones, steering arms, and handbrake components are just some of the parts that are nickel plated, whereas ARB links and mounts, torsion bars, mud and stone shields are taken to be powder coated.
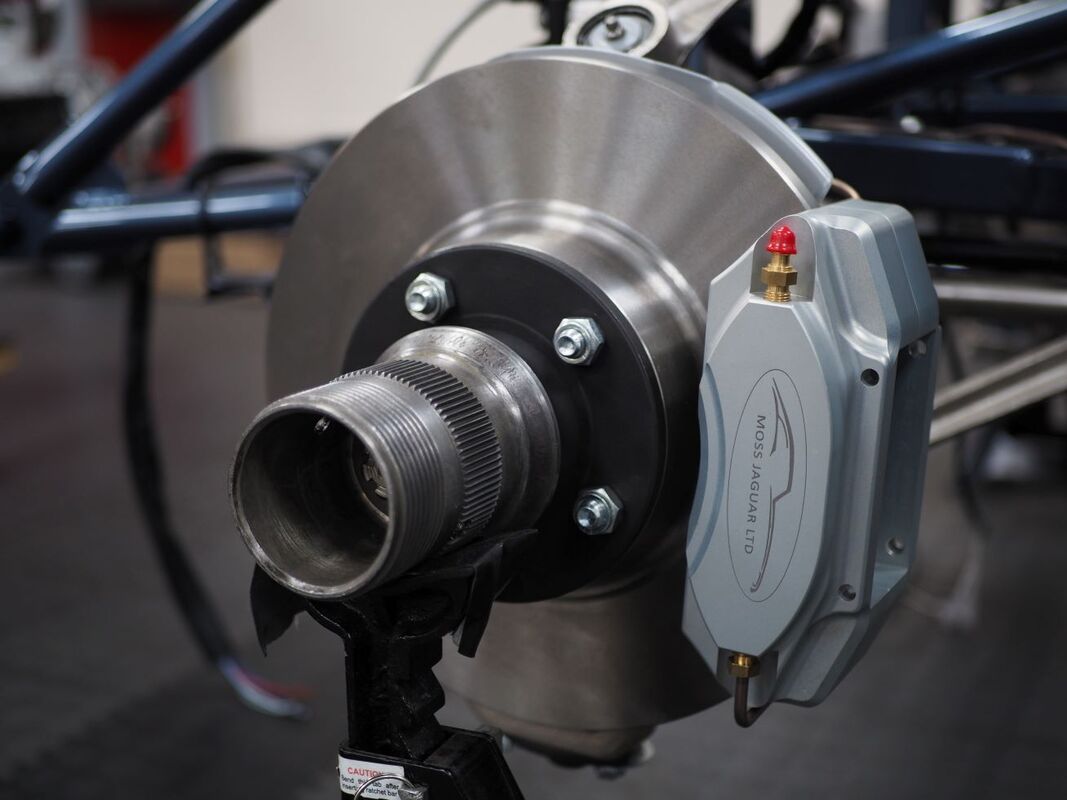
Before the rebuilt IRS unit could be reunited, brake, clutch and fuel lines needed to be hand bent to the structure of the car before being fitted. Cunifer brake and clutch lines replace unreliable copper predecessors, and nylon is used on the fuel system to keep this lovely old girl enjoying the open road. A new galvanised fuel tank always replaces the original the car arrived with to eliminate corrosion contaminating the fuel system. Finally, with a set of our personalised Knockhill front brake calipers we could start to see real progress on the build.
Before the rebuilt IRS unit could be reunited, brake, clutch and fuel lines needed to be hand bent to the structure of the car before being fitted. Cunifer brake and clutch lines replace unreliable copper predecessors, and nylon is used on the fuel system to keep this lovely old girl enjoying the open road. A new galvanised fuel tank always replaces the original the car arrived with to eliminate corrosion contaminating the fuel system. Finally, with a set of our personalised Knockhill front brake calipers we could start to see real progress on the build.
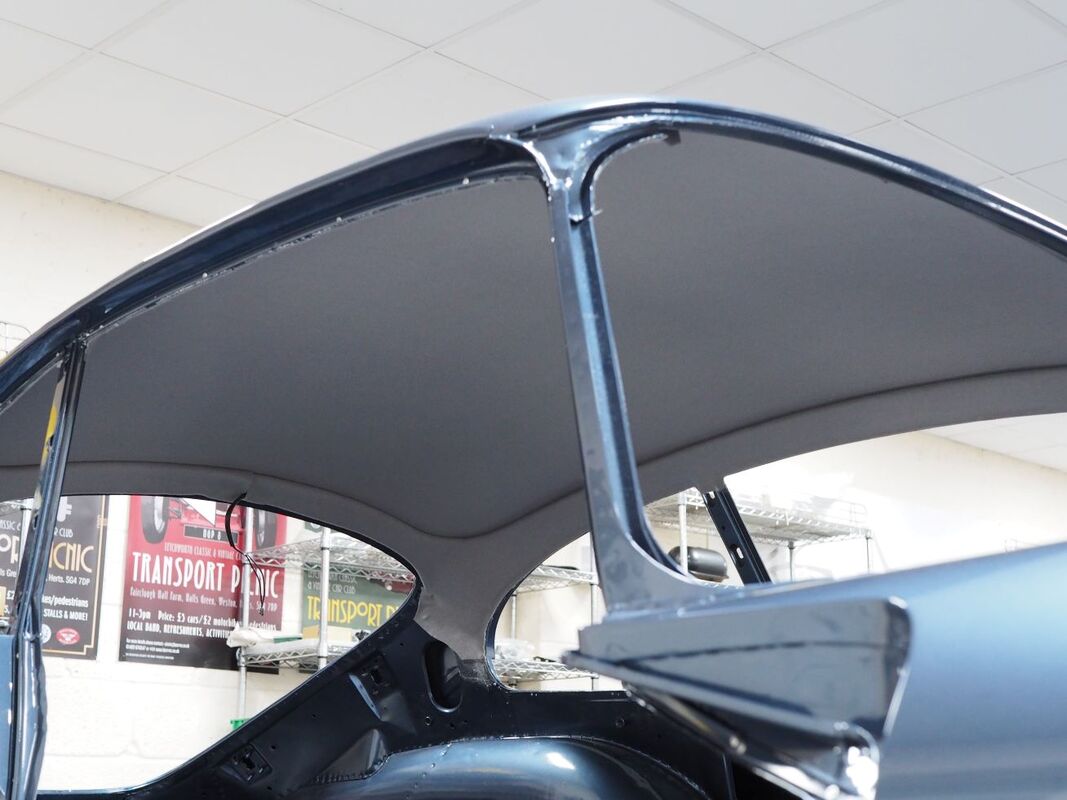
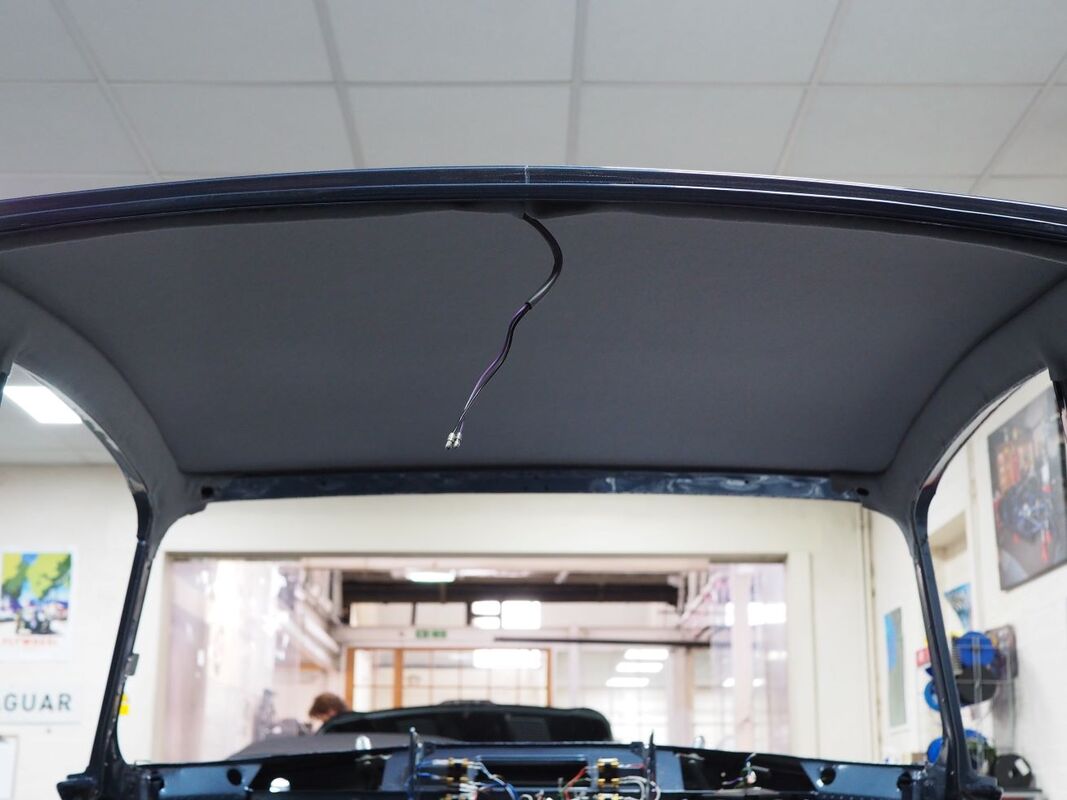
The time had come for us, and the client, to start thinking about the interior. Back on the production line in March 1970, the US market specified Regency Red with a Black interior which the customer didn't want to revert to. Instead, a romantic red replaces the black making it a more inviting place to sit whilst touring across Europe. But until we could start the necessary trim works, the first stage was to start with fitting the period correct grey wool headlining.
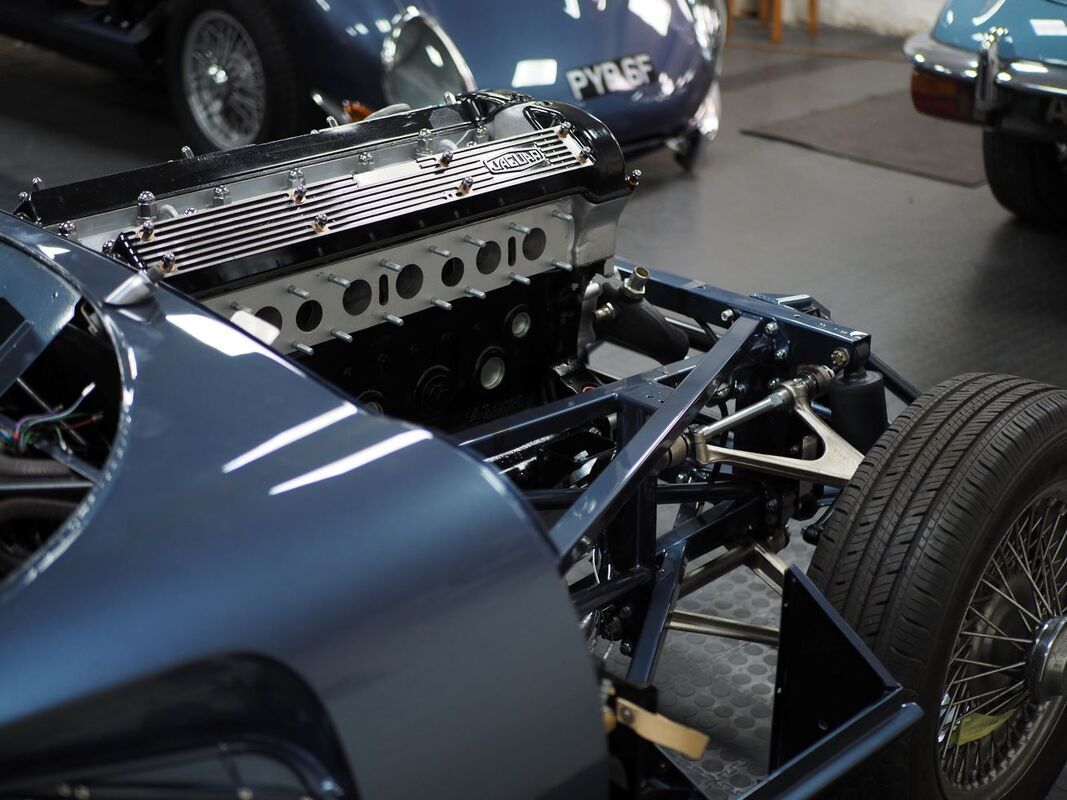
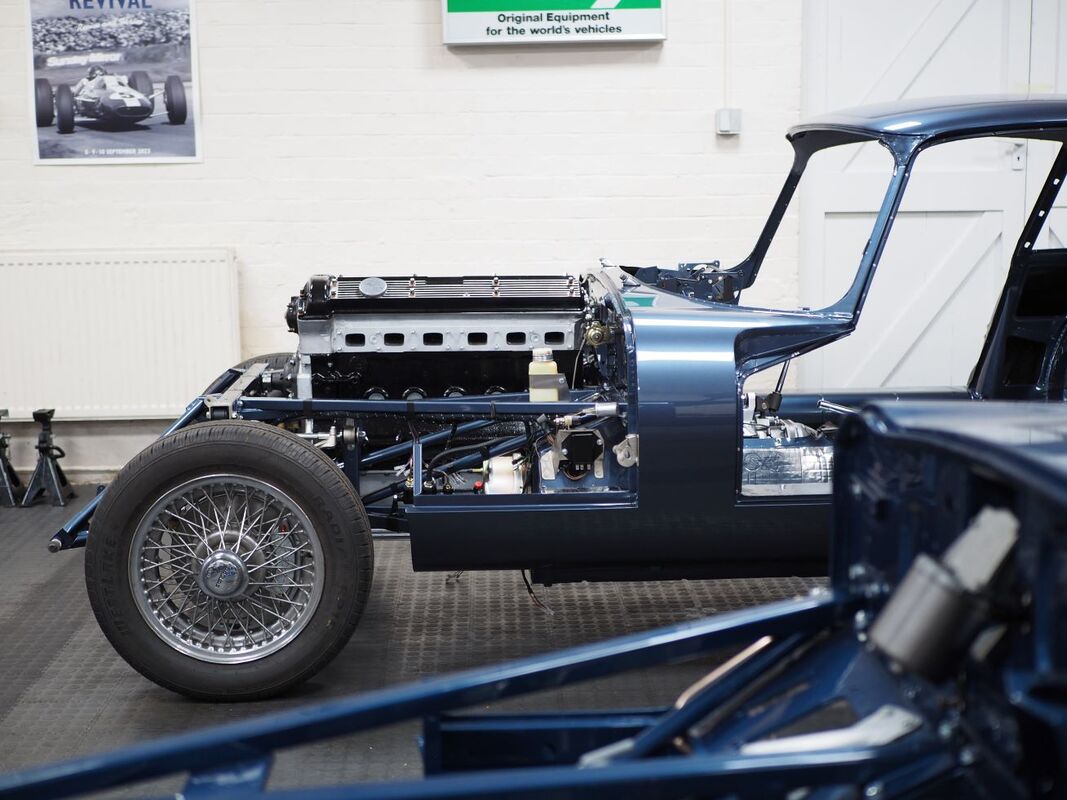
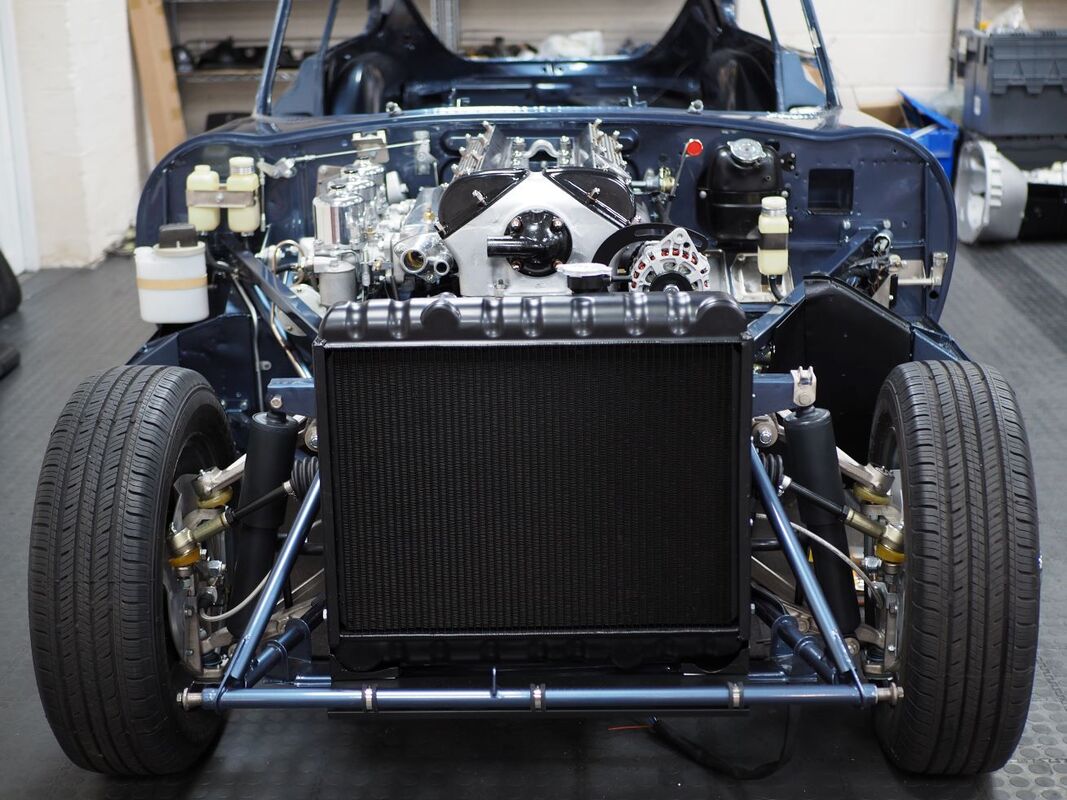
We were now at the stage with the front suspension and engine bay build where we could reintroduce the heart of the car - the engine and gearbox.
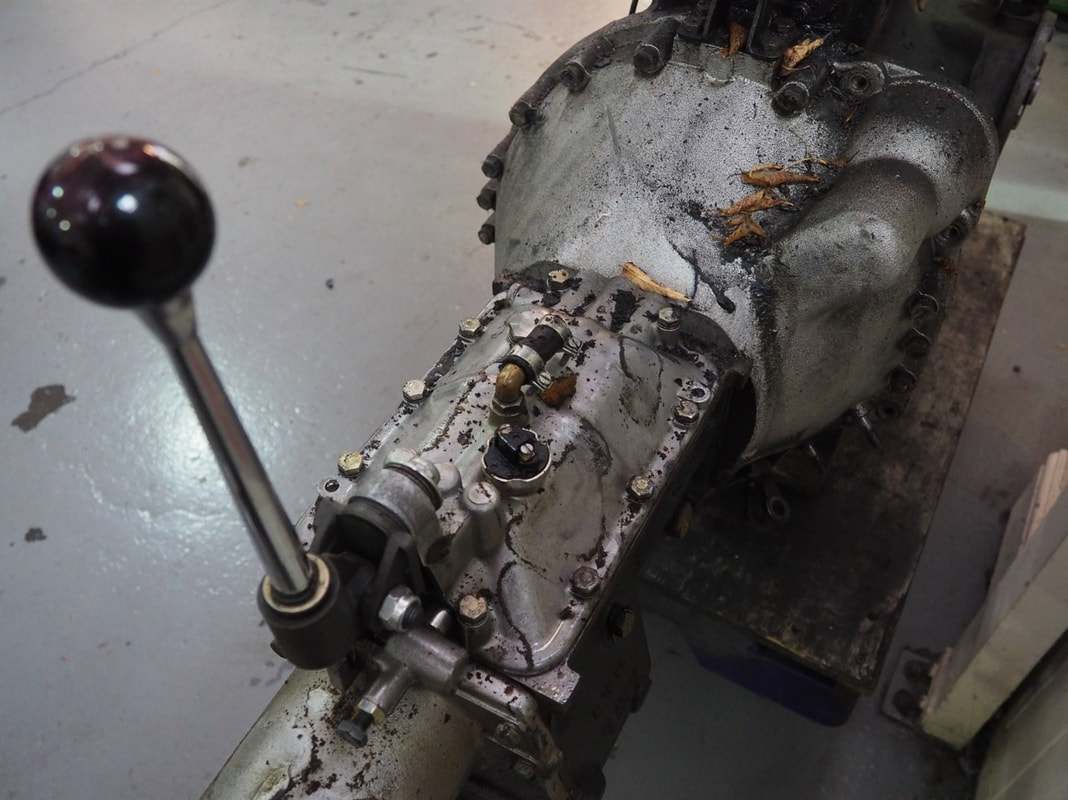
With this 2plus2 being a completely different beast altogether, the Jaguar gearbox has been fitted with an overdrive unit instead of a 5-speed box. By changing the ratio of the gearbox whilst driving, the client will benefit from sweeter gear changes when on continental roads.
Once the engine was in position, and there was sufficient clearance on the transmission tunnel to house the overdrive unit, we could continue with building up more of the engine bay, front suspension and drivetrain. Connecting the engine and gearbox to the overhauled IRS unit is an uprated propshaft replacing the original that arrived with the car. Radius arms soon followed allowing us to reattach the rebuilt pedal box.
When installing upgrades such as air-conditioning or power steering, we always find these are much easier to fit when the engine has been removed so this was the perfect time to begin the loom work for both systems. We always encourage restoration customers to have power steering fitted, if the history of the car allows, as it makes a huge difference especially when on long tours.
Finally, we could take the set of rebuilt Burlen Triple SU carbs out of clean storage and mount them pride of place giving that wow factor when the client lifts the bonnet.
