1963 JAGUAR E-TYPE SERIES 1 3.8 LHD OTS
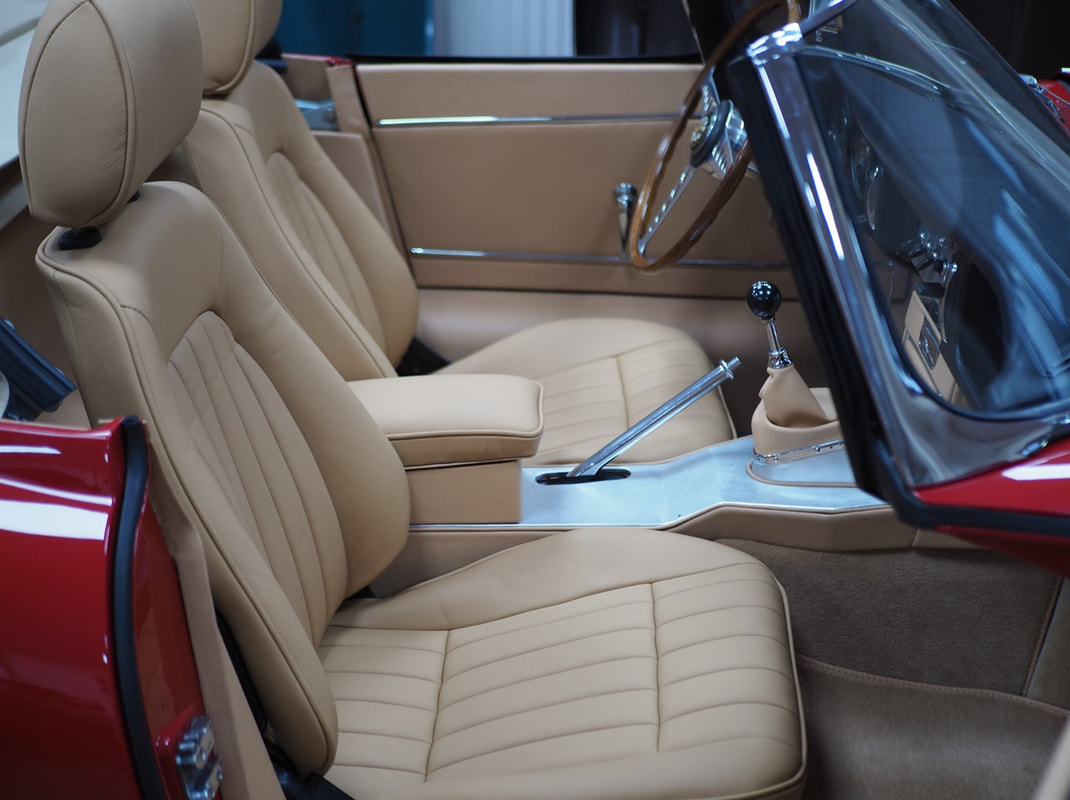
Originally built for the US market in June 1963, this Series 1 3.8 OTS previously boasts a 21 year ownership with its very first owner before being sold in 1985 to its second. Having remained in the Maryland and Delaware areas for the majority of its two owner life until a customer from France simply had to have the early example, we were thrilled when the car was entrusted to us to carry out a full end to end restoration. Knowing it had been subjected to decades of ideal US conditions, albeit on the East coast, we were confident that this donor car would be a prime candidate for the journey. Our brief? To restore this roadster back to its original Jaguar Carmen Red with a Black hood, and to replace the tired Red interior to an inviting Biscuit.
At the beginning of every restoration project, we like to outline the road ahead with the customer and always encourage their involvement at every milestone. It's a once in a lifetime journey that cannot be entered in to lightly, and to be able to form a close working relationship with the customer right from the get go is one of many highlights. In the case of this Series 1 3.8 project, one of our obstacles was that the client was based outside of the UK meaning that a lot of our interaction wasn't face to face. This meant managing the project in a whole new light.
On the day that we received the car, we knew instantly that the customer wanted to be involved as much as possible. So much so that they had already made a start on the initial strip down of the car which can work in our favour, but can also work against us in terms of cataloguing parts and components. With the customers knowledge and past history of classic car restoration, and with their enviable classic car collection, we felt assured that we would have the right amount of support throughout this project.
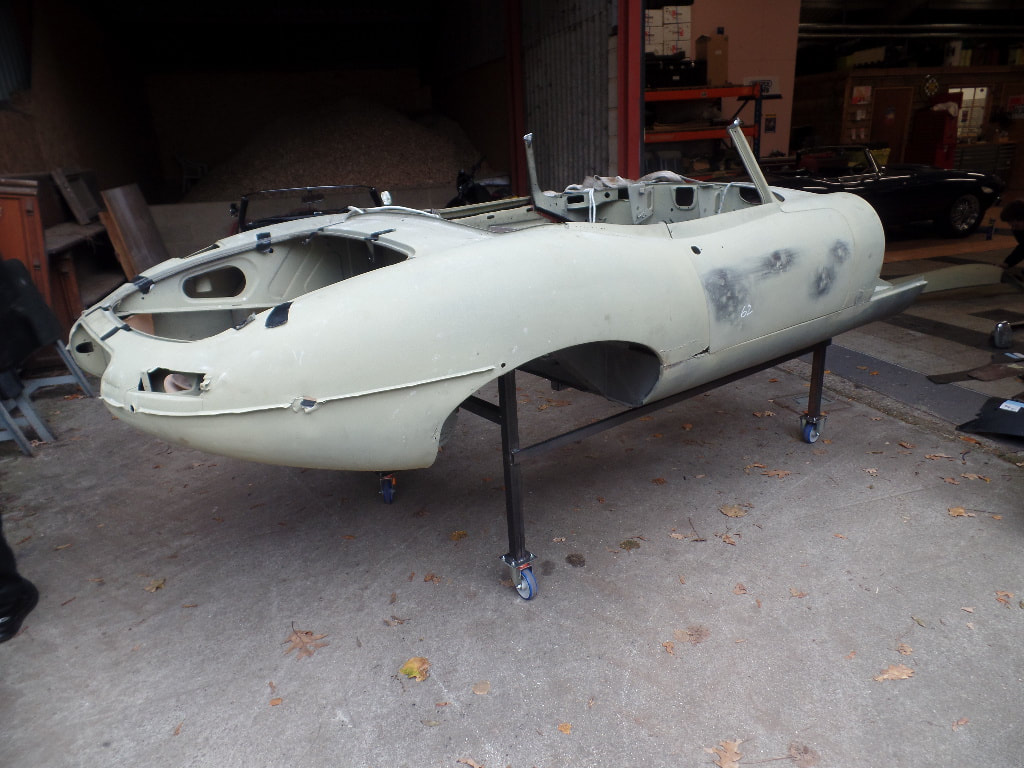
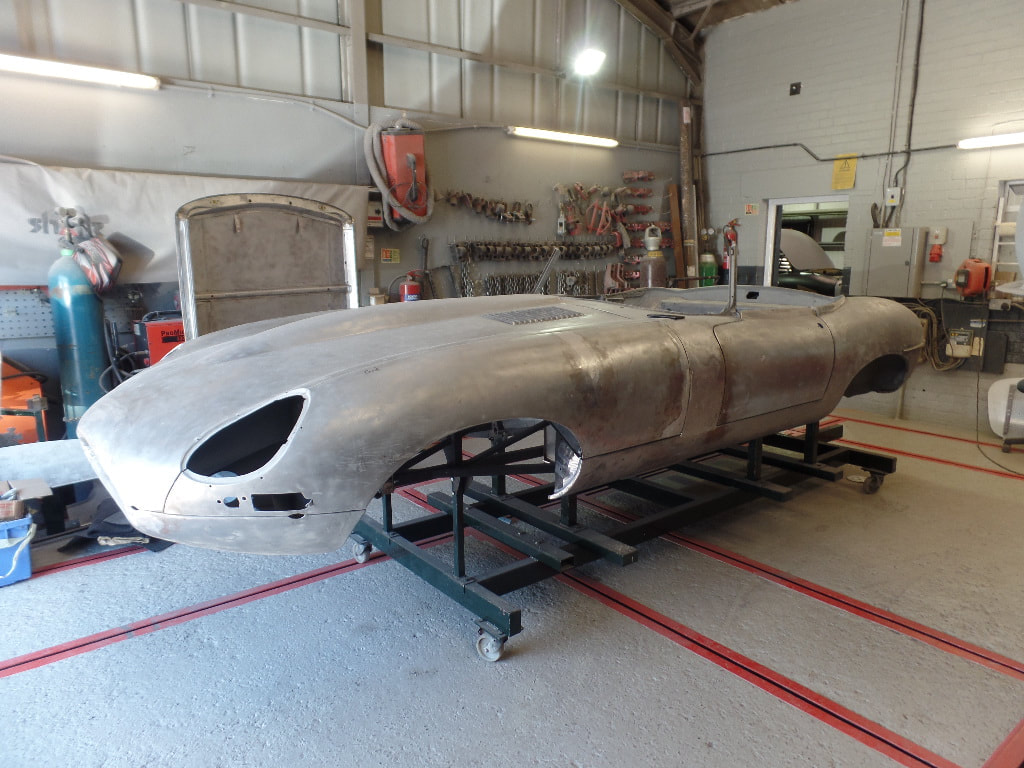
So we started this build where the customer had left off, side stepping the initial strip down of the car and straight in to the invasive and investigative blast and panel work stage.
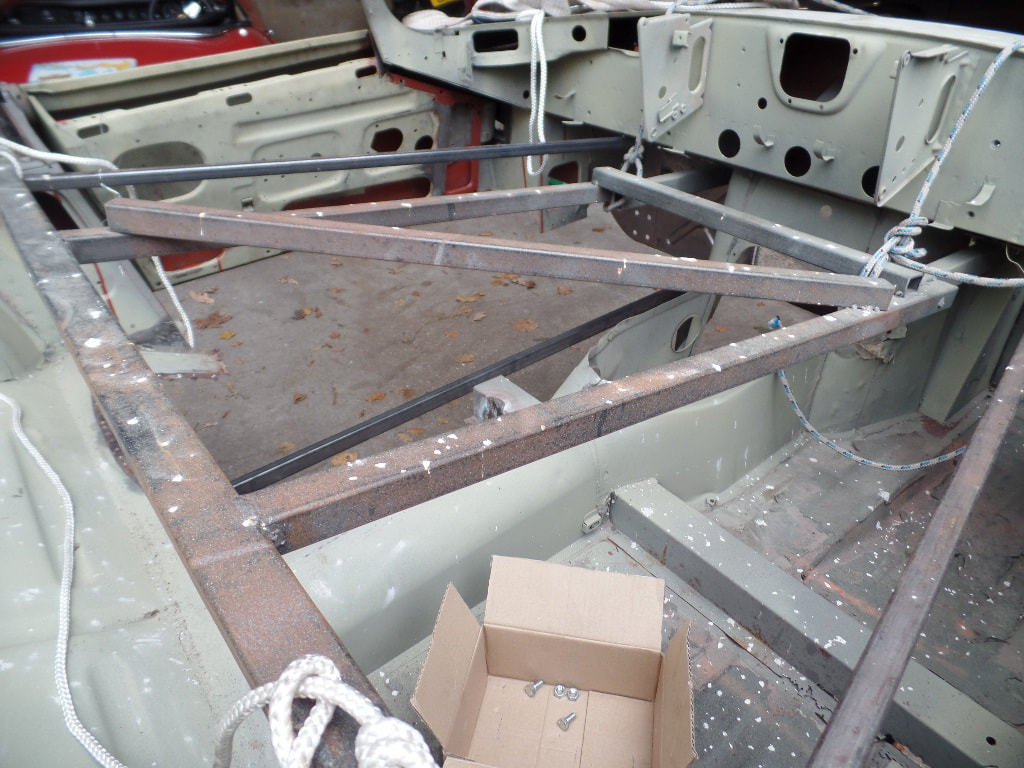
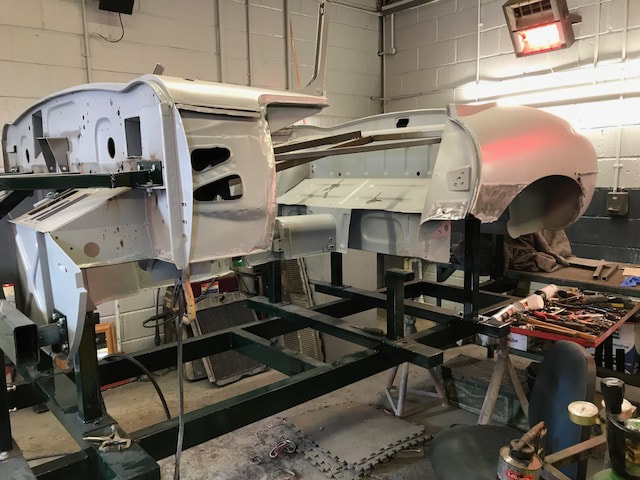
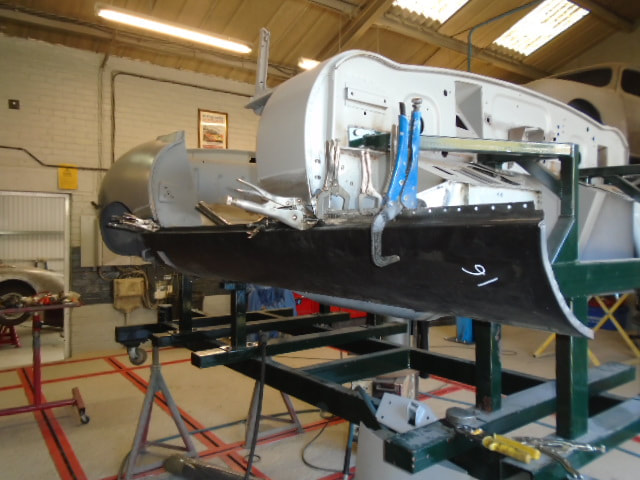
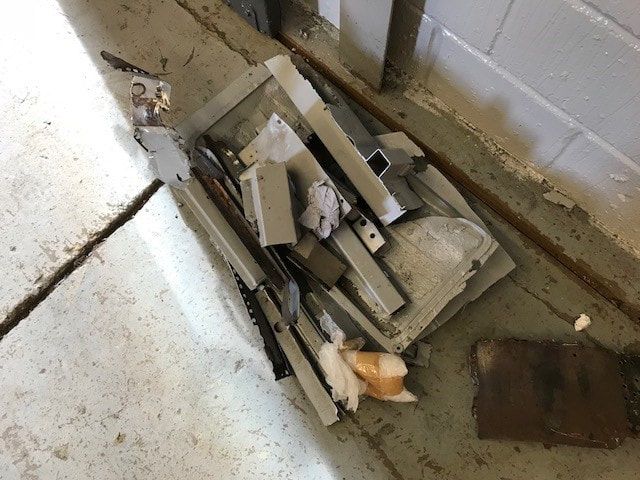
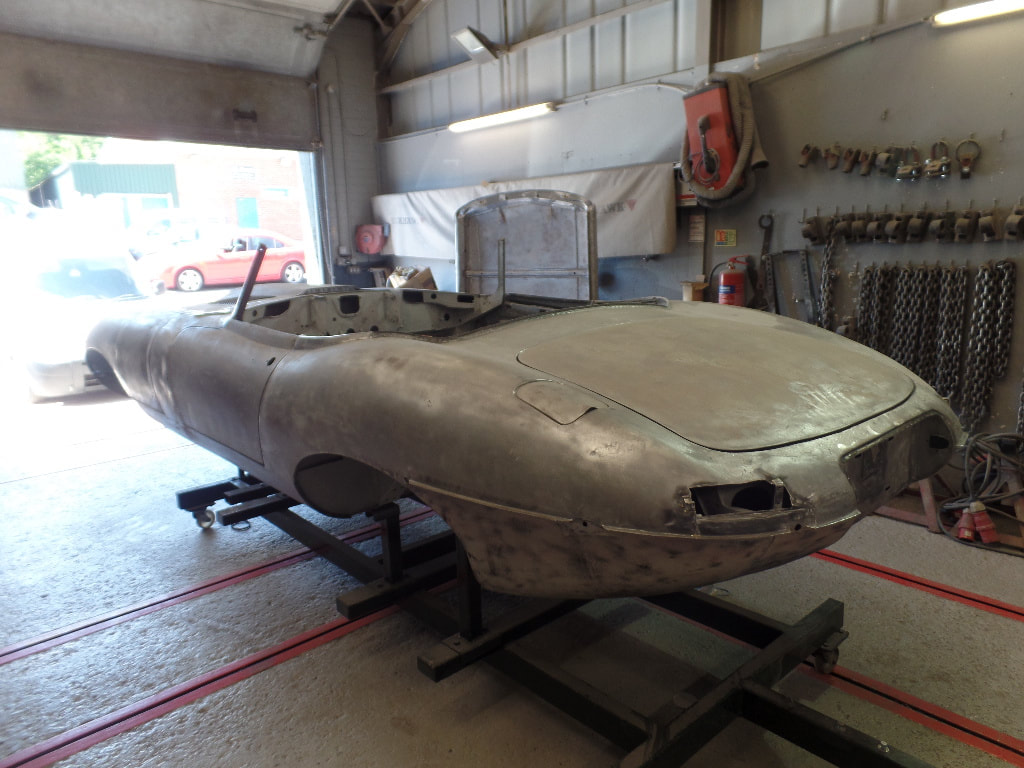
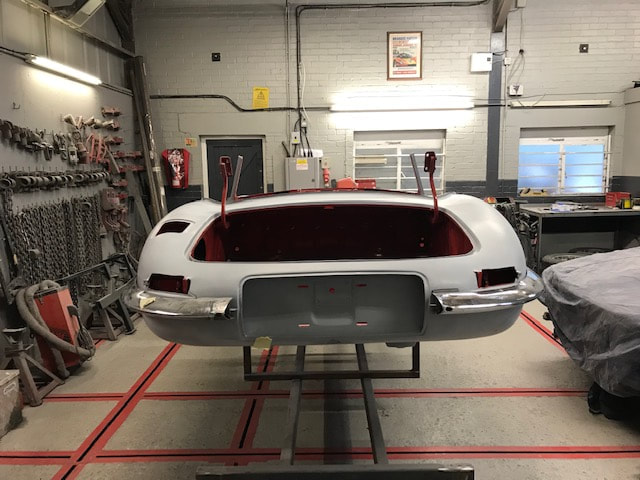
Now on the jig we could now get a clearer idea of where to focus our attention to. We started by removing the floors, inner and outer sills, bulkhead panels, the floor cross member, and carrying out various repairs to the transmission tunnel. We also made the call to remove the boot floor and the lower quarter panels and once all were replaced with new, the customer had the assurance knowing that the car would happily take on another 60 years of touring.
Sill stiffeners and webbing shortly followed after the customer specifically requested for us to strengthen up the sills, so a tube that runs the length of the these was welded in to accommodate his wishes. Next it was to focus on the doors which can take hours of adjustment - both before and after the paint stage. Necessary repairs were made to each one before being trial fitted and precision gapped back on the shell. Meanwhile at the rear of the car, apertures for the rear lights were lead loaded and various repair works were made to the rear wheel arches. Once we and the customer were satisfied with the final structure and form of the body, we could turn our attention to altering the boot lid gap and trial fitting the brightwork.
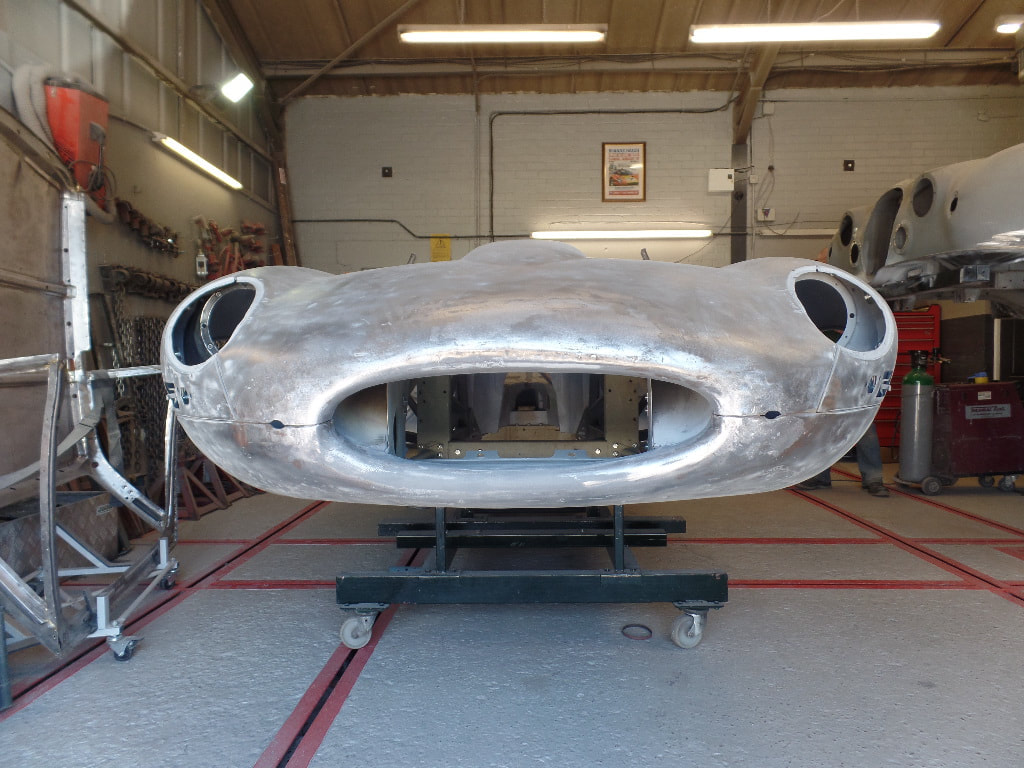
With every one of our E-Type restorations, our panel work stage is carried out in two phases. The first is the tub (from the rear to the bulkhead), and the second is on arguably the most unmistakable and evocative section on an E-Type - the bonnet. As we were able to use the cars original, we were confident that we weren't going to encounter too much in the way of cutting and welding. In order to obtain the best bonnet fit, we would always favour one that was assigned to the car on the Browns Lane production line if the quality was deemed acceptable to go back on the car. In the case of this Series 1, all that was needed were some minor repairs to the wing panels and under tray before being meticulously gapped and welded where required.
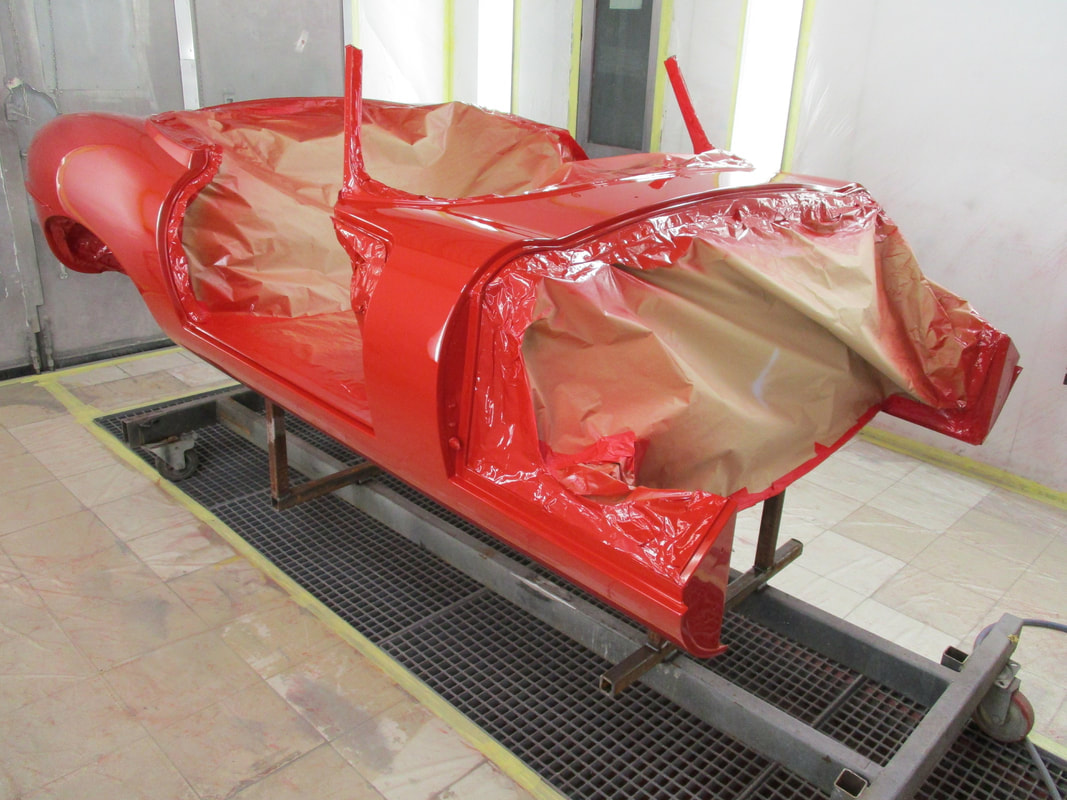
Once out of theatre we could finally start to prep the car for painting. Whilst the shell was being sand blasted inside and out, a Jaguar Carmen Red spray card was sent to France for the customer to sign off.
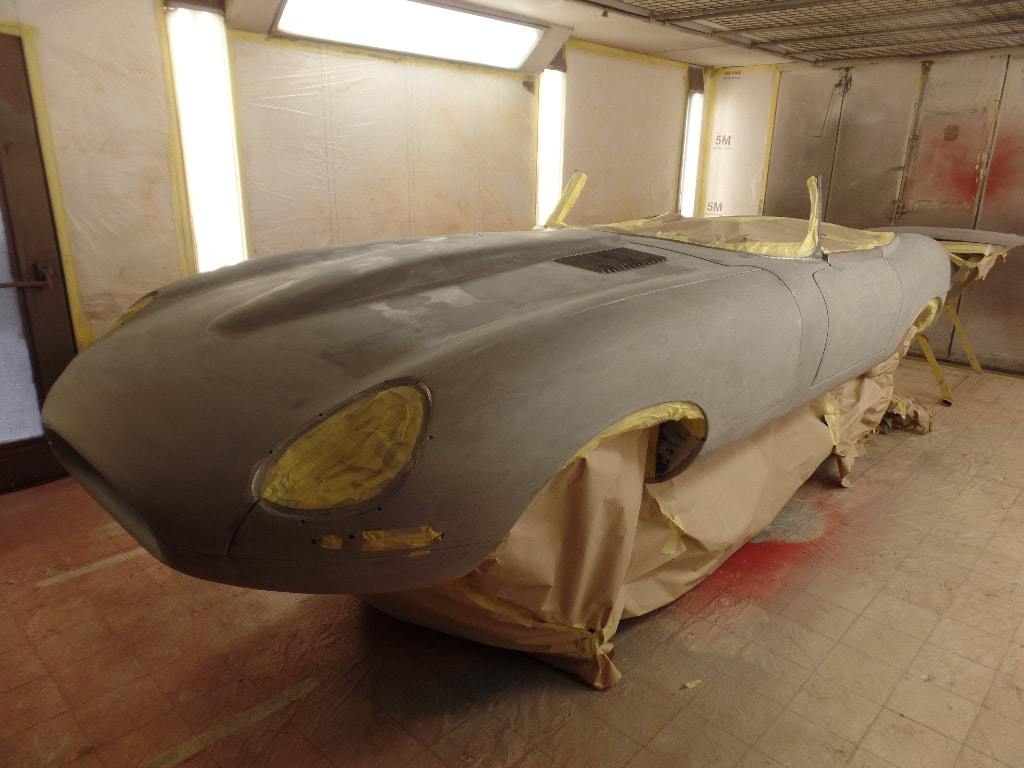
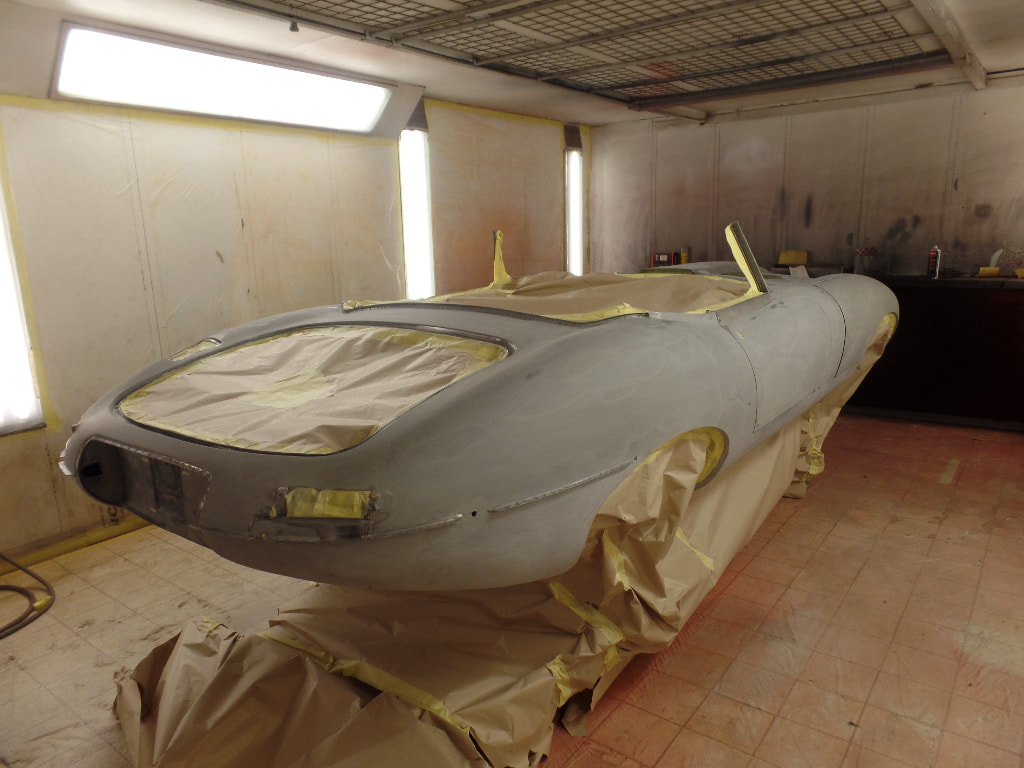
With all of the invasive, surgical panel work behind us, and each section of the dropheads form in equal alignment, we were all systems go towards one of the many memorable milestones in every restoration project. Paint. But before we could show the shell a paint gun, we first had to add a fine layer of primer to really soften and accentuate the curves of the body. Hours of priming and rubbing down are vital on every build to ensure an ideal surface for the paint to be applied to.
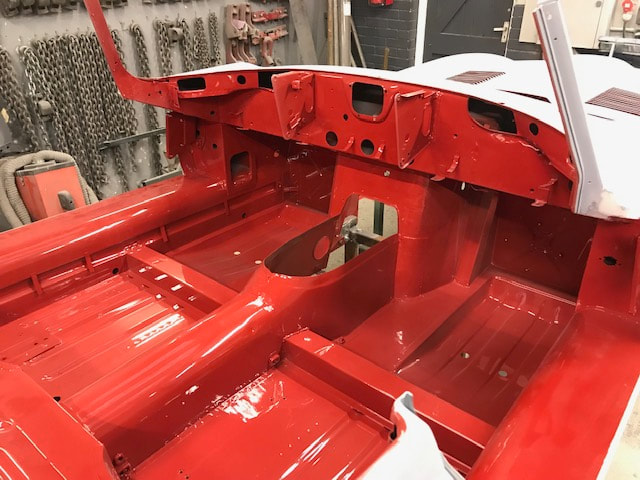
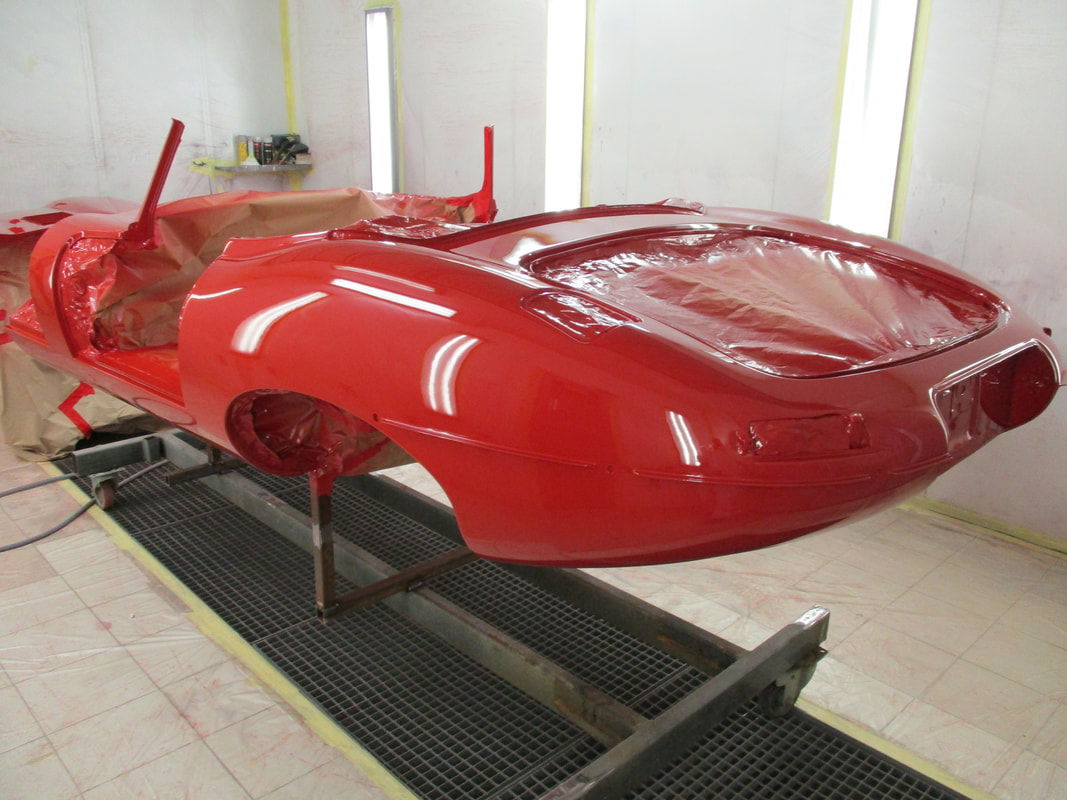
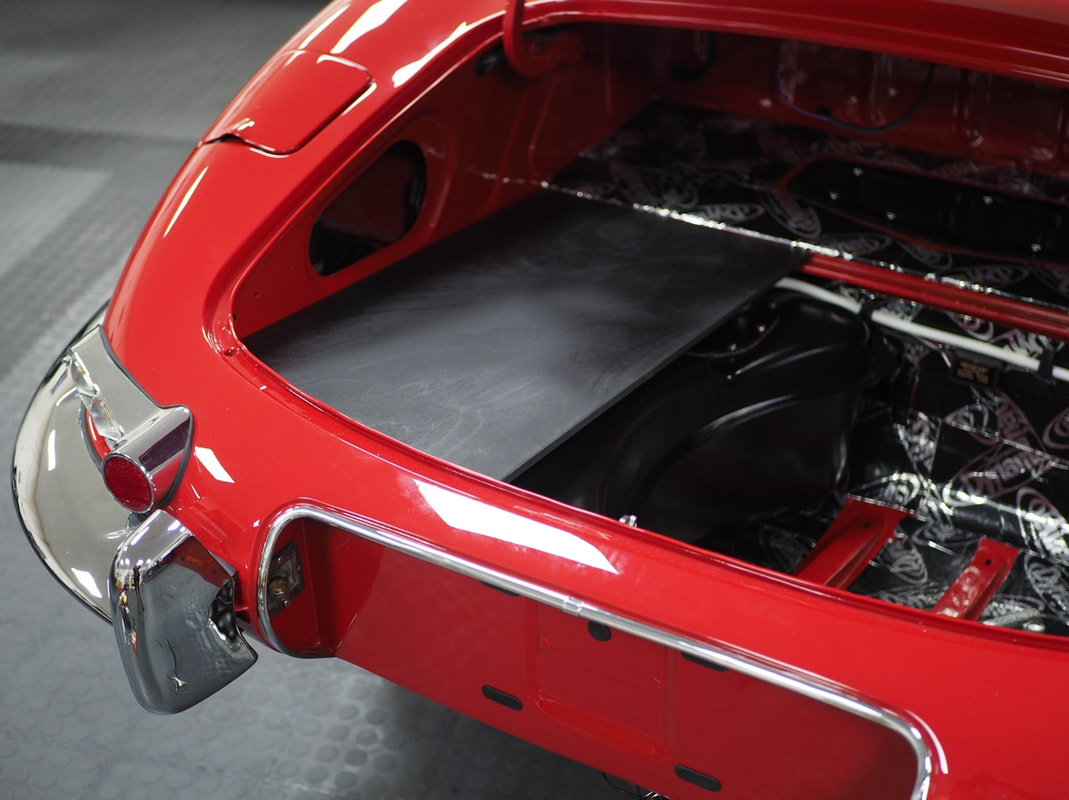
As with every complete restoration, the first lick of colour lands on the inside of the tub, the bulkhead, and in the boot area. This is the first glimpse the client gets of how the chosen colour will look, and a clear indication as to how the car will look once fully enrobed in original Jaguar Carmen Red. At this stage we also make sure that the chrome work is trial fitted and adjusted accordingly to ensure that once painted they have the perfect fit. Once painted then follows hours of painstaking polishing to enhance the colour depth and give it that "fresh out the box" shine.
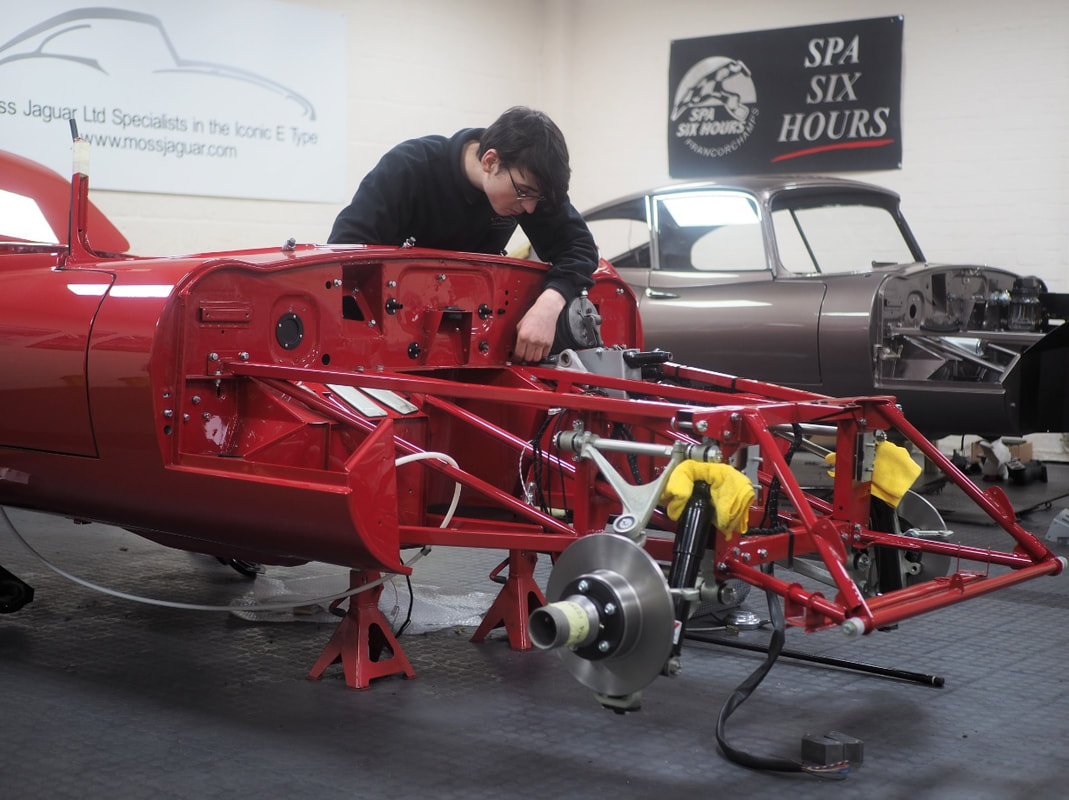
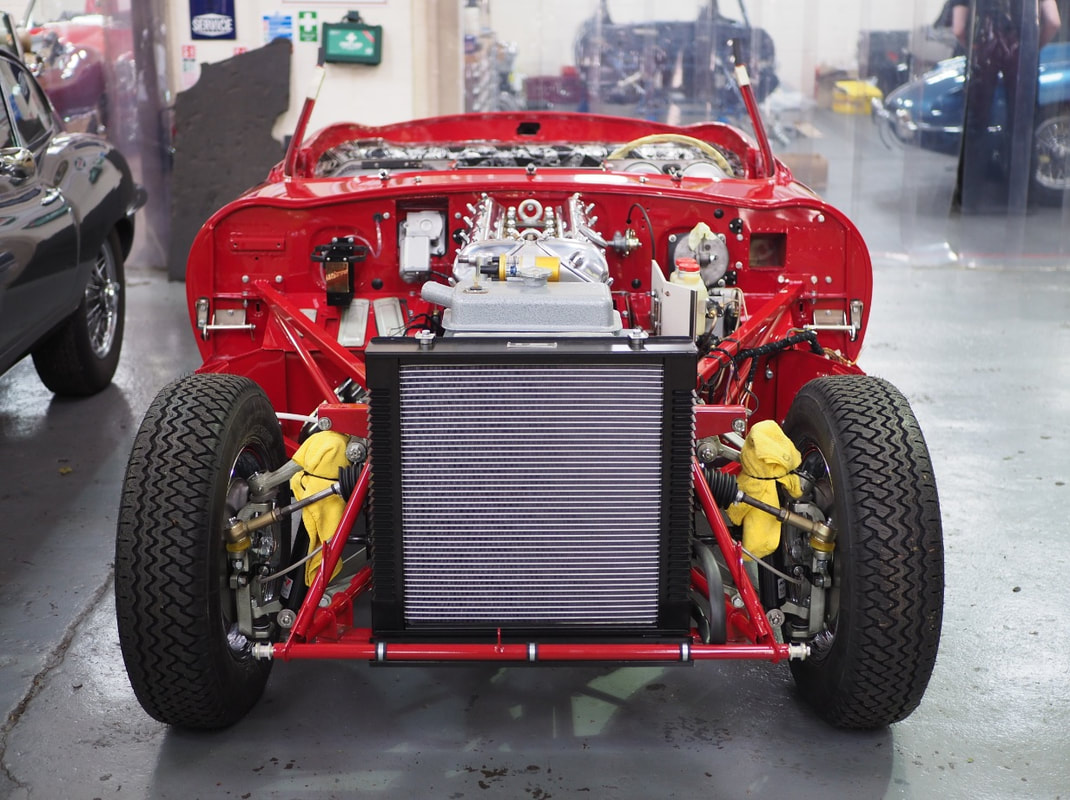
Focus now shifted to the meticulous build up of the front of the car now that the Carmen Red shell had returned from paint. Moss is now heading up the project, with Murray's support, making it his very first restoration build and is now tasked with the front suspension and finishing off the wiring.
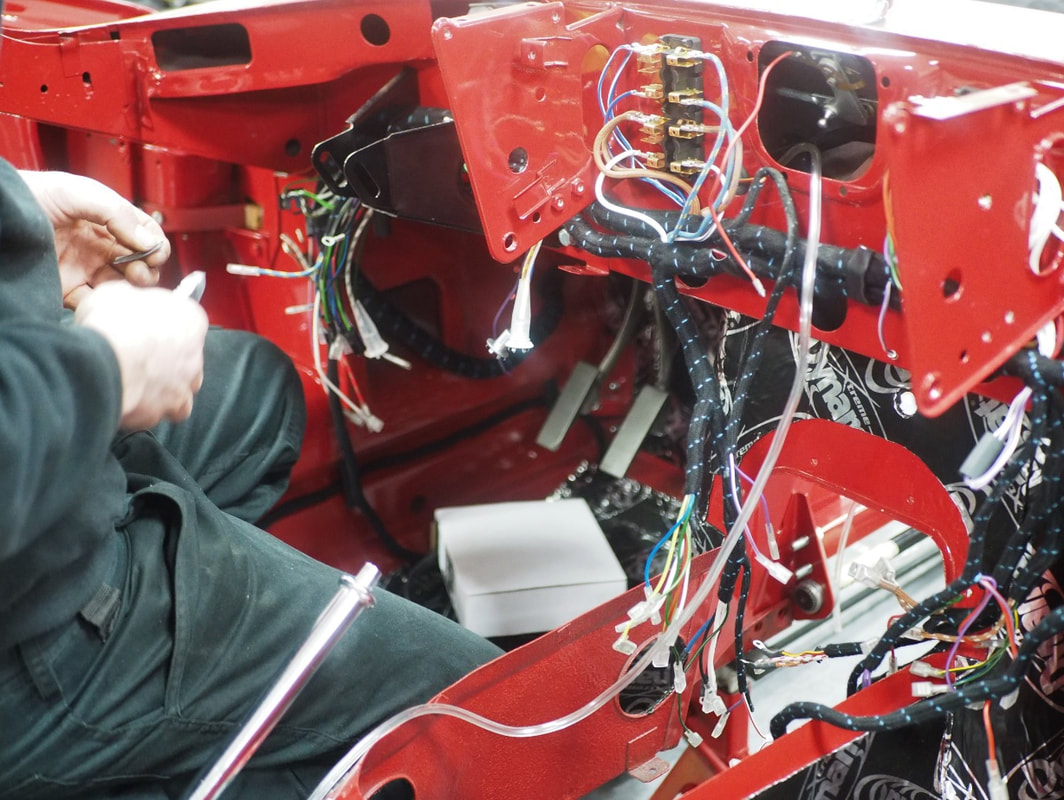
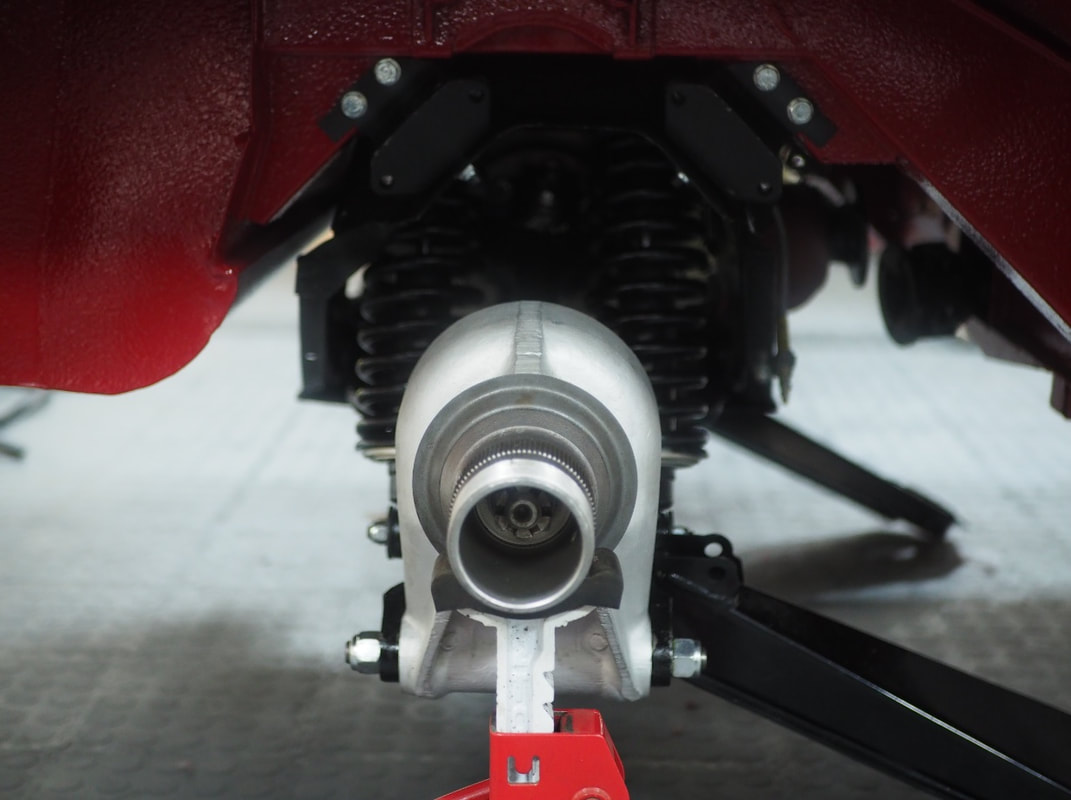
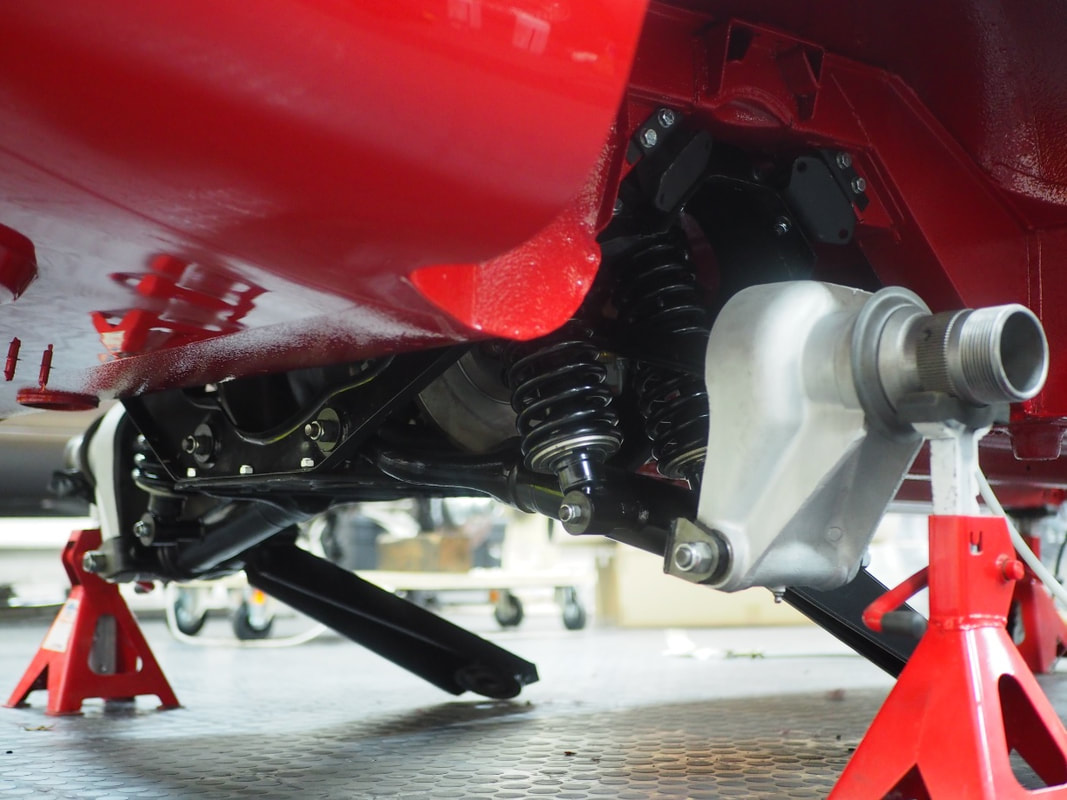
With the fusebox in place and connections set up for the essential veins of the car, the objective was to tackle the pedal box. Moss was awarded valuable time when it came to stripping the unit as it was delivered to us last year completely stripped so after the preliminary adjustments were made, the rebuild could begin with setting the pedal heights and making sure they were in line. Main components for the front suspension including the uprights, discs, and stub axles have been fitted along with the torsion bar set to the correct height which makes such a difference to how the car will look when it's in situ.
With the fusebox in place and connections set up for the essential veins of the car, the objective was to tackle the pedal box. Moss was awarded valuable time when it came to stripping the unit as it was delivered to us last year completely stripped so after the preliminary adjustments were made, the rebuild could begin with setting the pedal heights and making sure they were in line. Main components for the front suspension including the uprights, discs, and stub axles have been fitted along with the torsion bar set to the correct height which makes such a difference to how the car will look when it's in situ.
Delivered to us as a completely built unit, and saving us valuable time in the overall build, the IRS has now been fitted up to the Carmen Red shell. Normally what would take the boys no longer than an hour to install, this particular rear axle took close to a day to fit. We now have one very excited customer in France seeing major milestones being ticked off on their restoration project.
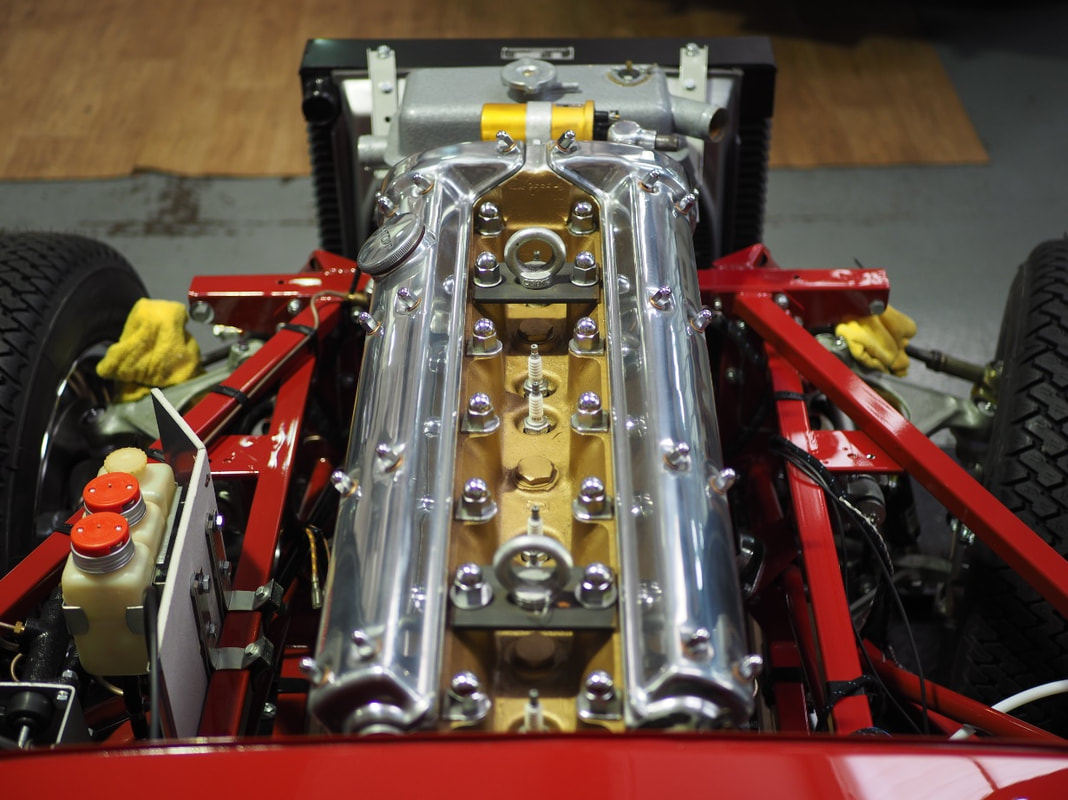
After a few months of focusing on the build up of the front suspension, our sights had turned to the next milestone on the project - fitting the engine and gearbox. However, before we could turn our attention to this memorable moment there were a handful of meticulous tasks that needed finalising in order to prepare the car to be married up to its 3.8 heart.
With the pedal box fully recommissioned and set with the correct pedal heights, the next task was to look at the steering. The steering rack was completely stripped and cleaned before being rebuilt and set up, with the column itself correctly painted.
To ensure reliability and longevity all brake and clutch lines are replaced as standard on every restoration we oversee. Cunifer replaces Copper on the brake lines and are hand manipulated and fettled to an aesthetically pleasing level. As this is a '63 original LHD 3.8 OTS, we chose to not only refer to diagrams when it came to fitting the brake and clutch lines, we also looked at the lines on an early original LHD outside bonnet latch car to make sure these would be as accurate as possible.
Also replaced as standard on all restorations is the cars cooling fan behind the radiator. In its place we put a 10-armed bladed fan from CoolCat to eliminate any potential future over-heating issues.
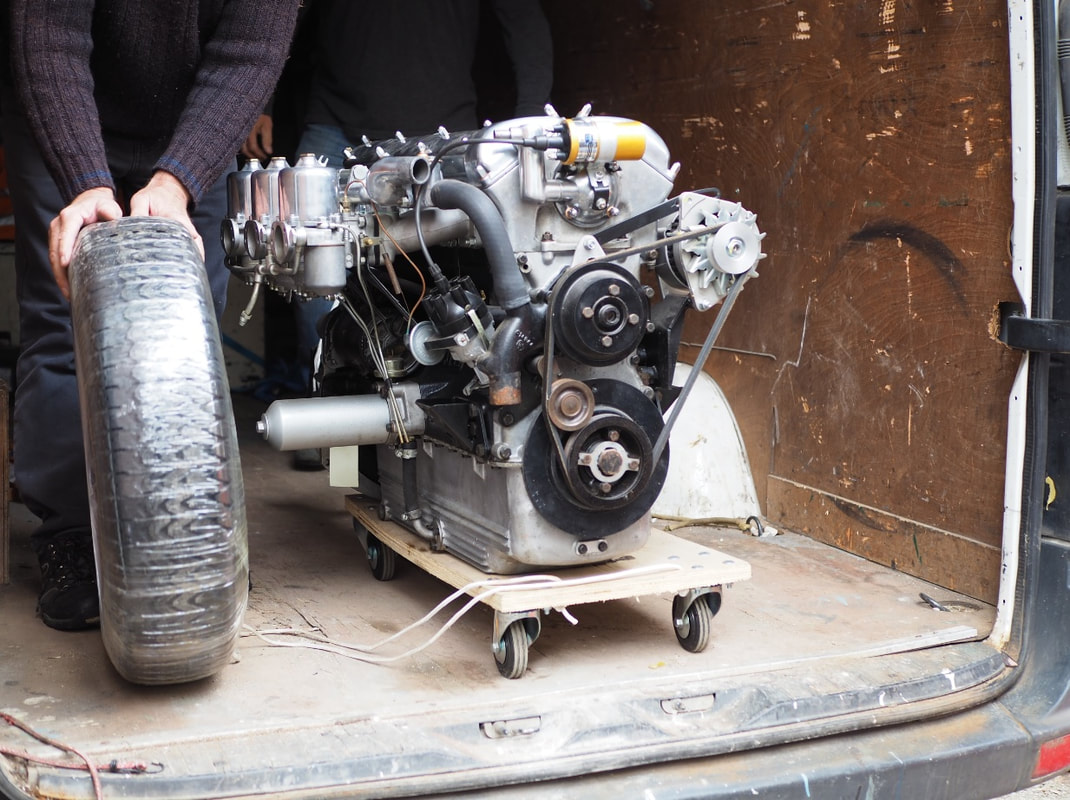
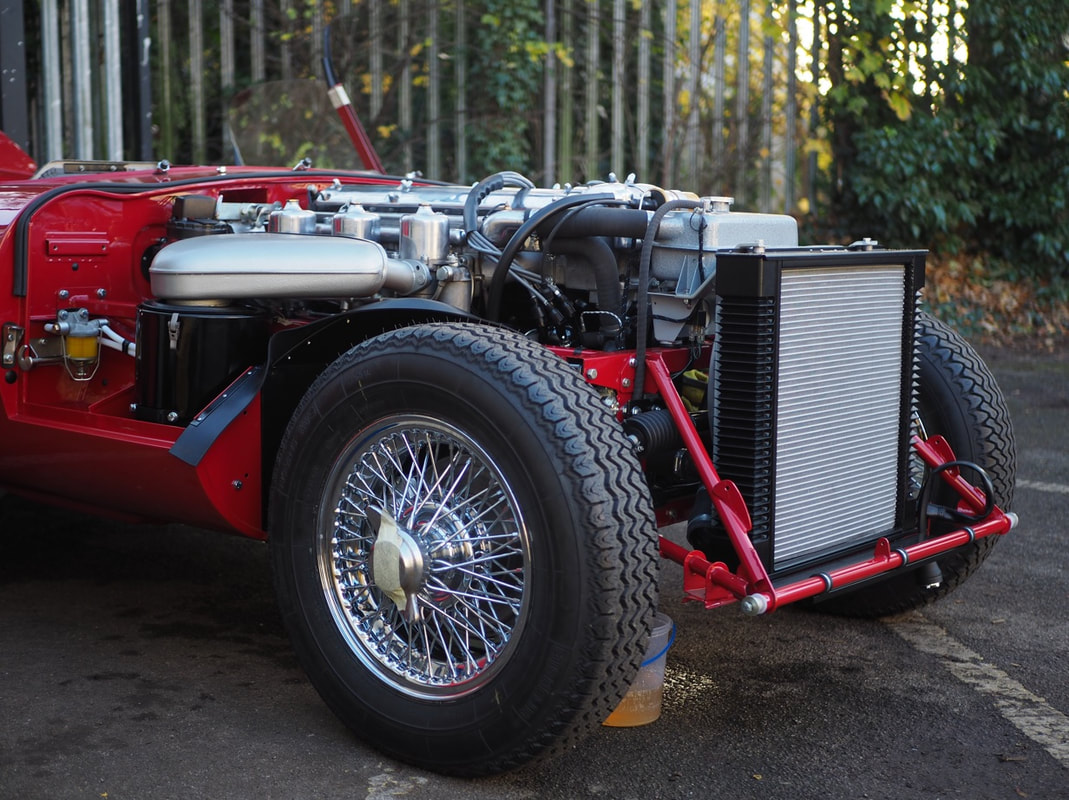
Finally with the car now rolling on its balanced wheels, the time came to lower the tub on to its 3.8 engine and gearbox marking a major milestone in the project, and one which will fill the client in France with excitement!
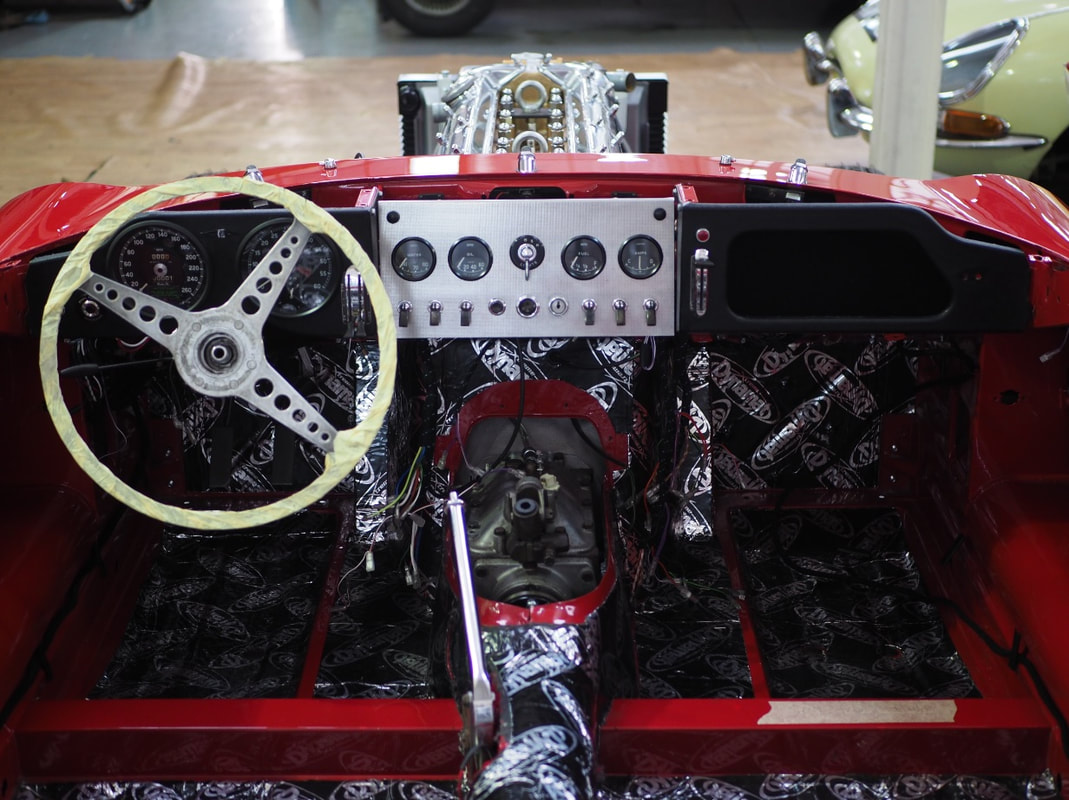
In what seemed like a short space of time, the Carmen Red roadster has been completely transformed. Not only has it been reunited with its 3.8 engine and gearbox, but its classic cockpit had started to take shape. As with every one of our customers, the restoration process is a very personal journey and one which some like to get very hands on with.
This particular customer has years of experience in the automotive industry and stripped and rebuilt a lot of the components before they were shipped over from France to our workshop and this was the case with the instruments and gauges. The cars original wiring loom was replaced with new as standard practice and this was all in place behind the dash and period correct dashed aluminium centre panel before these were fitted, thus again saving us valuable time. Finishing off the tactile trio was the original glovebox which will be holding the customers personal items on journey's to come.
This particular customer has years of experience in the automotive industry and stripped and rebuilt a lot of the components before they were shipped over from France to our workshop and this was the case with the instruments and gauges. The cars original wiring loom was replaced with new as standard practice and this was all in place behind the dash and period correct dashed aluminium centre panel before these were fitted, thus again saving us valuable time. Finishing off the tactile trio was the original glovebox which will be holding the customers personal items on journey's to come.
With the wiring firmly in position behind the dash, we could now focus on the areas that are instantly noticeable. Now that the 3.8 engine was in place, the time had come to reunite it with its Triple SU carburettors following our sign off that we were satisfied with how the customer had rebuilt them. Precious time had been saved with the customers input with the build, but we will always cast a second pair of eyes over this work from a safety and reliability angle.
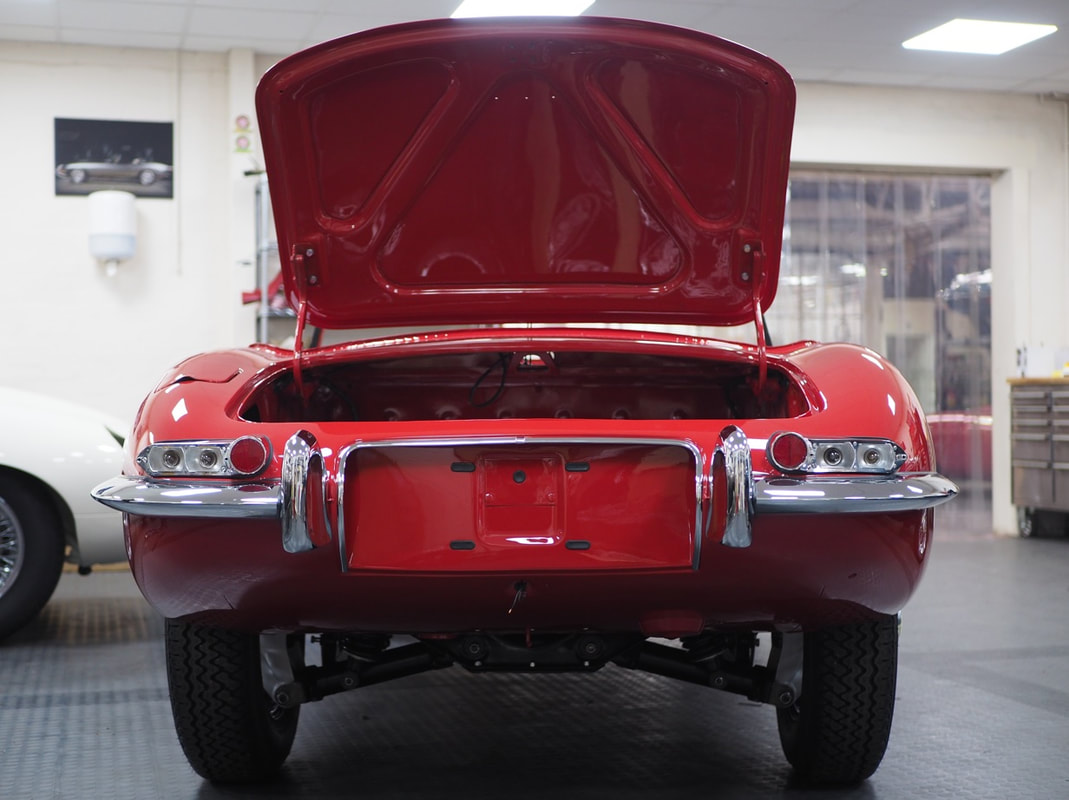
Before we could carry out the all important electrical test, making sure that the veins of the car are doing their job, we began with the rear bumper fit which then naturally led to assembling and connecting up the rear lights. Whilst at the rear of the car, the wiring in the boot was laid in place to make way for the replaced as standard fuel tank. As with every restoration, we replace any components that could potentially impact on the cars reliability and performance and the fuel tank is one of the main replacements.
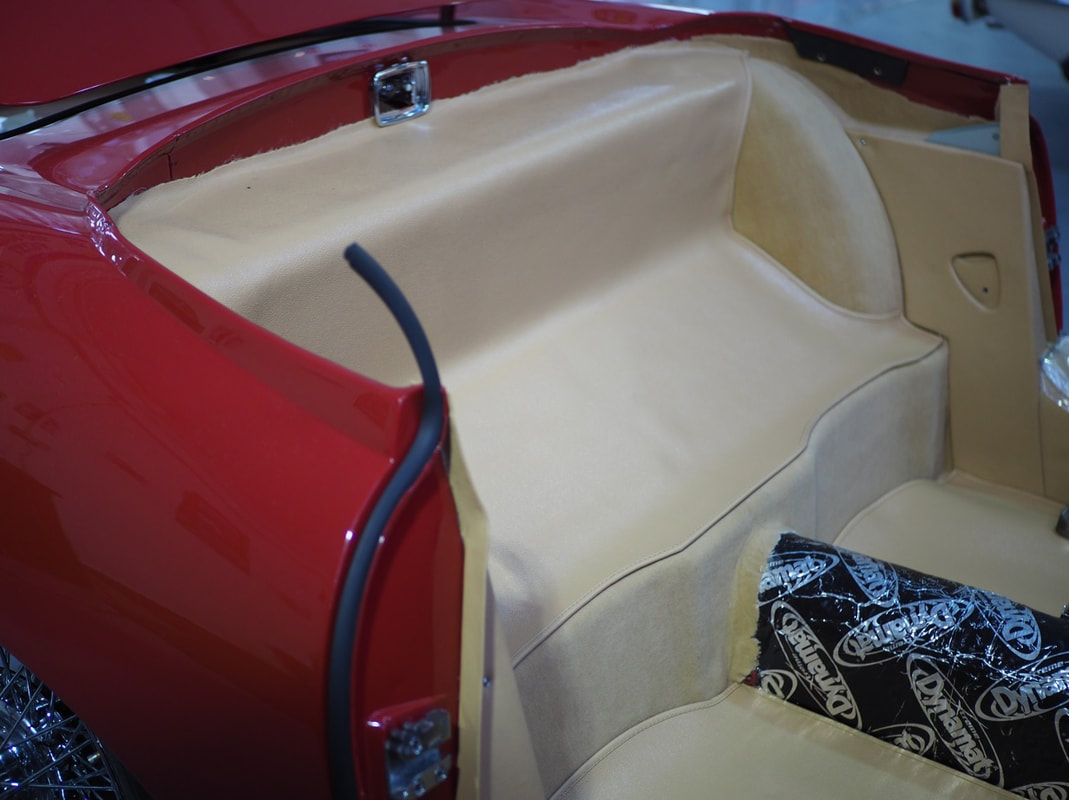
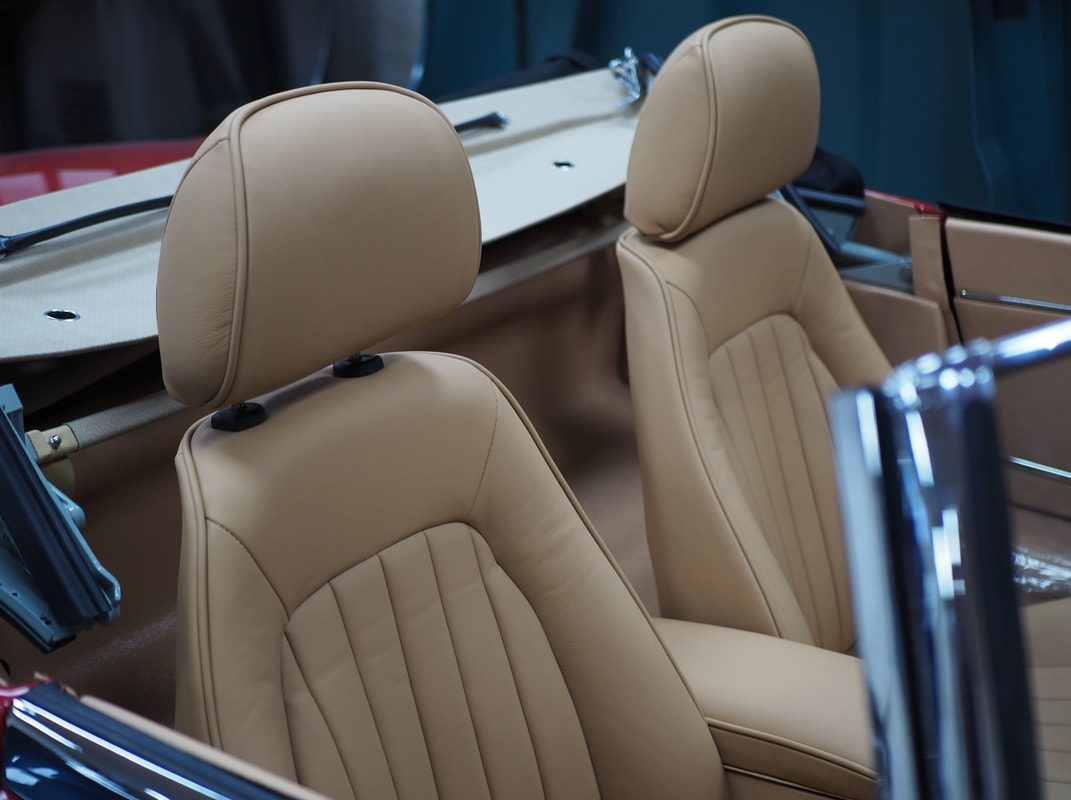
We had now reached the stage where we needed the trimmers skilled hands for the Biscuit interior trim, and so over the course of a couple of days we saw the cabin transform in to a warming, inviting space ready for some rather civilised touring.
Following a successful electrical test, our target now was to get the engine fired up for the first time so with its new stainless steel exhaust system all fitted up, we were ready to turn the key for our initial listen of this old girls unmistakeable voice. Always a tense yet exciting moment in the workshop, especially when we hadn't overseen the overhaul of the engine, we all downed tools and crowded around whilst we turned her over and sure enough she sprung to life! With the moment captured via video for the customer to see for himself in France, we swiftly got her outside to begin heat testing making sure that when caught in an inevitable traffic jam, the car won't overheat. Rigorous testing done now, and during shake down, ensures on-going reliability when we hand the keys over to the client.
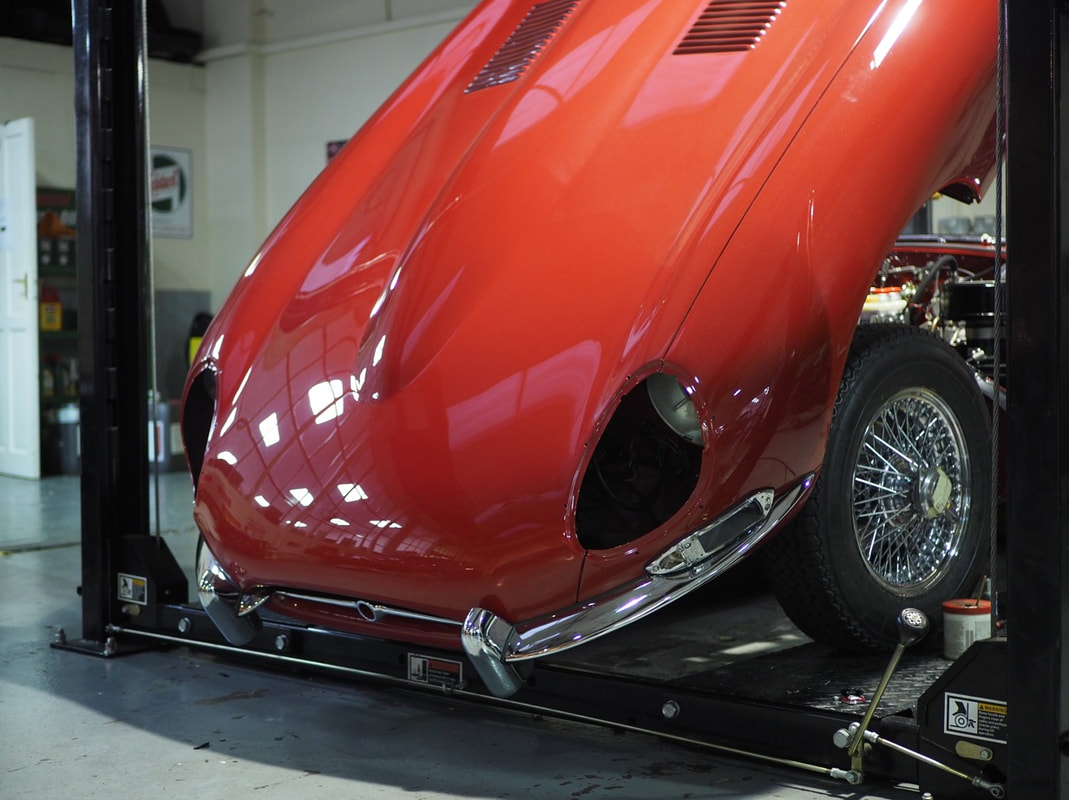
Now that we were satisfied that everything was working as it should in the engine bay meant that we could finally tick off another massive milestone of the project, and that was to fit the infamous bonnet. It's so tempting to fit it up at various stages during build but once it is on, it can create a wealth of access problems so we always fit this once we are happy that all of the electrics, fluids, and components are behaving themselves under there. With 2 guys on either edge to manoeuvre, and one at nose, the great task of bolting it to the support frame is an impressive procedure to capture. Once bolted with the correct dampers, the guys could then make the meticulous adjustments to achieve the correct gaps and alignment. Although these adjustments had already been carried out during the body work stage before paint, it still took just over a day for the boys to achieve its final resting position as the form can still move in the time it is separated from the car for painting and the initial re-build works. Once in position, the bonnet wiring loom was quick to be laid in, in preparation for the head and side lights.
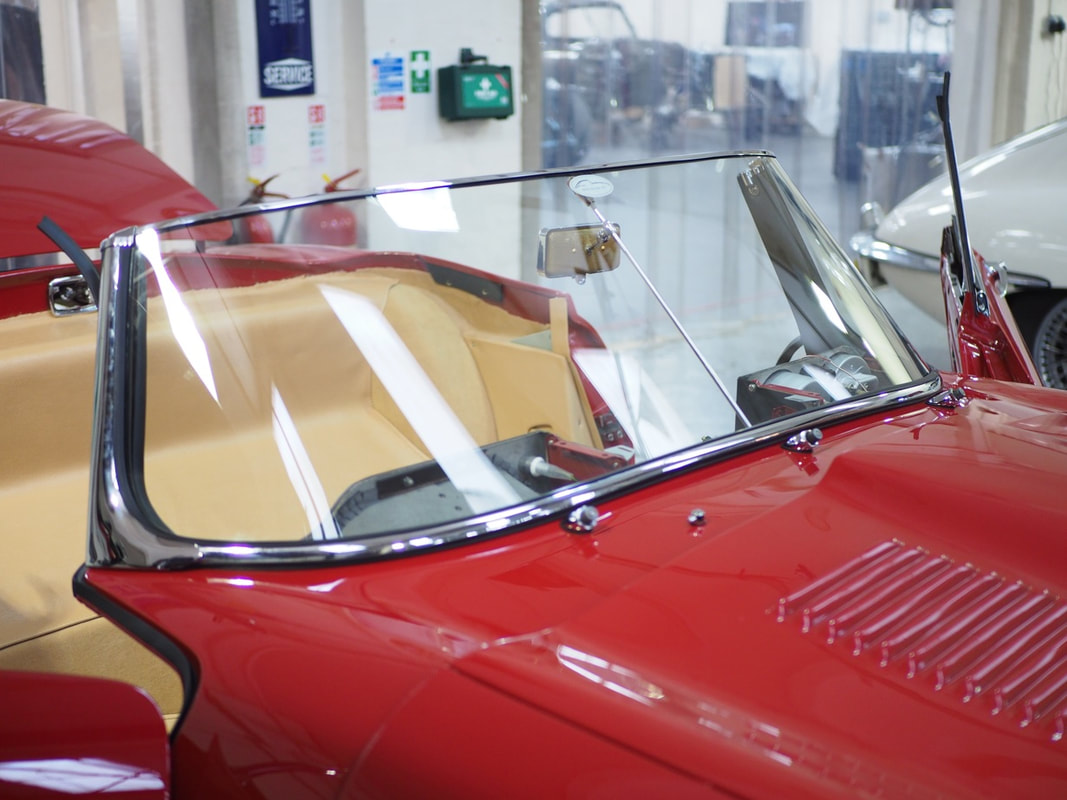
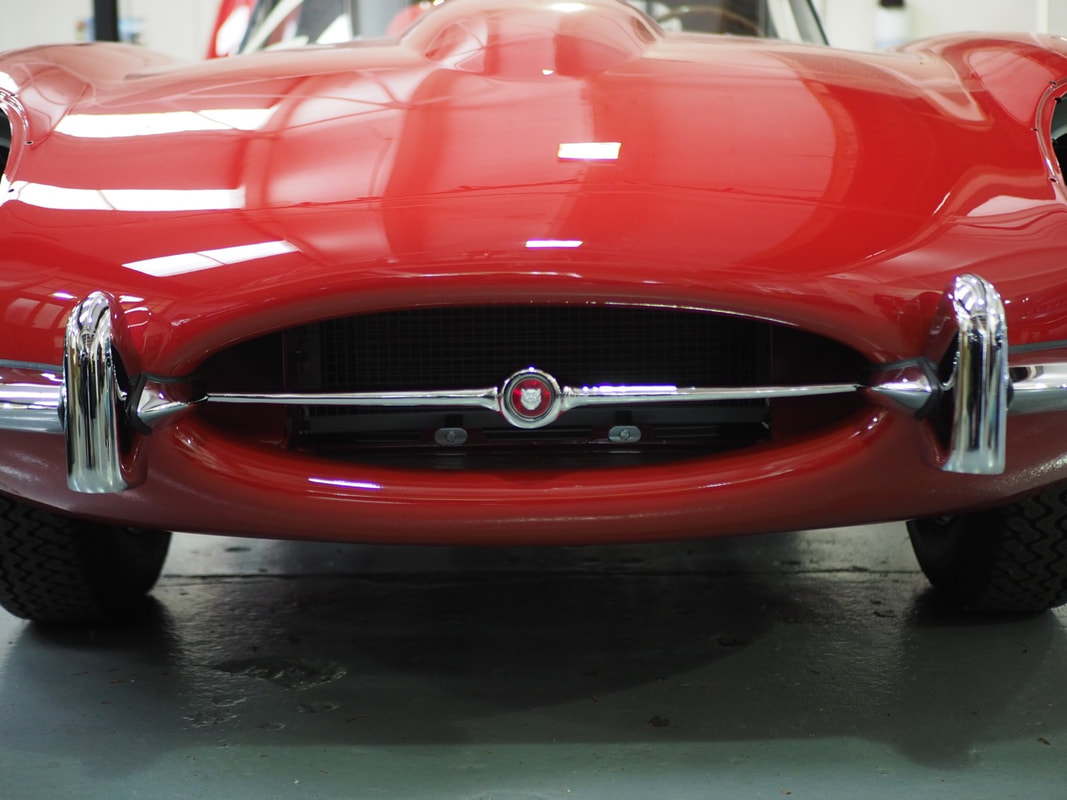
Ahead of the car being sent away to have its Black Mohair hood fitted, the clear Pilkington windscreen was installed with the correct brightwork to frame it. Chrome also continued to appear at the front of the car with the bumpers, side light housings, and badge bar all fitted, and the trial fit of the headlight surrounds. This then led to the full headlight build where the silver, as per the factory standard, sugar scoops and surrounds were installed and the lenses could be trial fitted.
We now had 2 guys working on the car. One who was evolving the exterior of the car on a day-by-day basis and carrying out a necessary grease service, and another working inside the cabin building up the remaining areas of the Biscuit trim and carpets to get the car to the stage to have its hood fitted.
Now boasting a crisp Black mohair hood, we were finally on the home stretch of the build with a shakedown of at least 100 miles in our sights. With most of the rear of the car built up before being sent away for the hood works, we turned our focus to the assembly of the bonnet including all the defining brightwork, and fitting LHD Quadoptic headlamps with plexiglass covers and heritage correct silver sugar scoops.
The final flourishes to the inviting Biscuit interior were also being ticked off the list, starting with trial fitting the re-trimmed door cards with necessary adjustments to the interior door chromes and window winders. Both the radio and centre consoles could also be installed with the cars original dashed aluminium panels indicating the year of manufacture. As a special request, the client wanted the comfort and additional storage of a leather armrest to be added to the centre console so with the help of our trimmer, we were able to achieve this without compromising on the final aesthetic of the cabin. The customer also wished for future touring to be comfortable, but first and foremost safe with regards to traffic collisions, so our upgraded sport seats with our bespoke seat runners to replace the original Jaguar set was the only option.
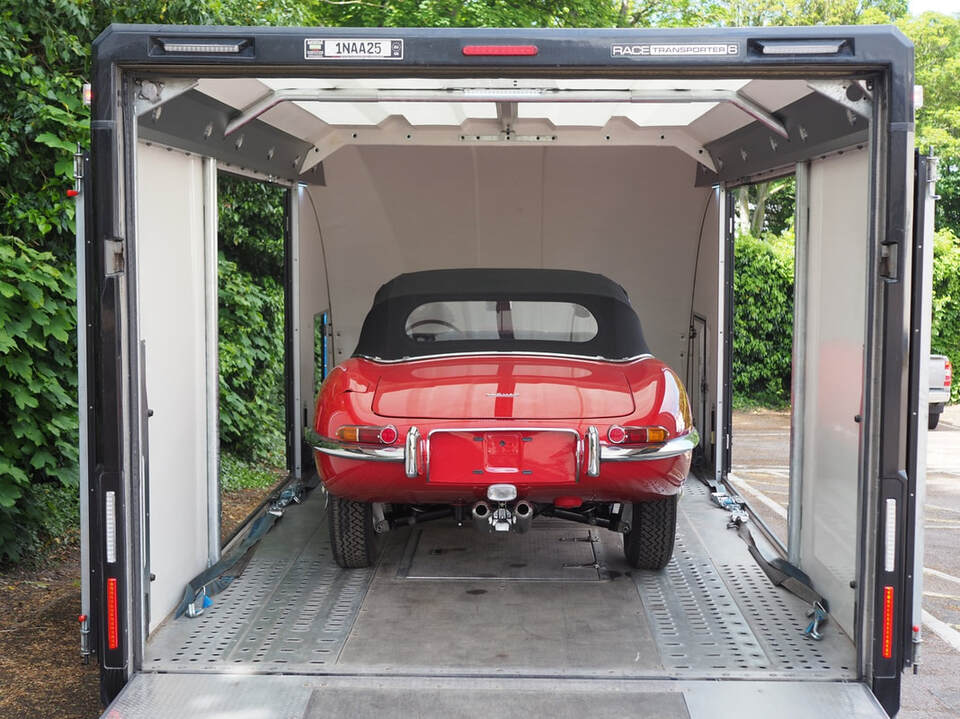
With the car fully built, it was time to carry out the all-important shakedown and pre-flight checks before it could be reunited with its custodian in France. As with all of our nut and bolt restorations, we aim to clock at least 100 road miles on the odometer to iron out any snags post build. Multiple road and heat tests along with timing, tracking and a final spanner up are all vital ahead of handing the keys over to any customer regardless of where the car will end up residing. So with over 150 successful miles under the bonnet, all that was left to do was to wave the customer off as they headed for the English Channel back home to Western France.
La fin.
