1964 JAGUAR E-TYPE SERIES 1 3.8 RHD OTS
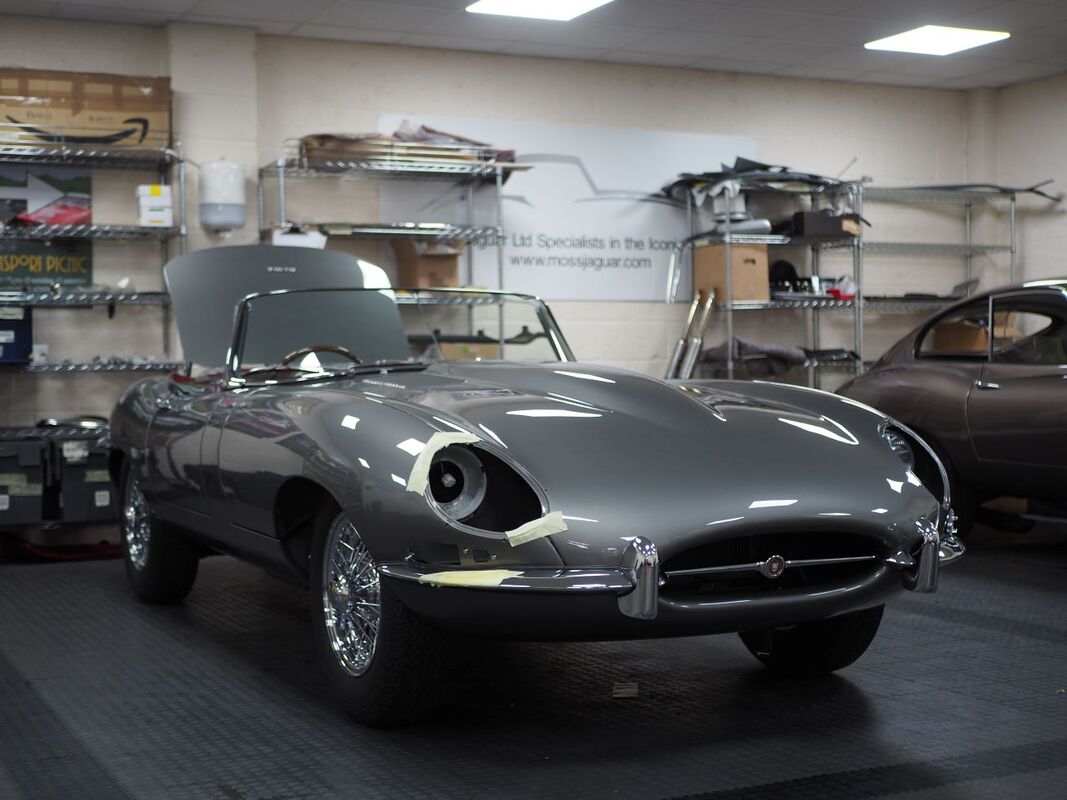
Entrusted to us for a complete end-to-end restoration with sympathetic upgrades and conversion to RHD is this US sourced 1964 Series 1 3.8 LHD OTS. Showing signs of the body being solid, the brief will be to transform it back to its original Jaguar colour of Opalescent Silver Grey with a sultry red interior.
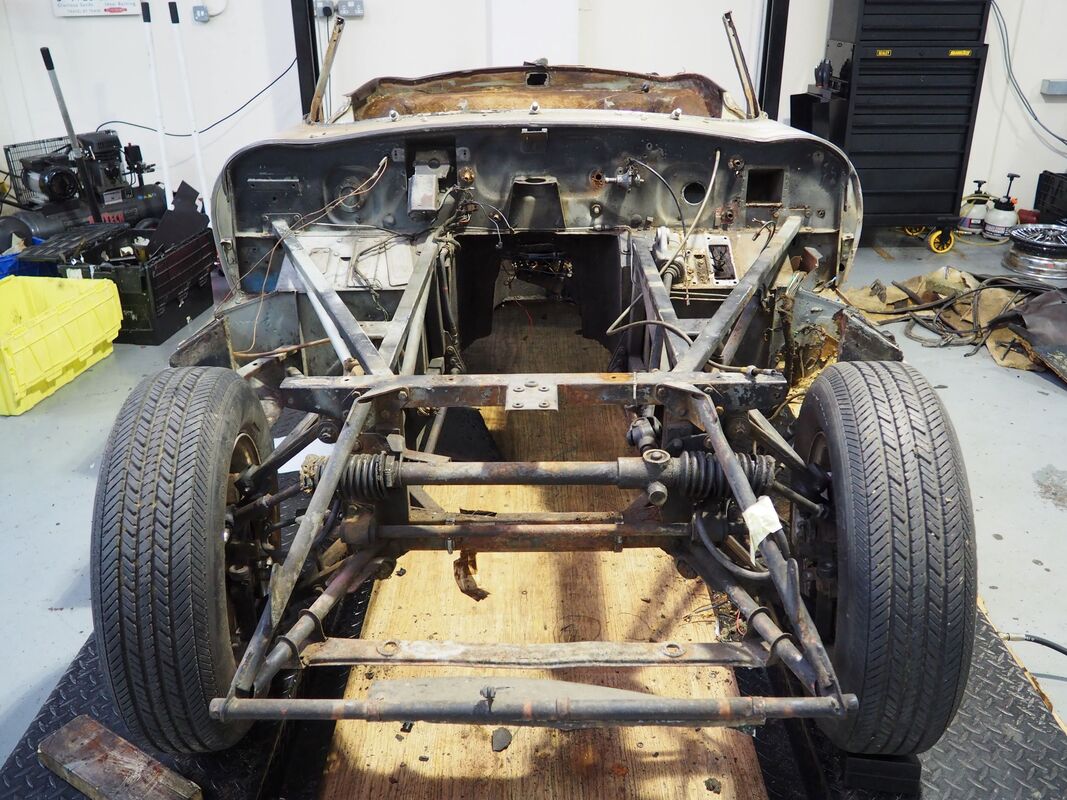
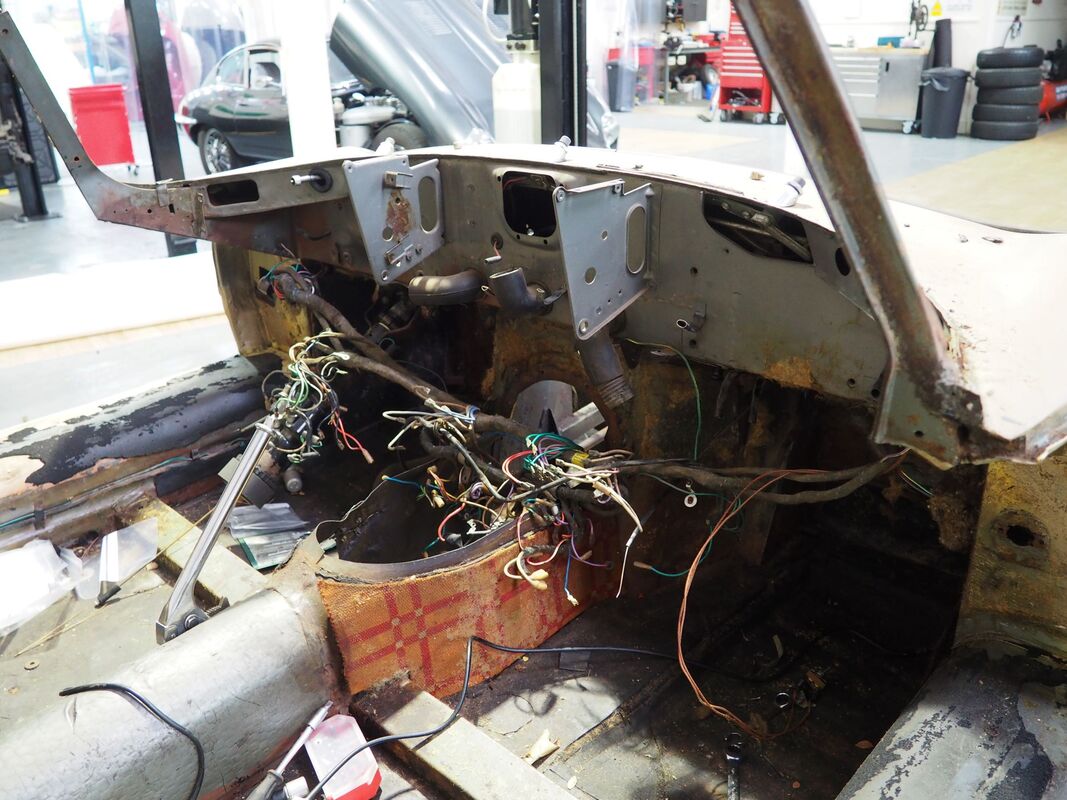
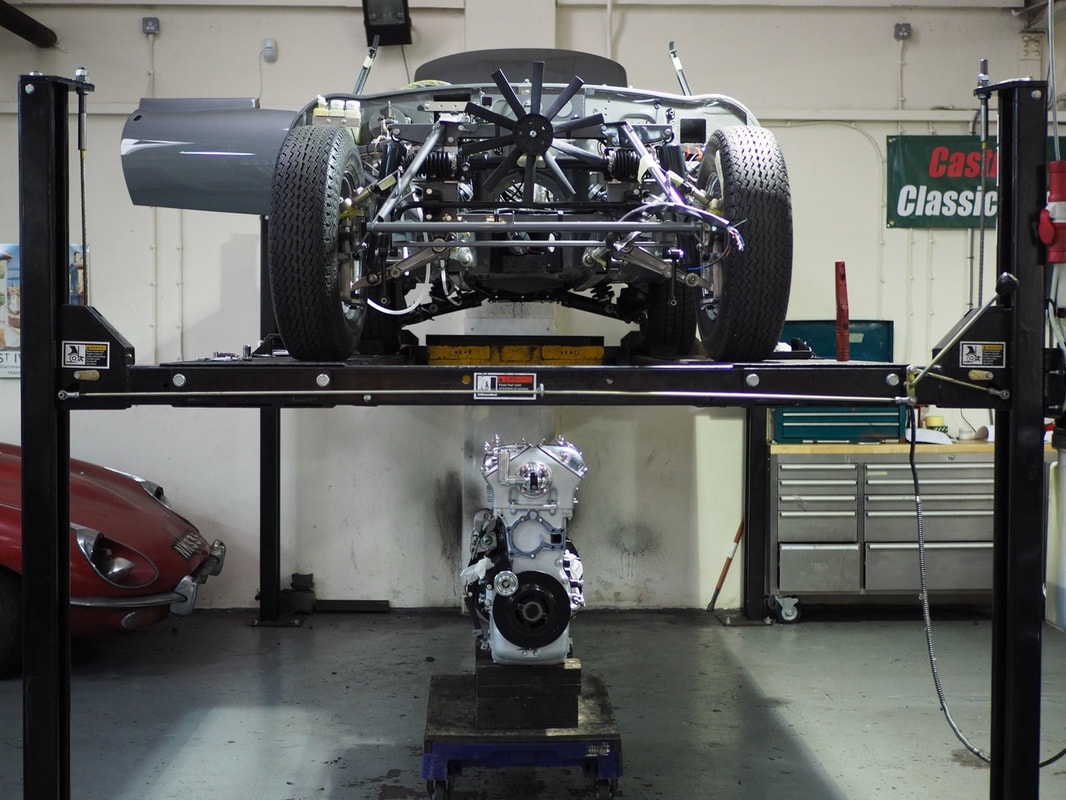
Starting the strip down phase of the '64 Series 1 OTS, the team have been carefully cataloging and photographing as they go with major components being ticked off with the removal of the bonnet and the 3.8 engine. Initial inspections reveal that the car is extremely sound and solid and whilst focusing on the interior we removed the tired seats, the dash, and the tattered carpets. One striking discovery was that inside the boot had been entirely painted in bright Orange paint! However, more importantly, we are starting to get glimpses of the original Jaguar body colour emerging re-assuring us, and the customer, that reinstating the original Opalescent Silver Grey is the best decision for the car.
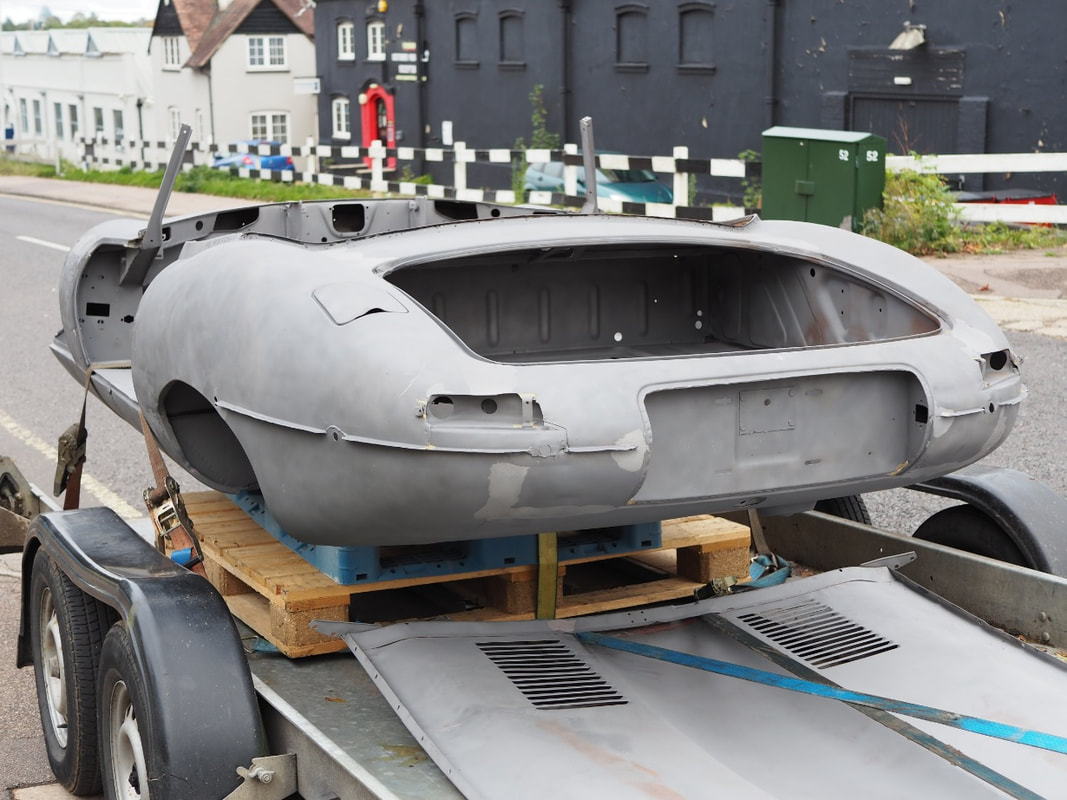
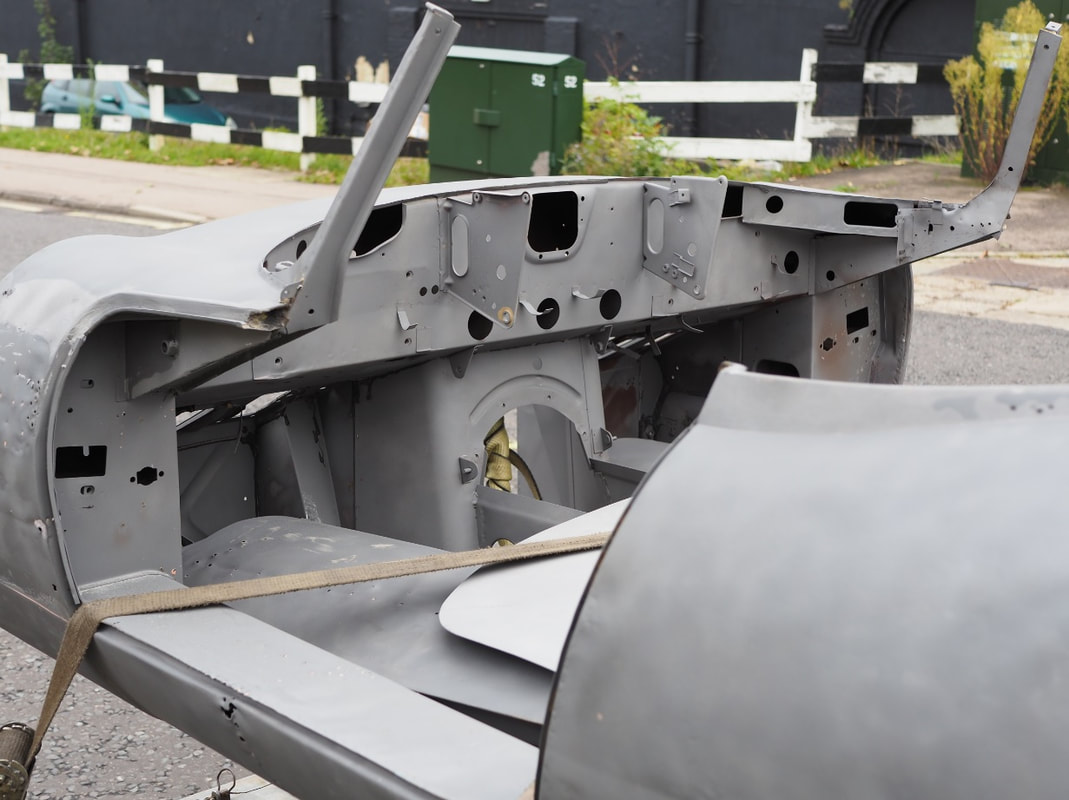
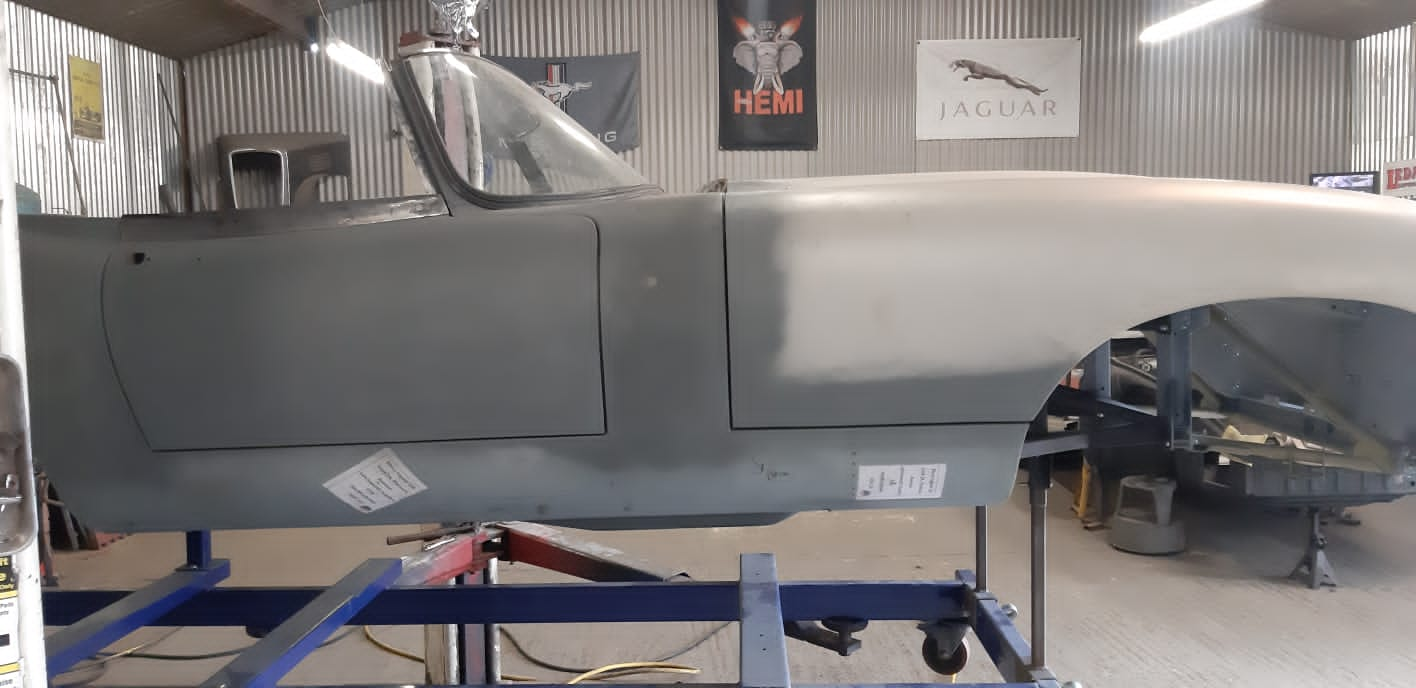
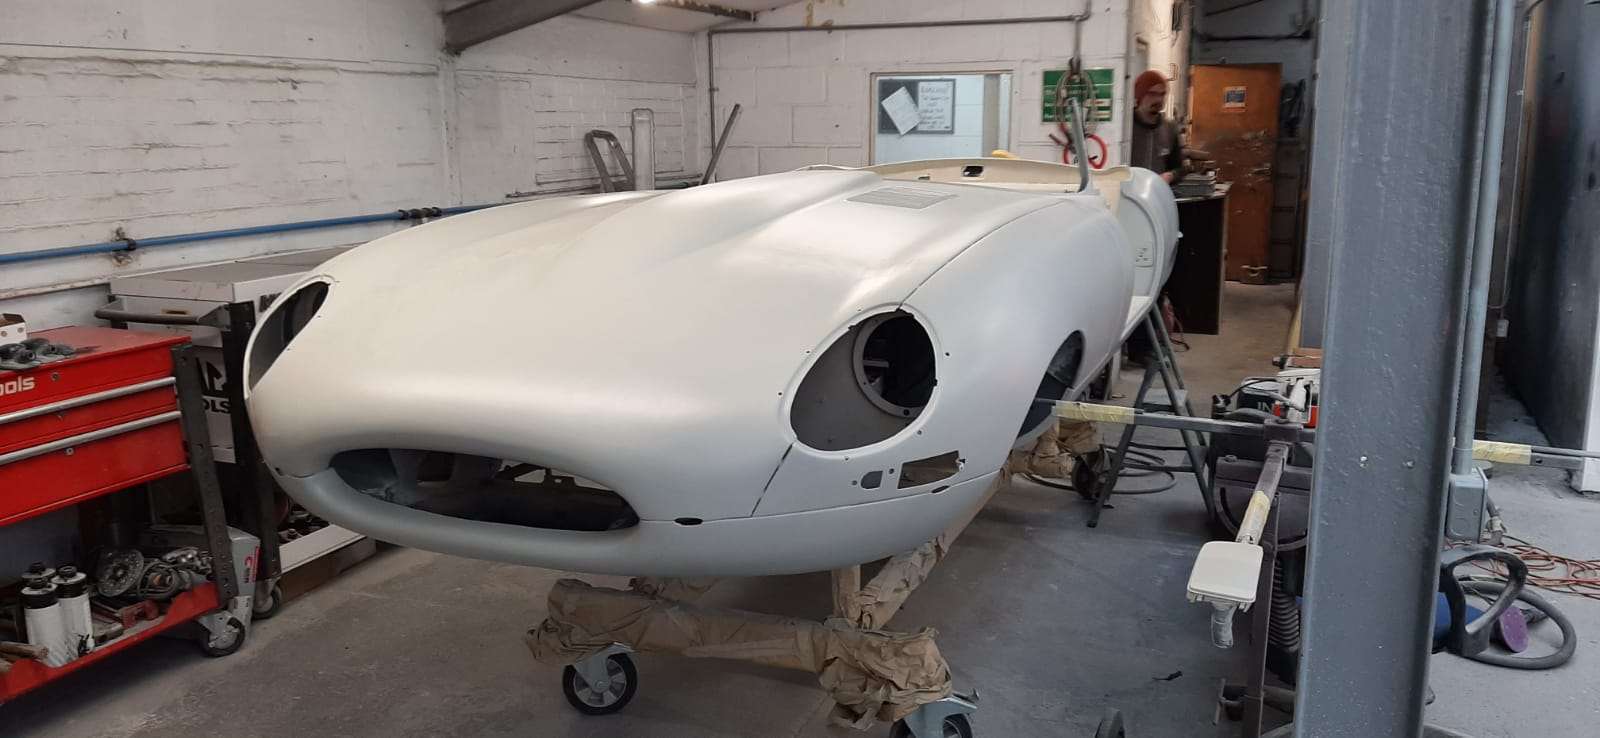
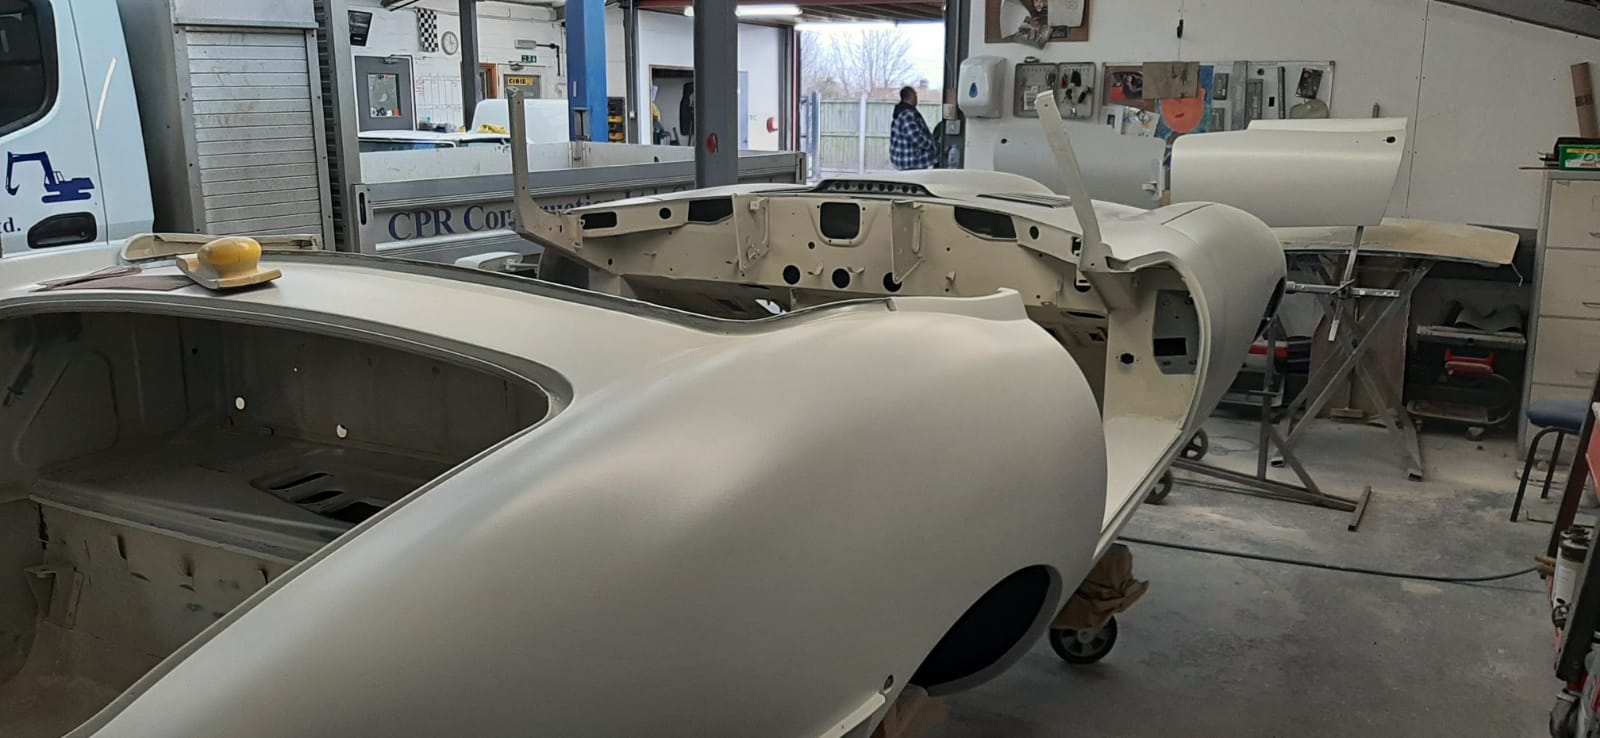
Wasting no time getting the shell blasted, we collected the body from the blasters and marched it straight down to the panel guys all in one day. The once Orange painted shell of the '64 Series 1 is finally starting its journey through the body work stage, and now we can start to see where the attention is needed to get this old girl to where she needs to be.
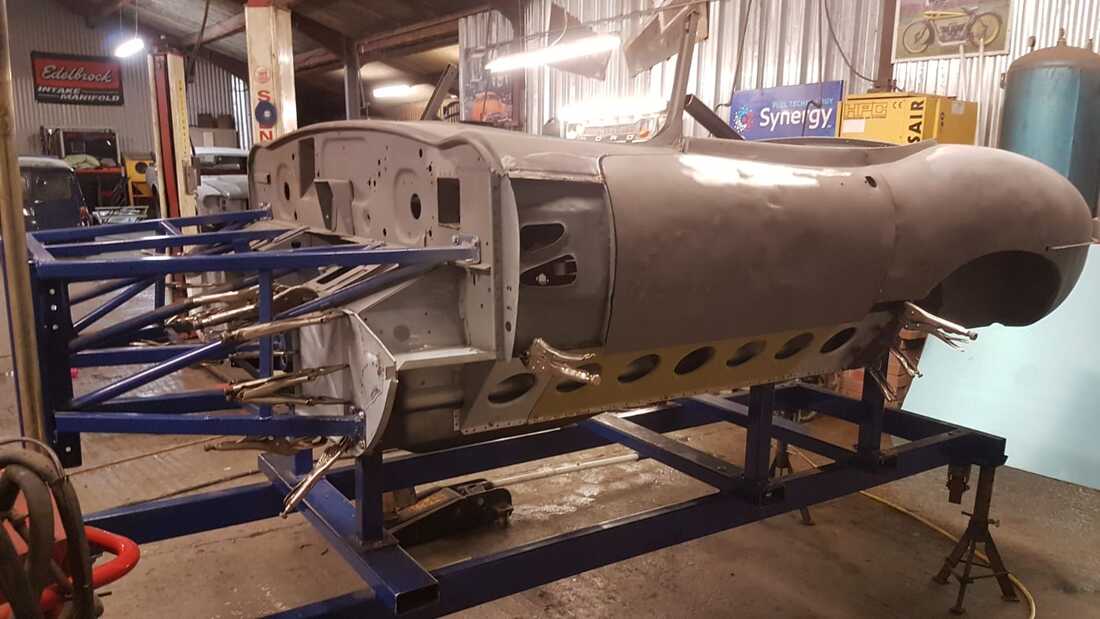
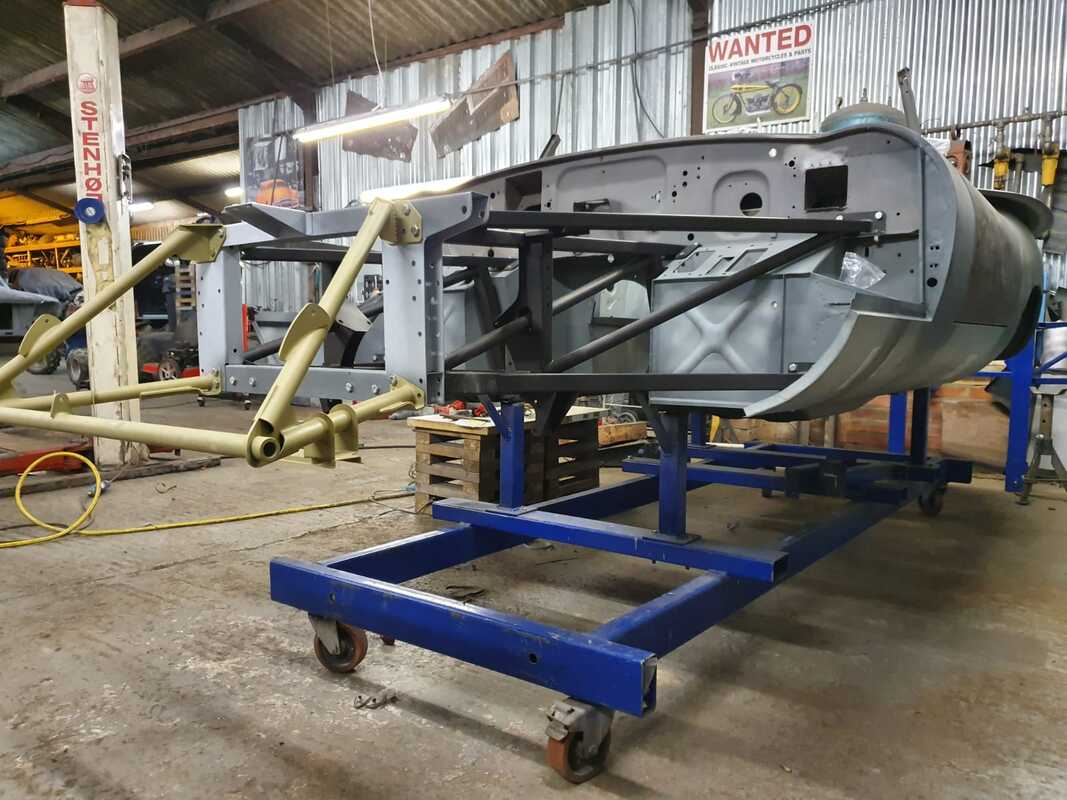
Now in the magic hands of the body shop, the first and crucial step is to get the shell on a jig to guarantee an accurate and even build. Once on the jig the doors were fitted and the shell braced to ensure it would be secure throughout the panel stage.
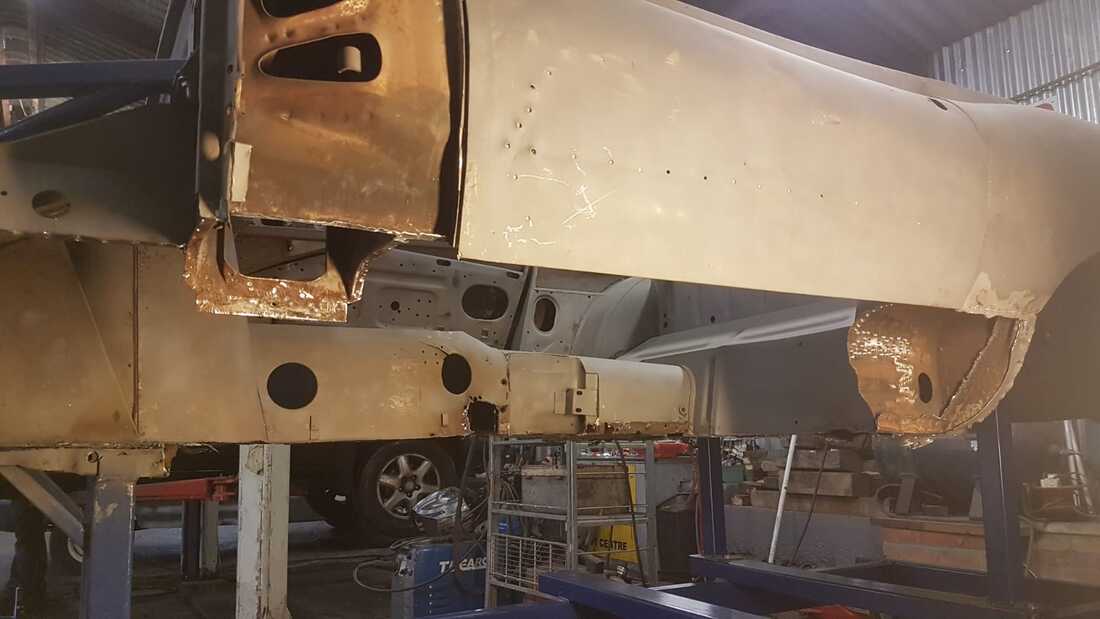
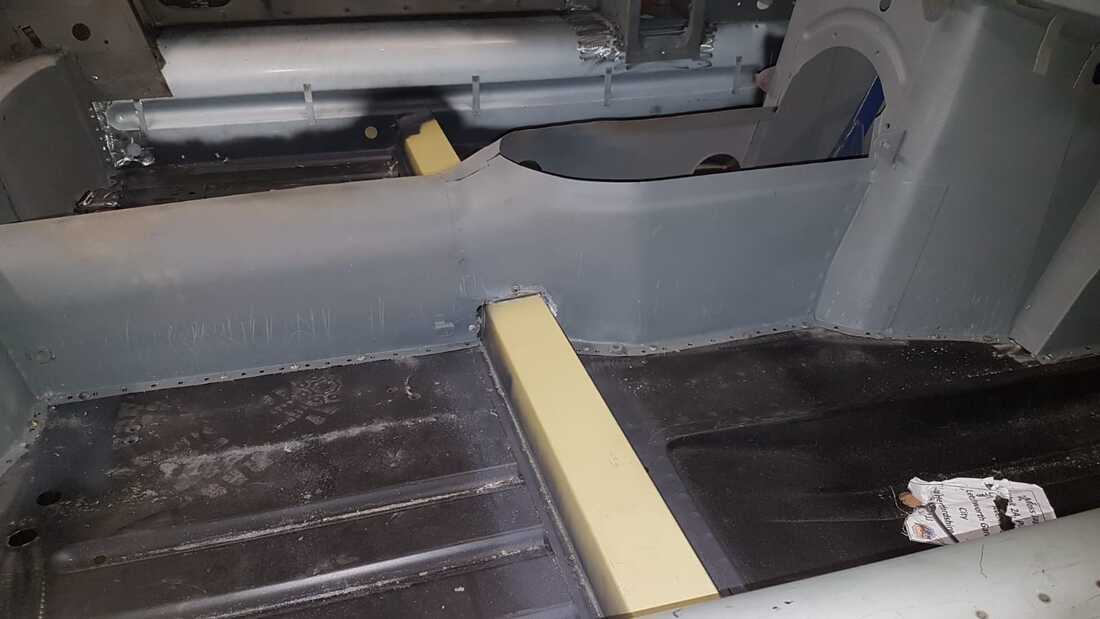
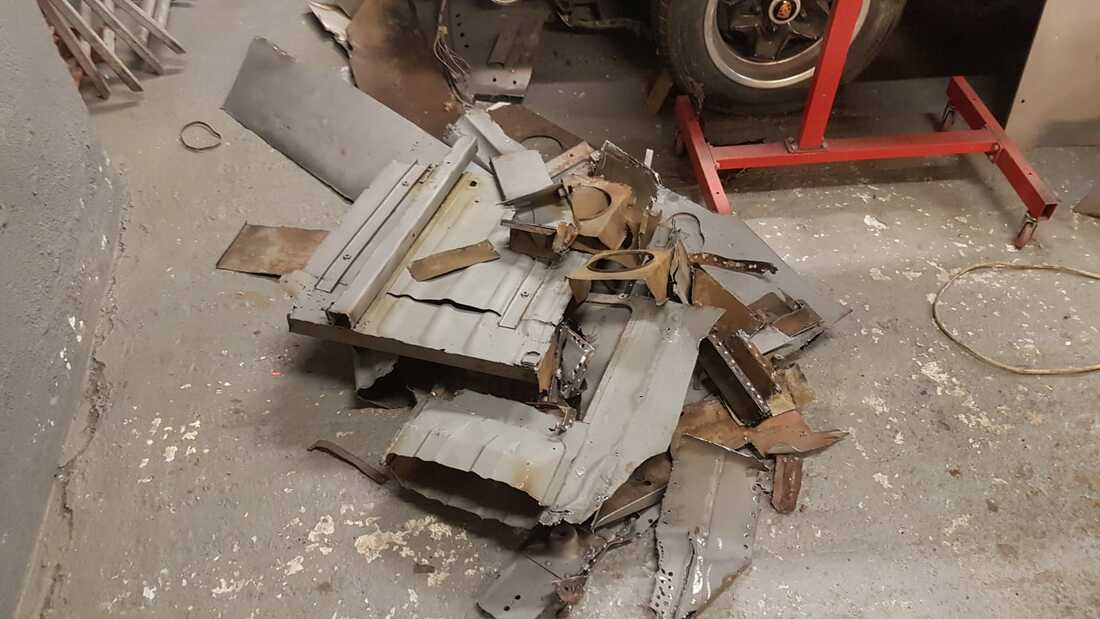
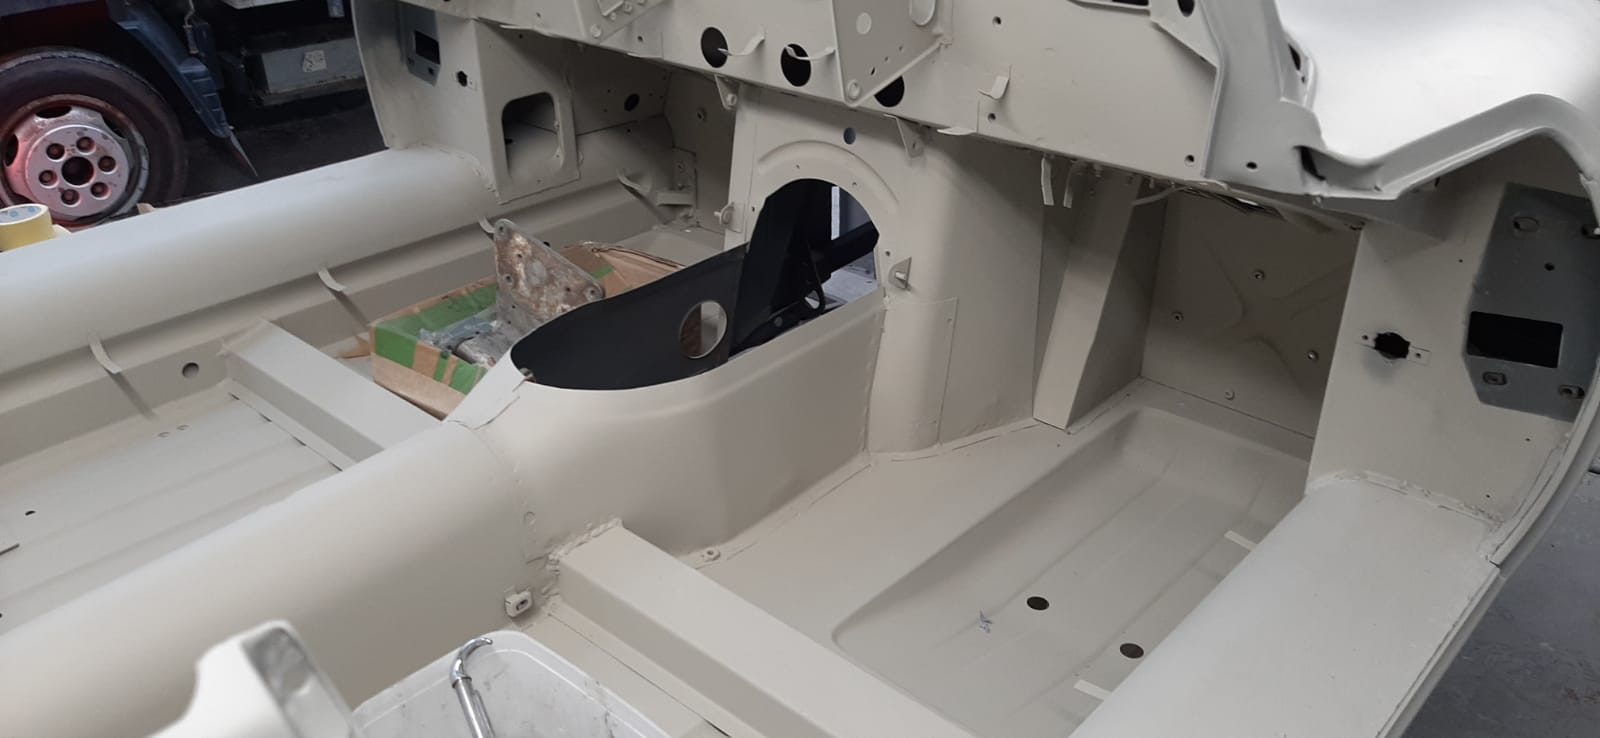
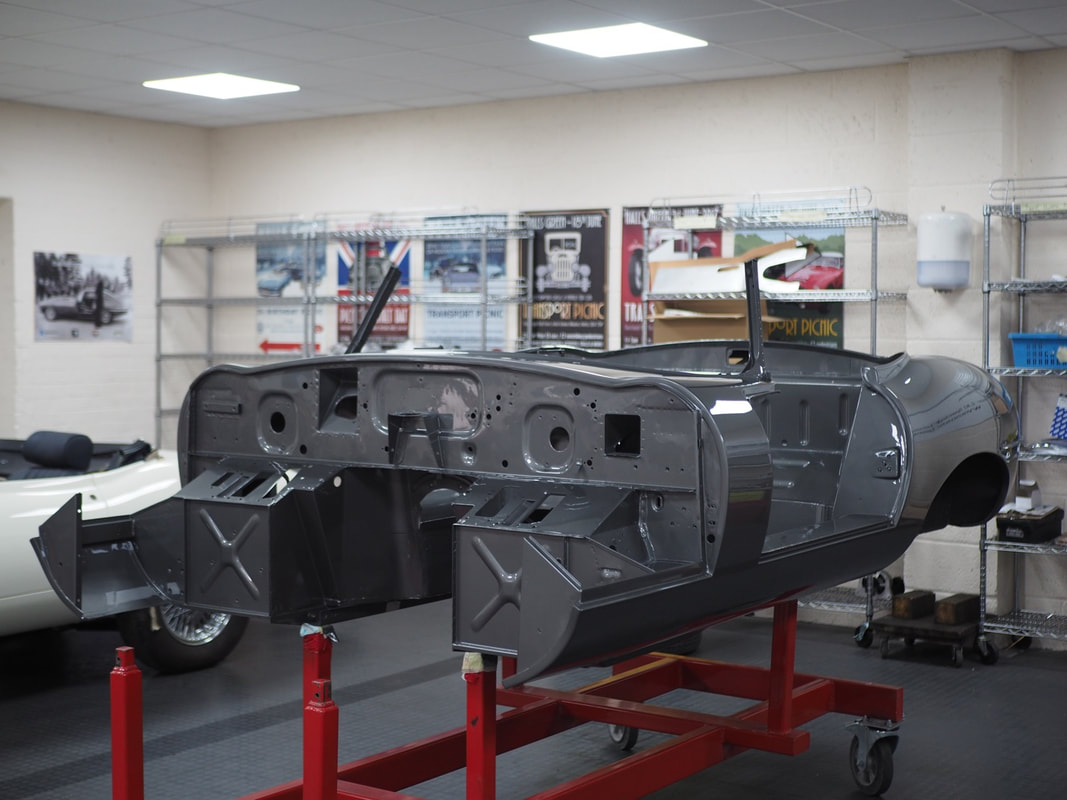
When the shell was shot blasted we got a real indication as to where to focus the repair work and the first item on the list was to tackle the rusted floors, so with a new floor pan on order the team first had to give the surrounding panels and edges a good clean and repair before cutting out the obsolete floor pan. Once the new floor was fitted they could then move on to the bulkhead. The toe panel was replaced with new which was then followed by new inner sill braces and stiffener panels.
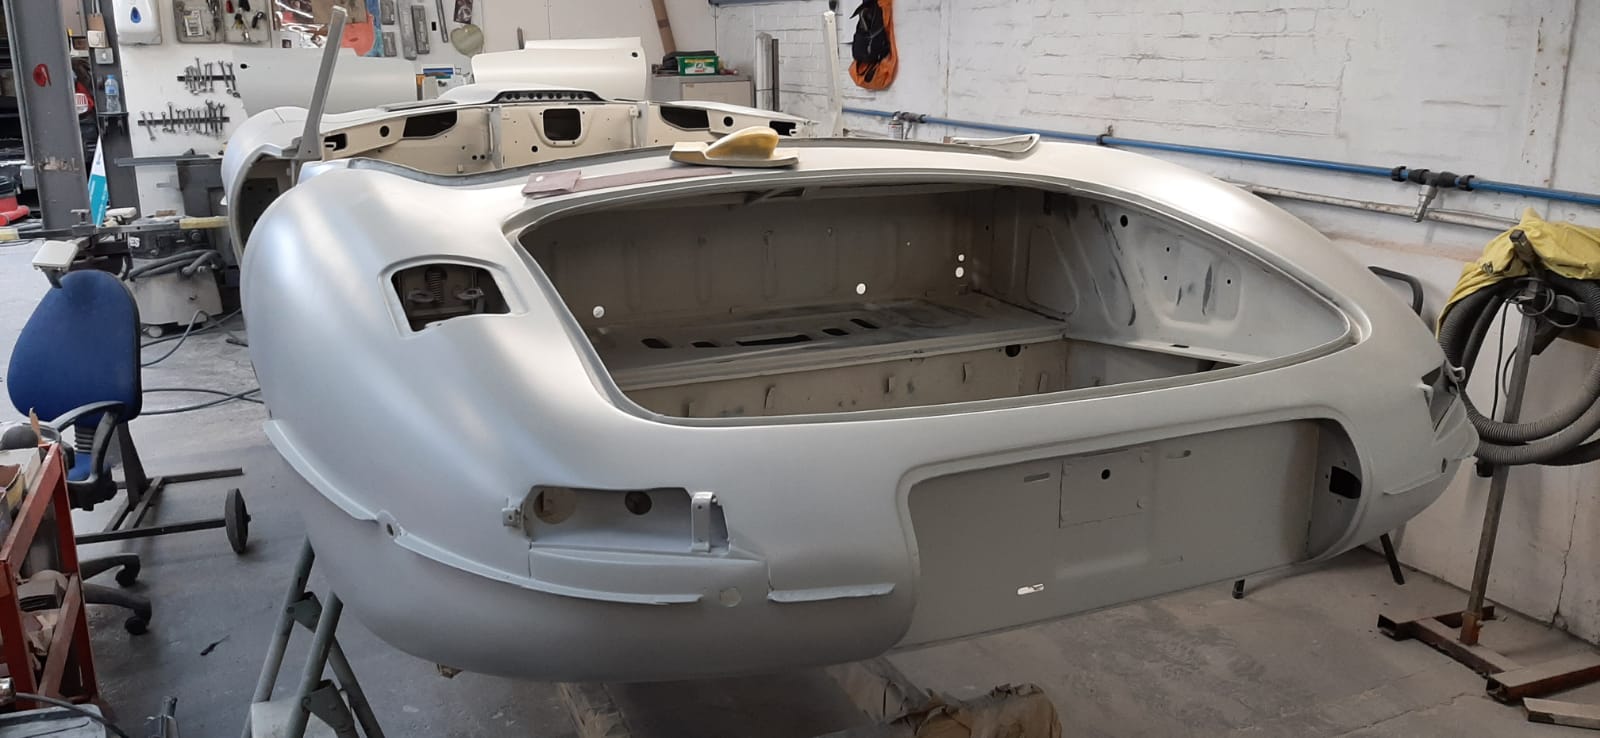
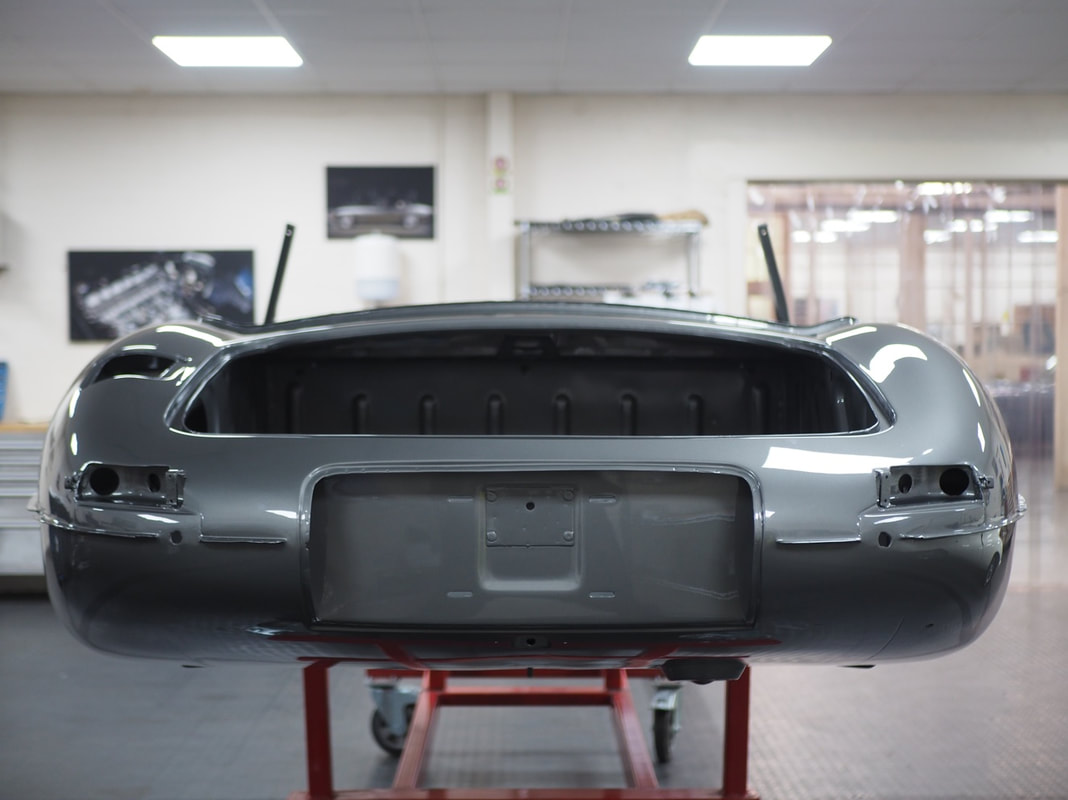
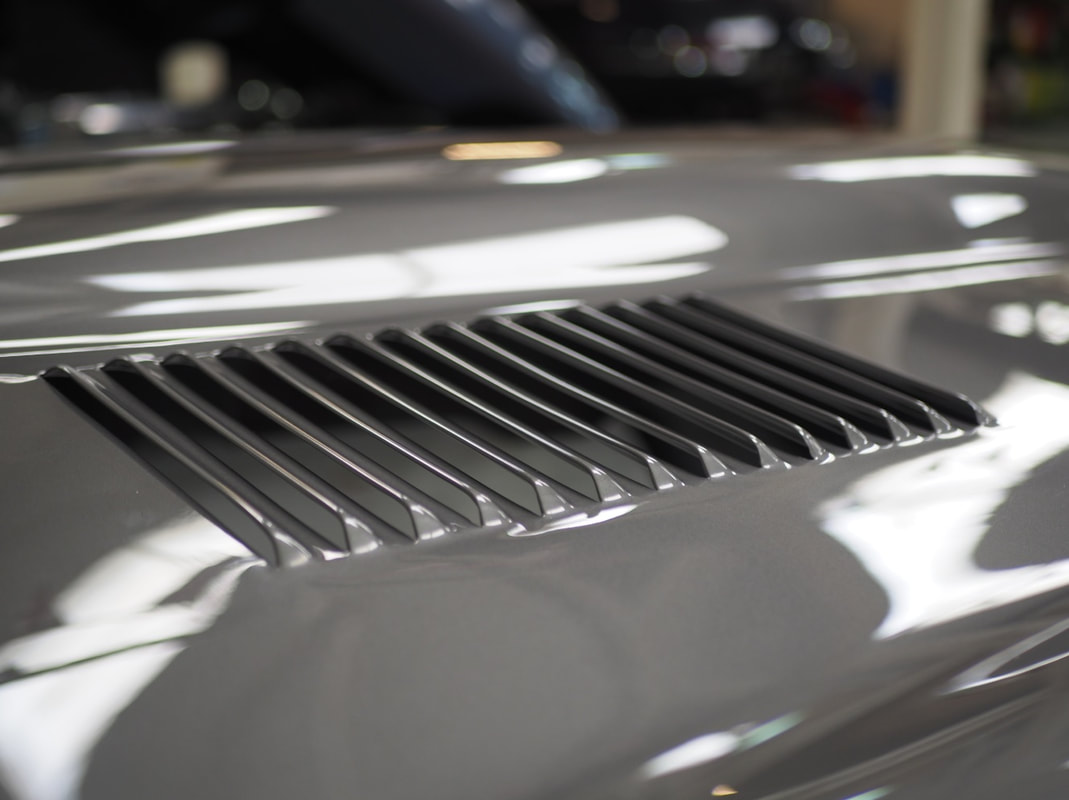
Repairs were also needed to the boot floor and number plate panel, and with the bonnet now in separate pieces its centre panel and air ducts were put right.
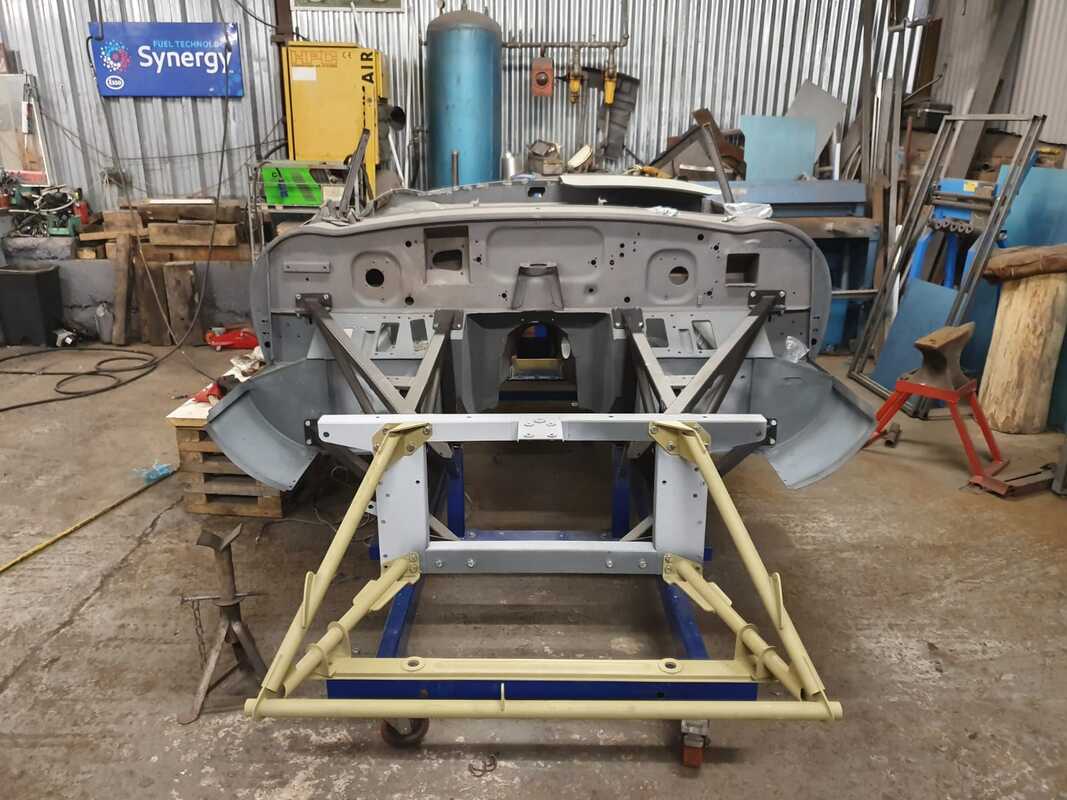
With the entire floor of the car now structurally sound with ensured longevity, the focus was turned to the rest of the body starting with the fit of the outer sills and the side and front panels of the bulkhead. New engine frames replaced the old ones again to add some solidity and security, especially to hold such a vital part of the car!
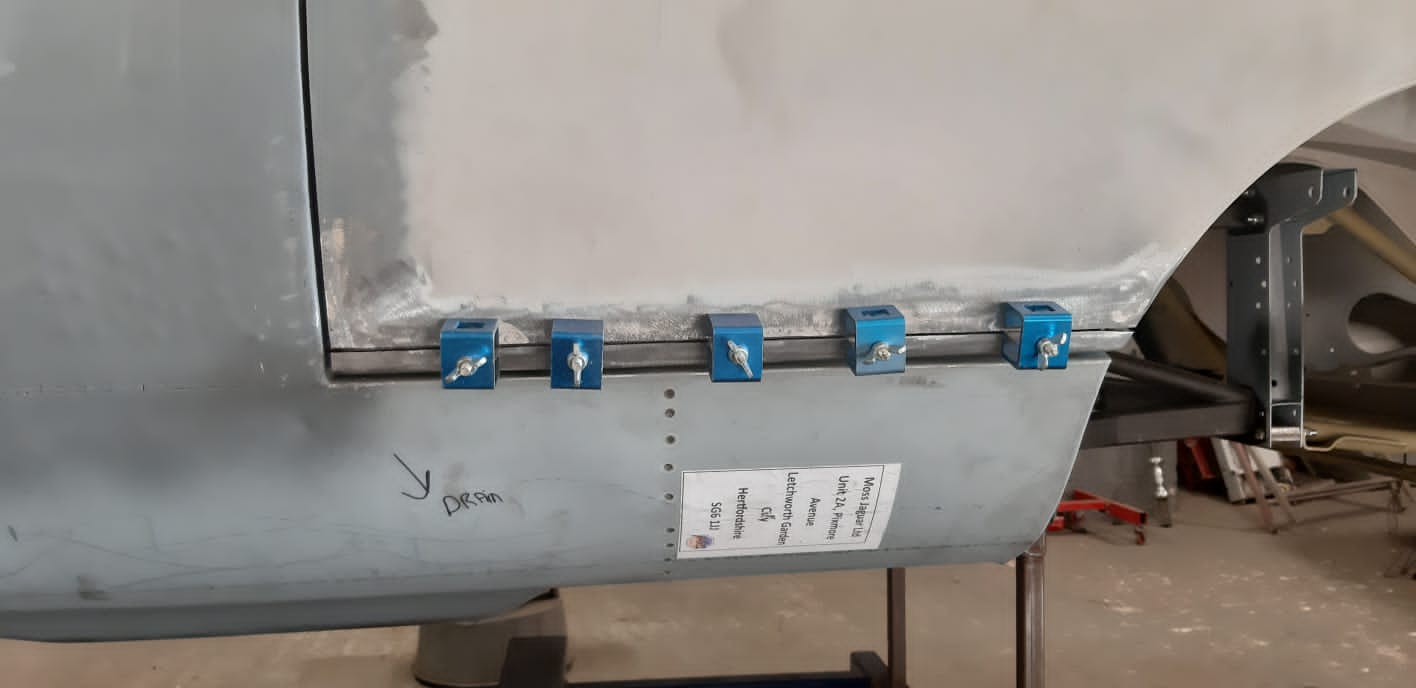
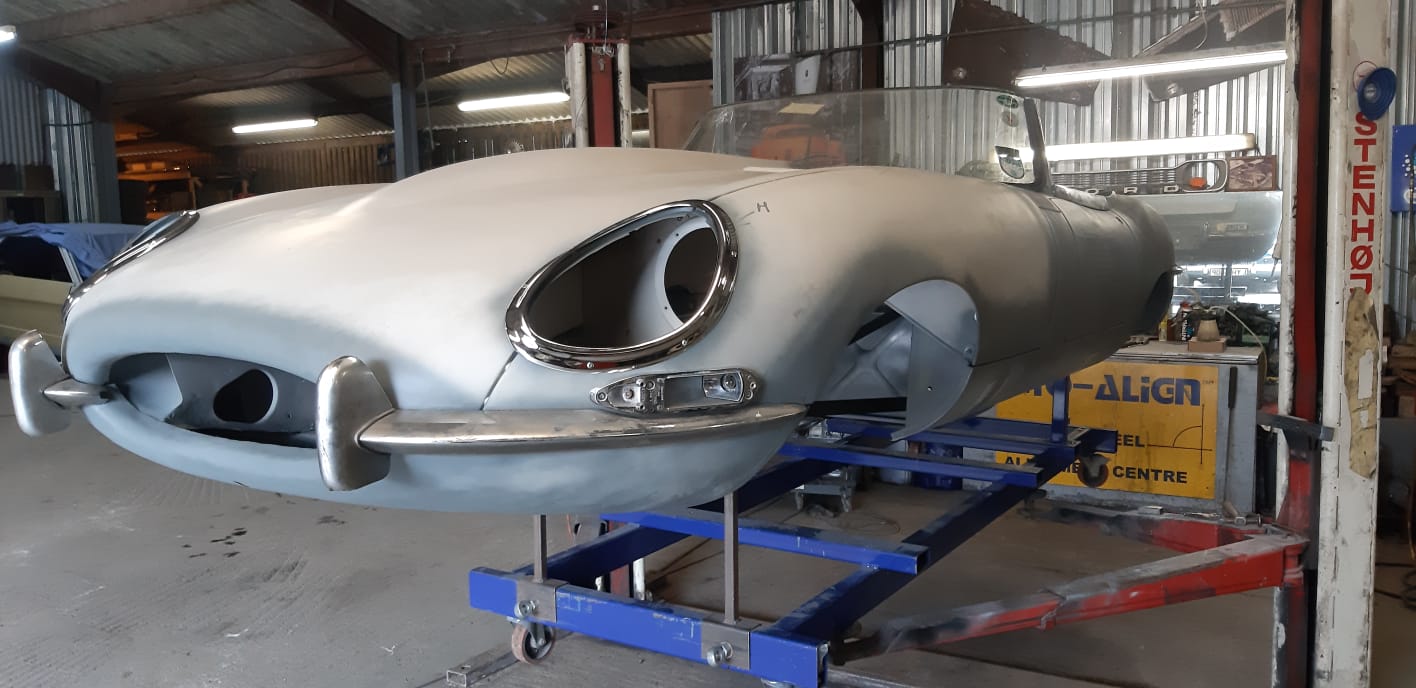
One of the most crucial and most noticeable stage of the panel working is the gapping to ensure all the curves and the crisp, clean lines are all in alignment enhancing the overall look of the car. At this stage the boot lid had been fitted so this could be gapped along with both doors.
Attention had also started on the nearside door skin as it was looking a bit worse for wear so the necessary repairs were done to get it back to a lovely smooth and elegant surface.
Finally, with the bonnet now fully assembled following some TLC on the centre panel and air ducts, repairwork could begin on its under panel and at the back to the off side rear wheel arch.
Noticing that the bonnet would be too short in length whilst repairing the centre panels and air ducts, sections were precision measured and cut before being fitted to address those noticeable gaps especially around the lower wings and to improve the overall opening of the bonnet. Necessary repairs were also needed to the O/S windscreen post ahead of trial fitting the windscreen.
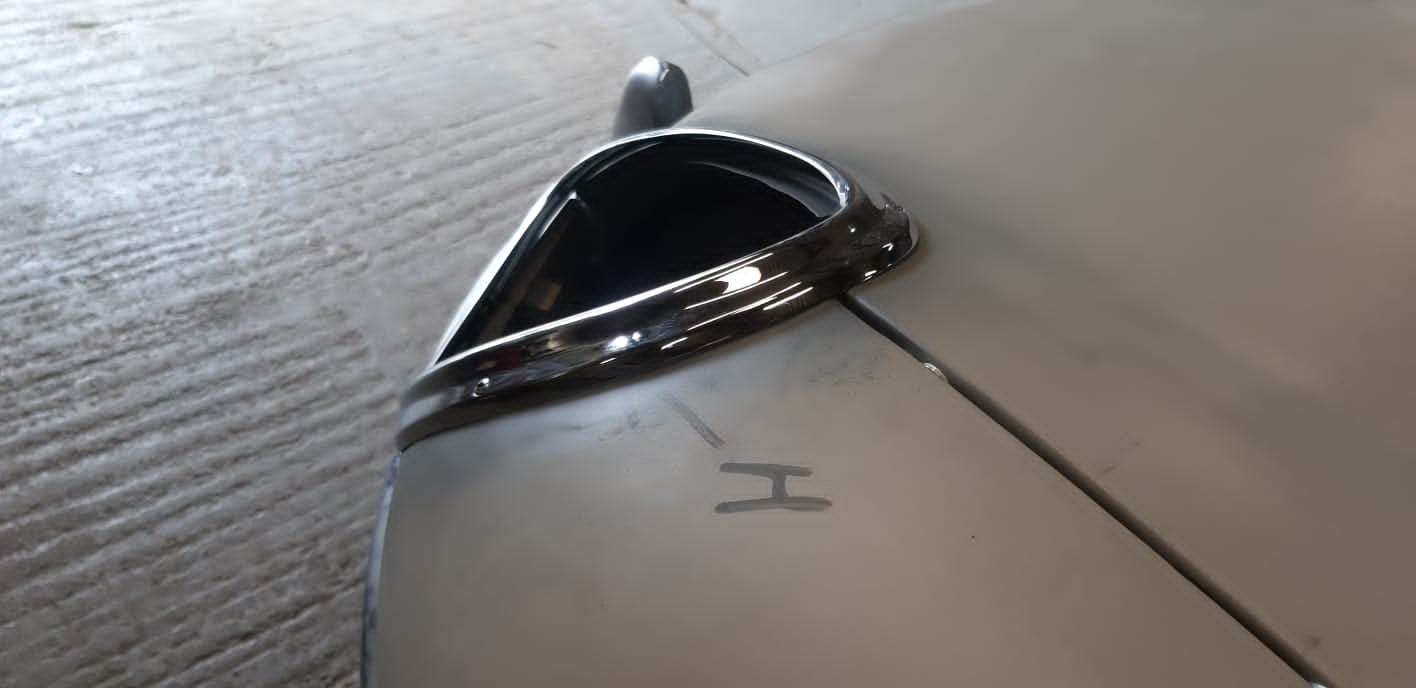
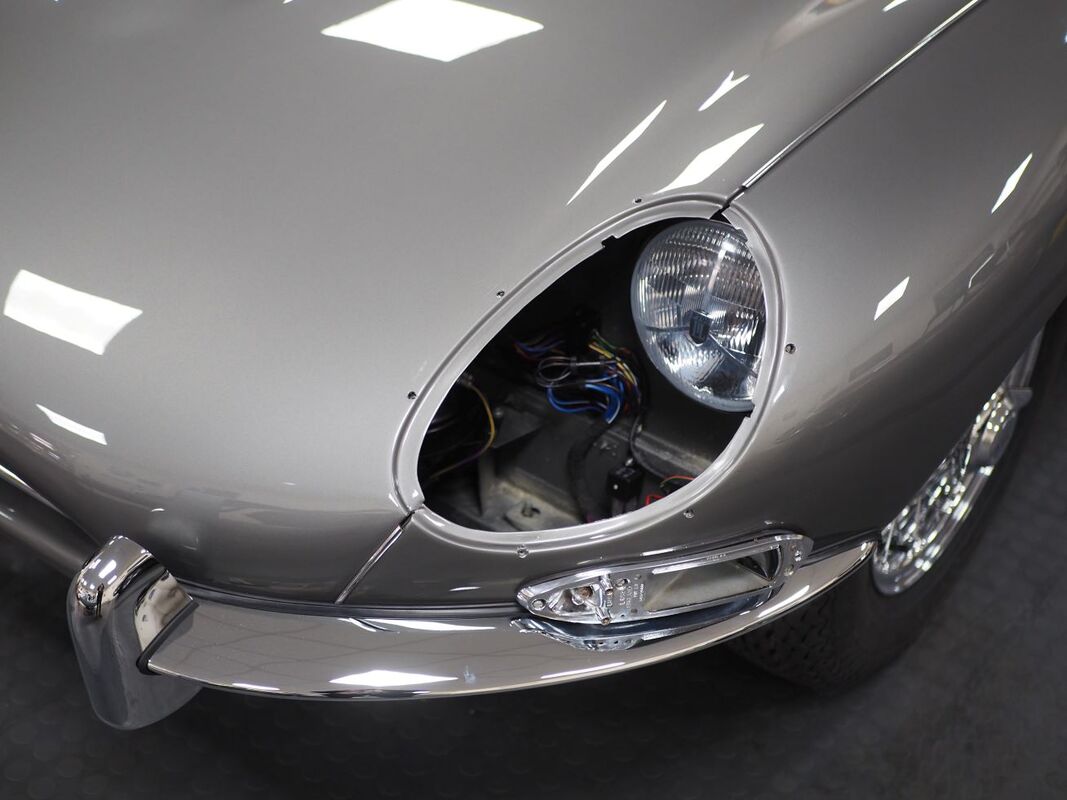
With the body now boasting ideal gaps and crisp lines, the team were now able to focus on the trial fit of the chrome work looking at areas needing final adjustments. The rear lights and bumpers were first married up to the car before moving to the front to fit the bumpers, lights and headlight chromes.
Both handles were offered up to both doors before finally fitting the windscreen officially marking the end of the panel work stage and edging the car closer to the exciting paint stage.
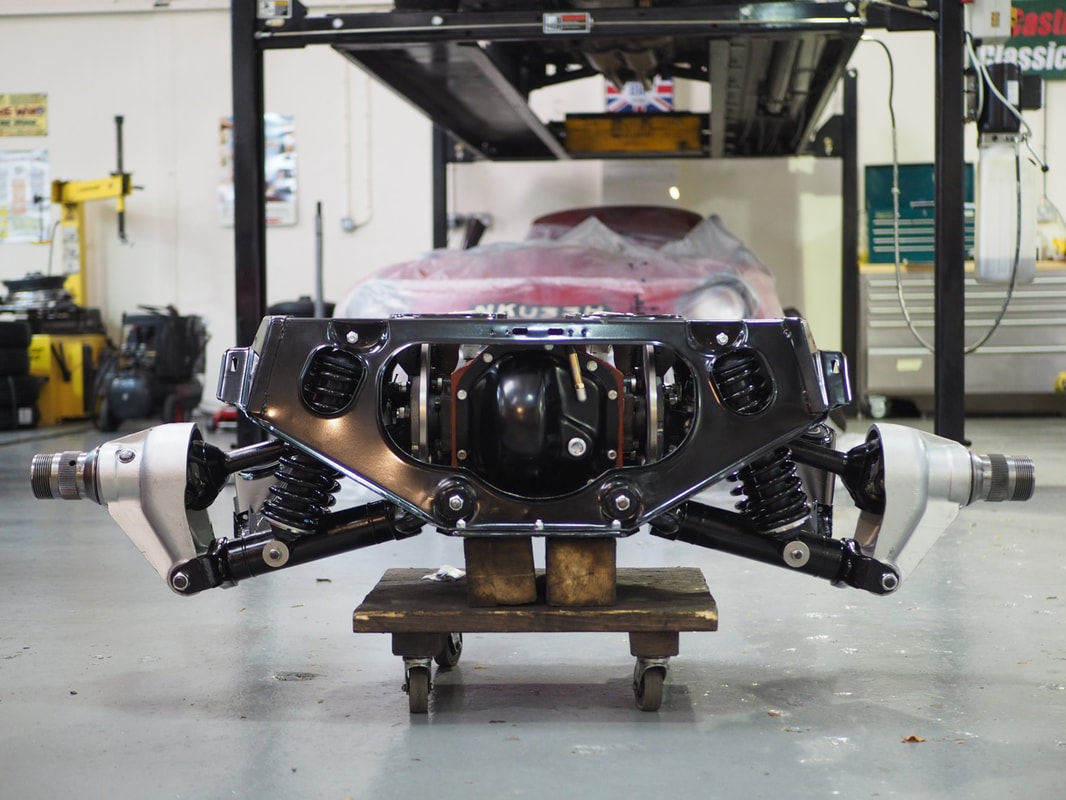
As we await to hear confirmation from the paint shop that the Opalescent Silver Grey shell is ready, back at base the boys have worked tirelessly rebuilding the IRS system.
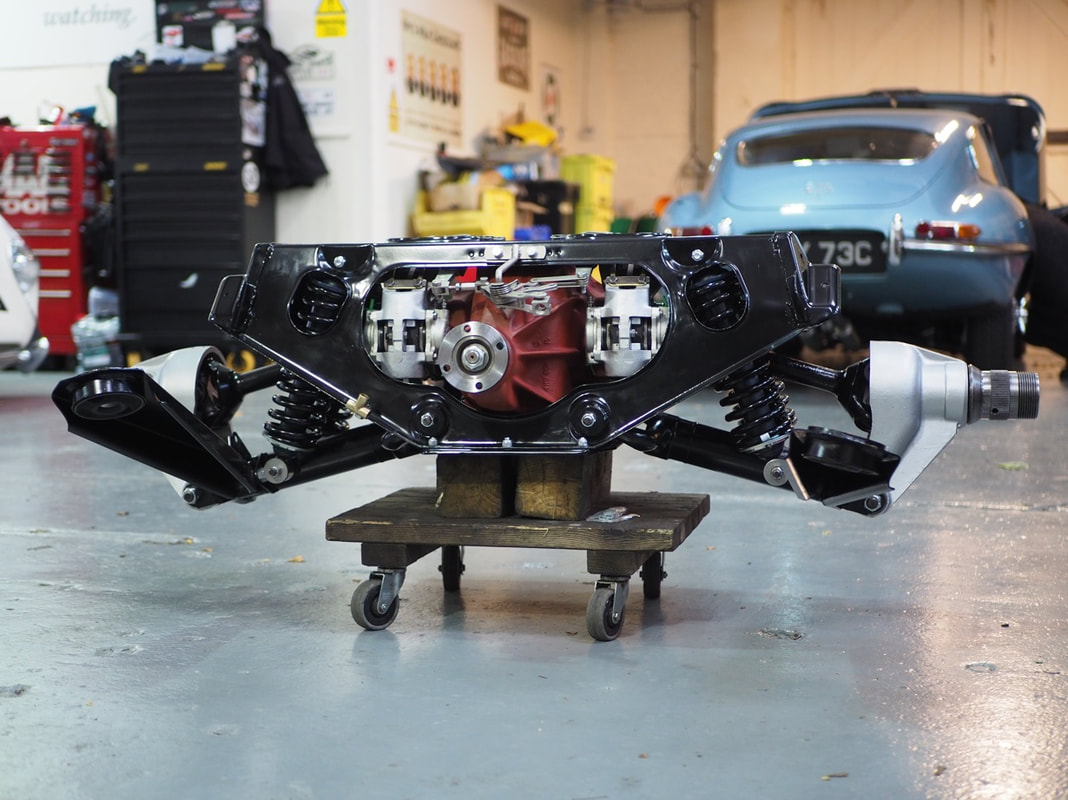
Now housing the original overhauled 3.07 ratio diff, the entire unit was completely dismantled to have all the salvageable parts blasted before being either nickel plated or powder coated. Drive shaft universal joints were replaced with uprated whilst the springs and shock absorbers were checked prior to repainting. As on every restoration, both hubs and brake calipers were fully rebuilt to include new bearings and pads, and cunifer brake lines were hand formed. Another major section of the car ticked off ready to be installed to the painted shell.
Now housing the original overhauled 3.07 ratio diff, the entire unit was completely dismantled to have all the salvageable parts blasted before being either nickel plated or powder coated. Drive shaft universal joints were replaced with uprated whilst the springs and shock absorbers were checked prior to repainting. As on every restoration, both hubs and brake calipers were fully rebuilt to include new bearings and pads, and cunifer brake lines were hand formed. Another major section of the car ticked off ready to be installed to the painted shell.
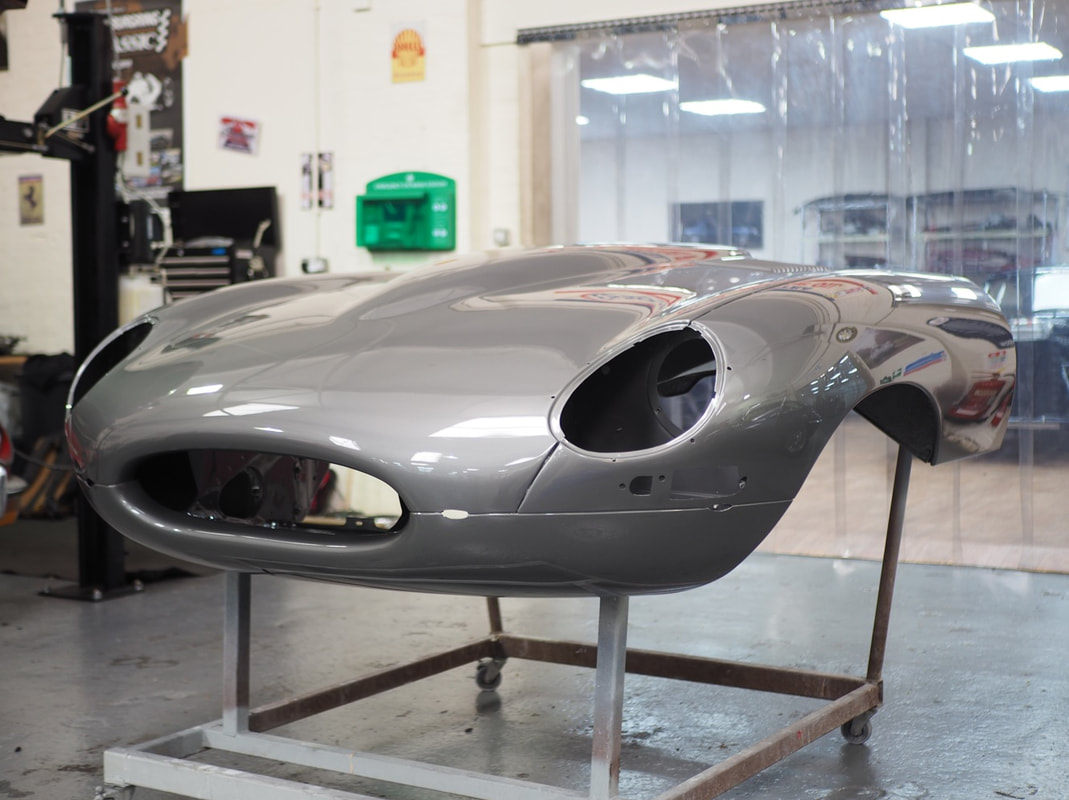
Completely transformed and enrobed in heritage correct Opalescent Silver Grey, the Series 1 shell and bonnet are now fresh out of paint after a staggering 130 hours of prime, paint and polish, and are safely housed in our clean and bright restoration room awaiting the next stages of the build.
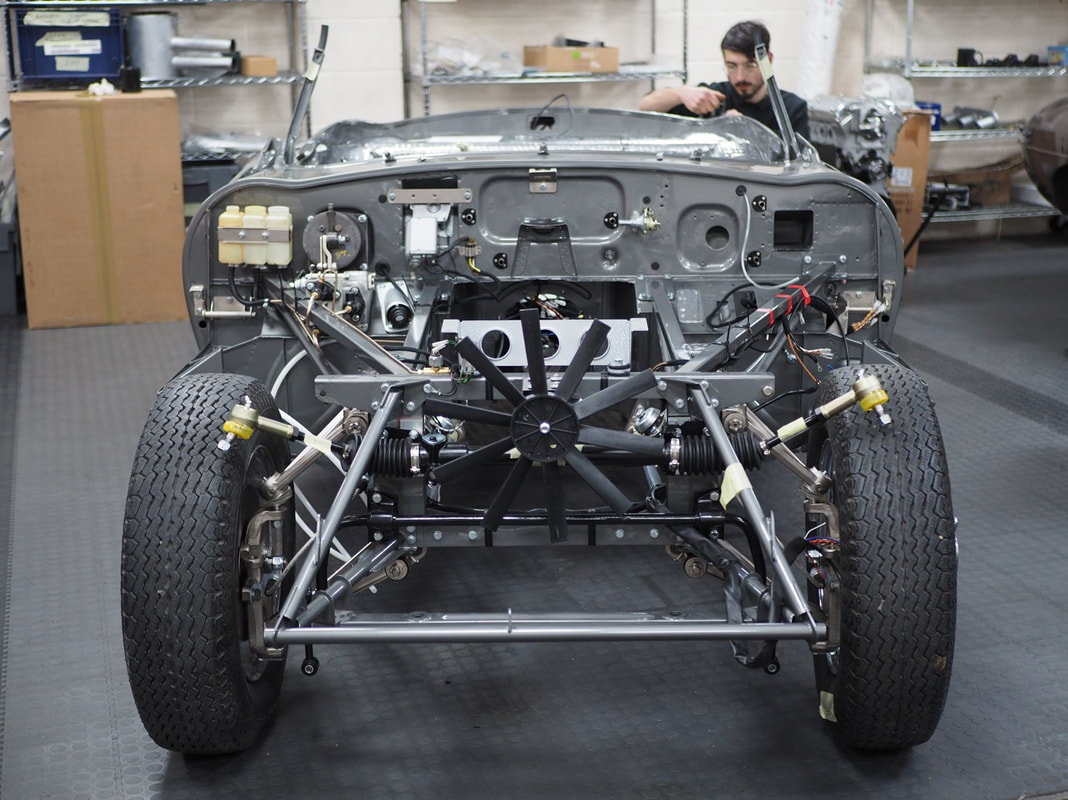
With all the weight at the rear of the car, the most logical area to start the build is the engine bay and front suspension so first to be fitted were the new specialised steel engine frames. We always replace any sets that come with the donor car with new as the flux used to braze on the frames tends to break down from the inside which over time would compromise the structure and ultimately the security of the engine. Fitting the frames also allows the car to be jacked on axle stands on the correct points so the tub will have an even weight distribution during the build. If repairable, we will always favour using the original picture and bonnet support frames to preserve originality.
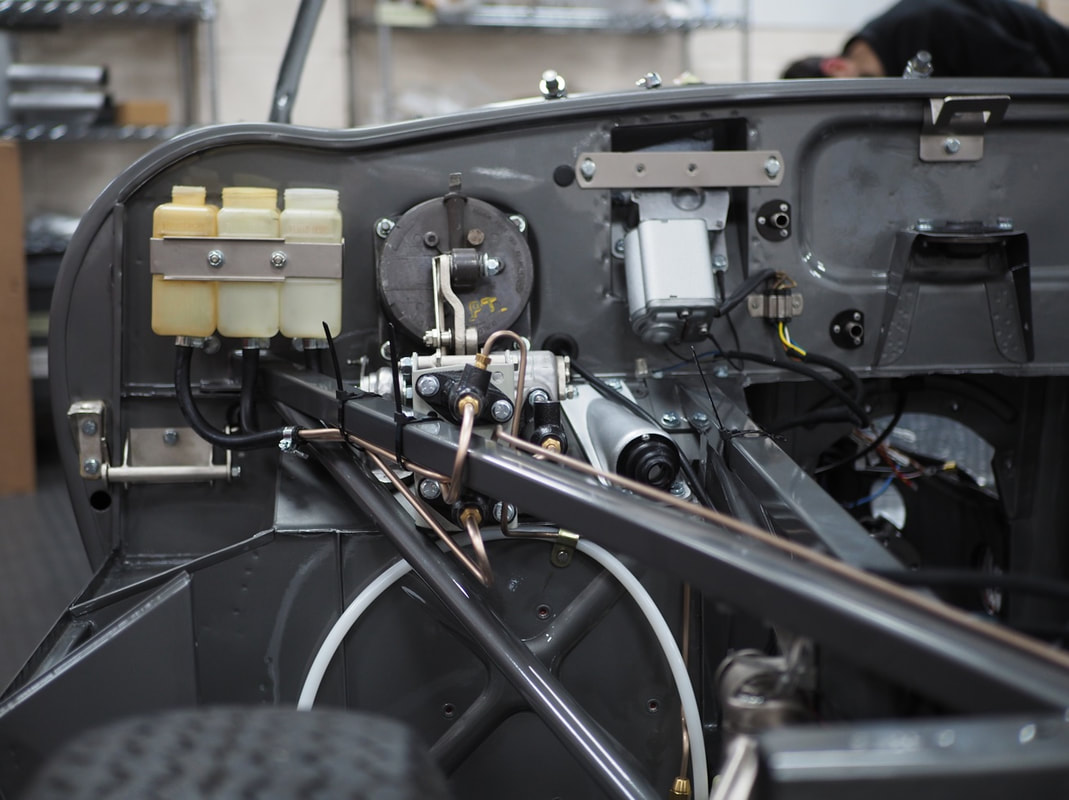
Now that we had a front frame skeleton in place, the initial stages of the engine bay and front suspension assembly could begin. Wiring looms are laid in first before being correctly strapped in place. Veins are quickly installed in the way of period correct cunifer brake and clutch lines, with nylon used for the fuel lines. The pedal box is stripped and inspected before being rebuilt and fitted with the pedal heights adjusted to the correct levels. Steering elements are also starting to appear with the fully rebuilt steering column in place, and a new centralised steering rack as the original couldn't be saved.
Another area that is never overlooked on a nose-to-tail restoration is the doors. As humble as they may be, the necessity of re-pinning the hinges during the body work stage is huge. To achieve the perfect shut, and door gaps, the hinges are swiftly removed during the strip down phase and are re-pinned so that when it comes to fitting the doors, the adjustment time will have been reduced dramatically.
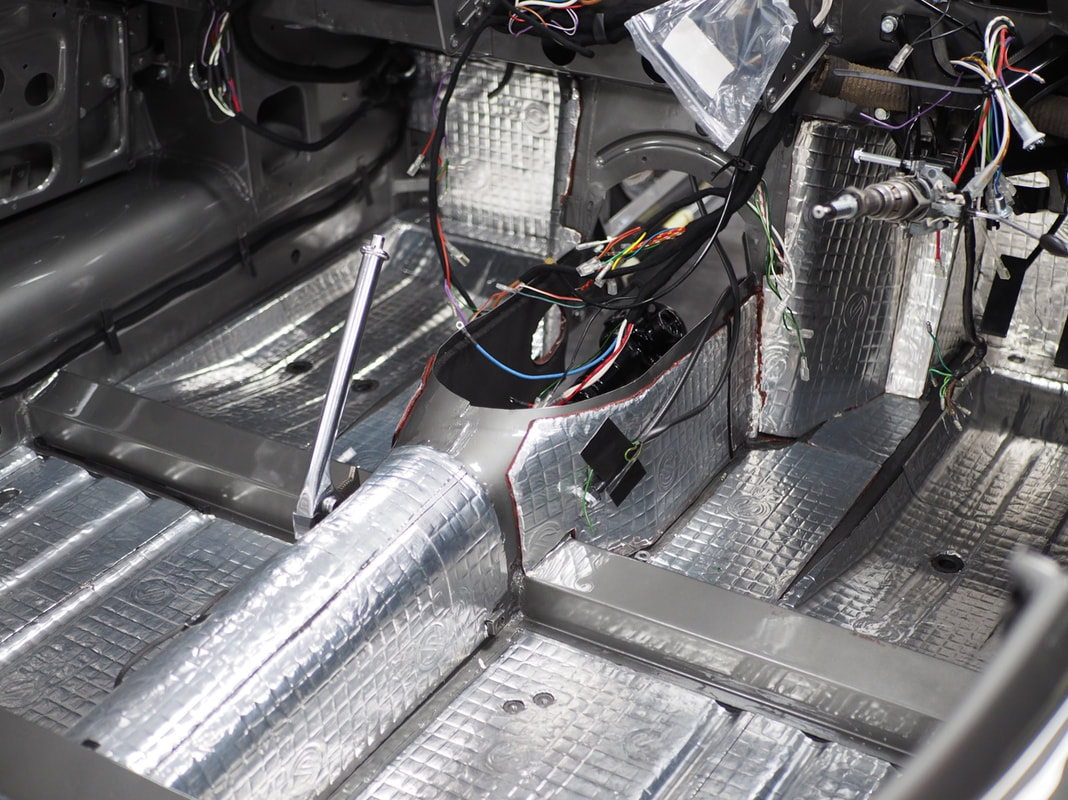
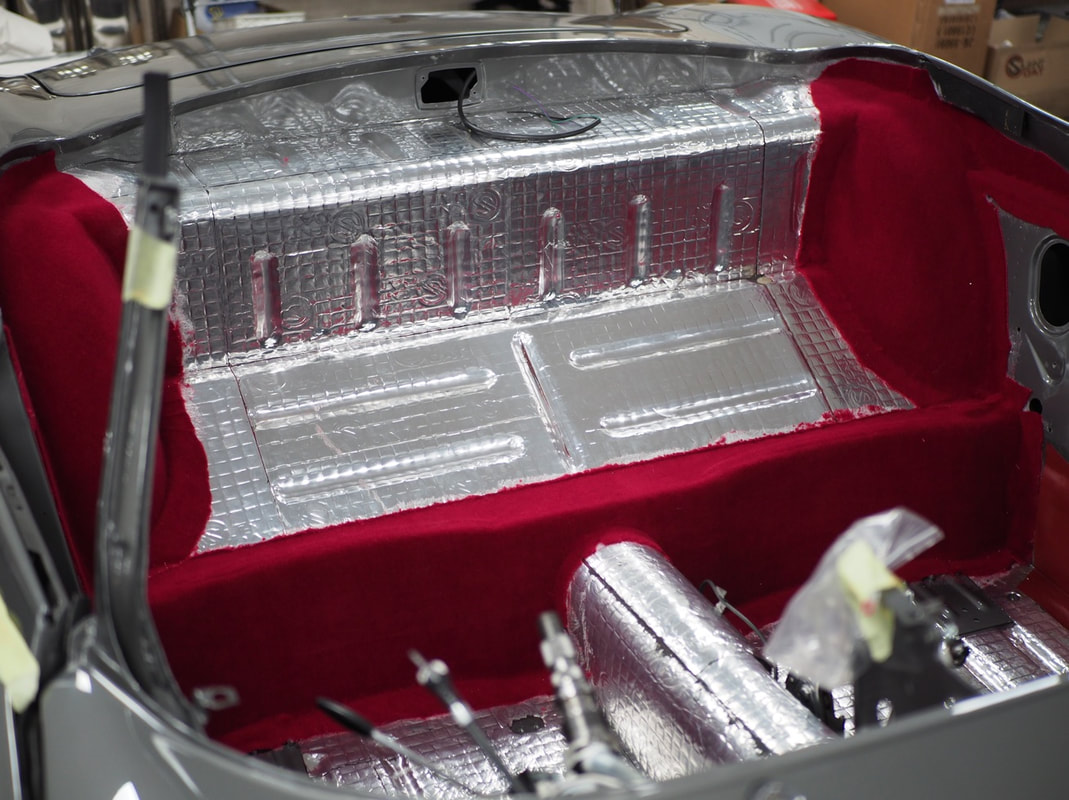
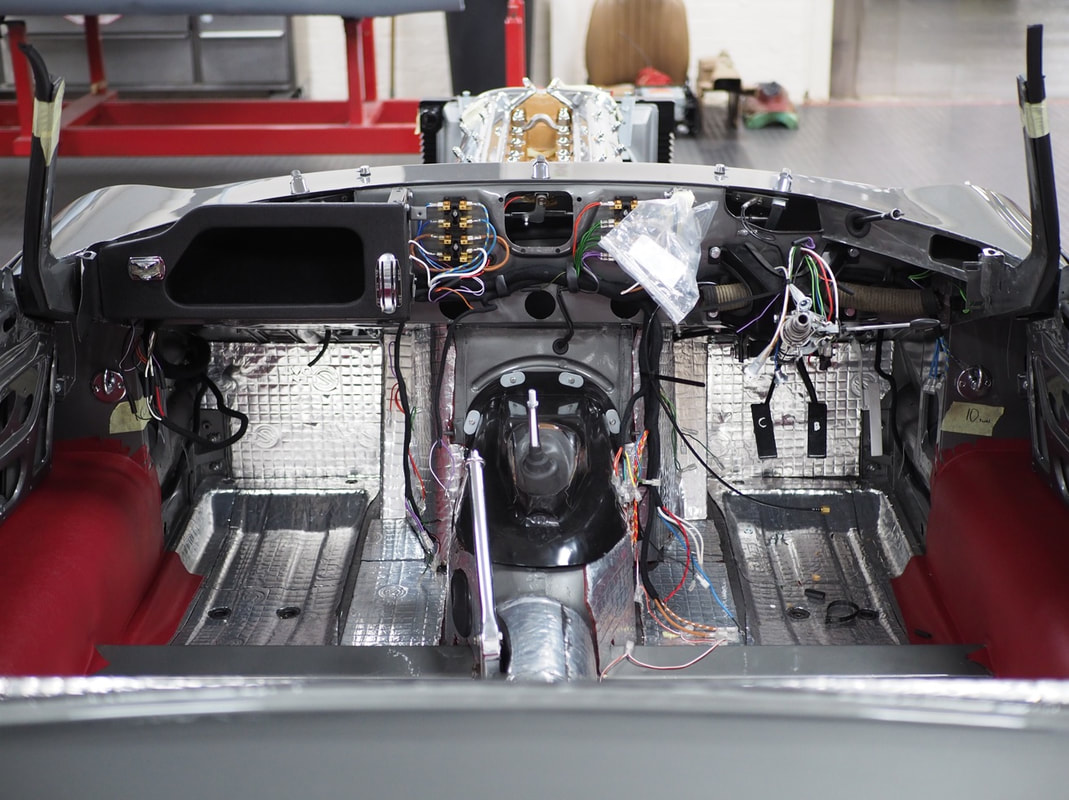
Road and wind noise, along with unpleasant fuel smells, can ruin any touring adventures so using our specially made templates, we can spend up to a couple of days meticulously cutting and sticking sheets of sound deadening to the vital areas prone to noise including the footwells, floor pan and boot resulting in soothing, tranquil touring for years to come.
We were now nearing two further poignant milestones of the restoration journey - re-fitting the rebuilt IRS unit, and the reunion of the 3.8 engine and Moss box.
Housing the original overhauled diff where the ratio was changed to 3:07, the IRS was completely stripped to have all the salvageable parts blasted before being either nickel plated or powder coated. Drive shaft universal joints were replaced with uprated whilst the springs and shock absorbers were thoroughly inspected prior to re-painting. The outer fulcrum, wheel and hub bearings were also replaced, along with new radius arms, whilst beautifully hand-bent cunifer brake lines made the unit too good to fit back up to the car.
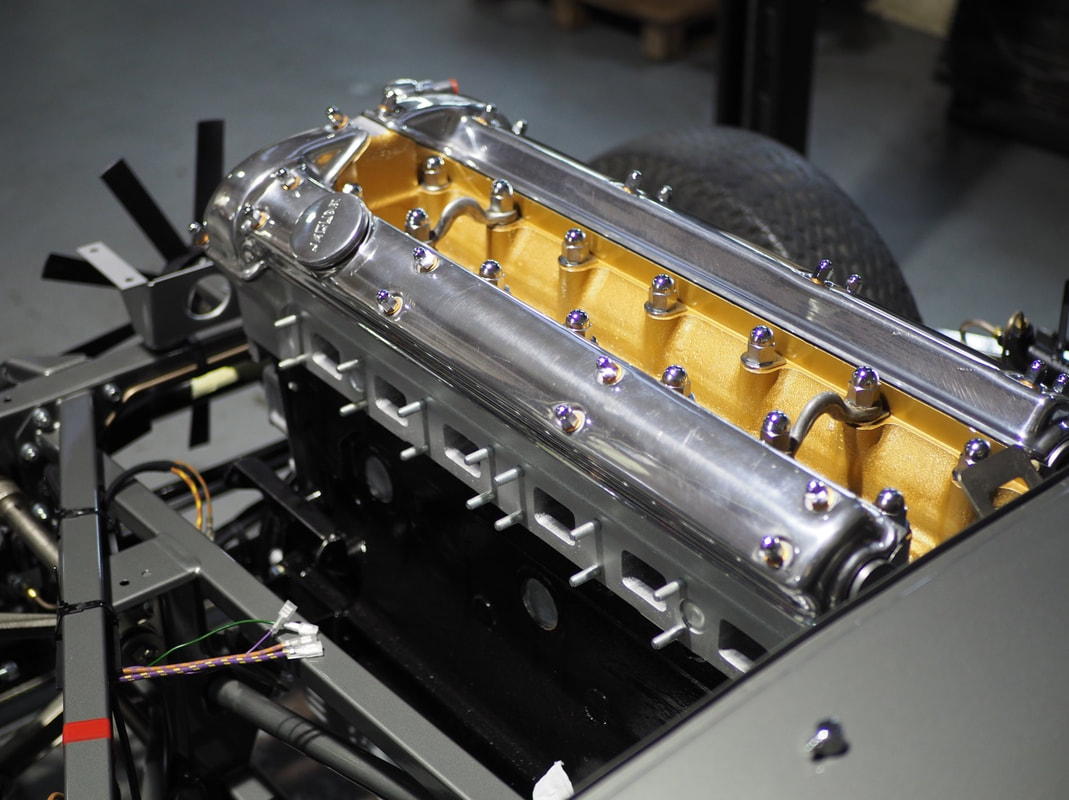
In the background and on the bench, the original set of Triple SU carbs and inlet manifold were carefully dismantled and assessed for any damage before relevant components were either electroless nickel plated, or polished, and then rebuilt.
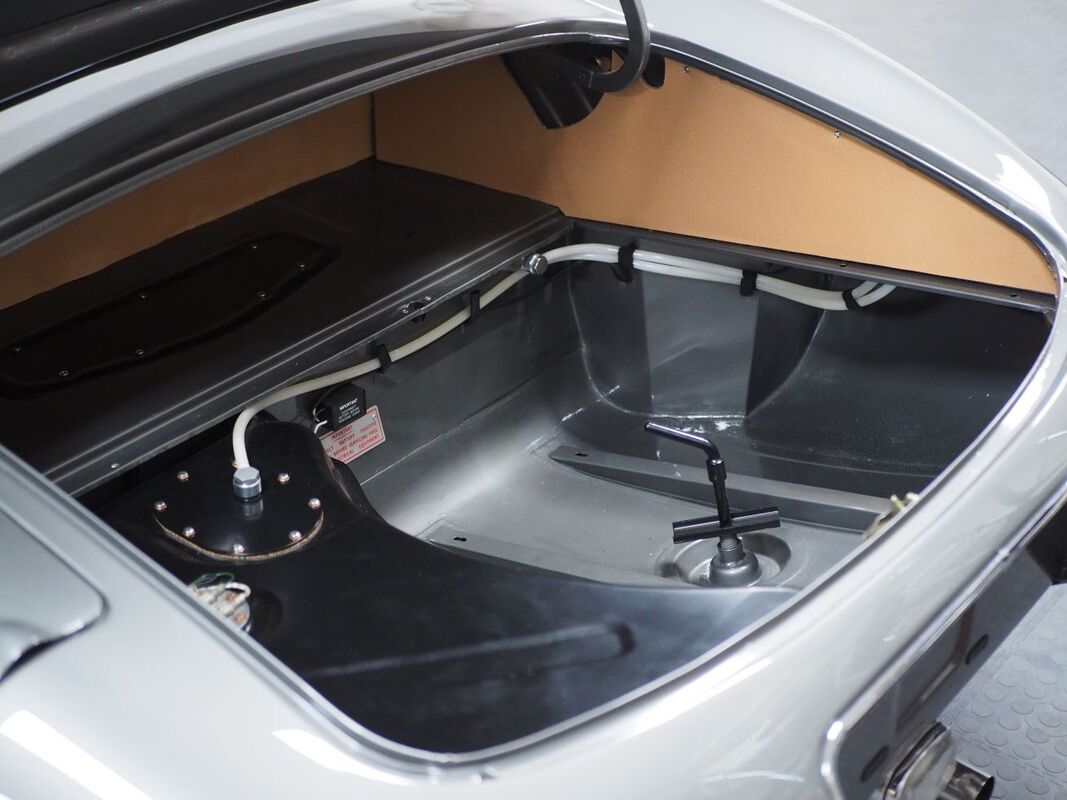
Focus then returned to the rear of the car where the fuel system build could finally begin, and exterior elements such as the rear lights and bumper assembly could be fitted. As with every restoration, nylon fuel lines and an electronic fuel pump are used for reliability and longevity. When we are faced with either restoring or replacing original components, we always favour replacing the fuel tank with new to avoid any potential contaminated fuel related breakdowns in the future. To hide all of the inner workings of the fuel system, the boot lid was able to be fitted and adjusted with the associated seal, springs, and pull / lock mechanisms in place.
The time had finally come to reunite both the overhauled engine and gearbox with the car. Knowing that a previous owner stated that the engine had equal compression in all 6 cylinders, we still encouraged the existing custodian to have the block re-conditioned for reliability and peace of mind. Included in every one of our engine overhauls is a rear oil seal conversion, a full balance, and a brand new clutch. On this particular 3.8, we also had to exchange the front pulley, and replace the centre main pick-up pipe bracket before thinner running in oil could be added for the first 500 miles.
With the correct heatshields and replica Marston radiator fitted, and the handbrake connected, we could begin the rebuild of the gearstick, the heater-box, and water pump following strip downs and assessments. Areas of trim were also starting to appear with an initial trial fit of the relevant interior panels before the wheel arches, sills, and rear bulkhead were transformed from Black to a sultry Red.
One area that we constantly find can take an extraordinary number of man-hours but is one of the most noticeable when stood looking at the car, is the doors. The gateway to utter joy, it can take up to 30 hours or more from the first fitment of the doors to finalising the gaps and shut lines with trimmed door cards in place.
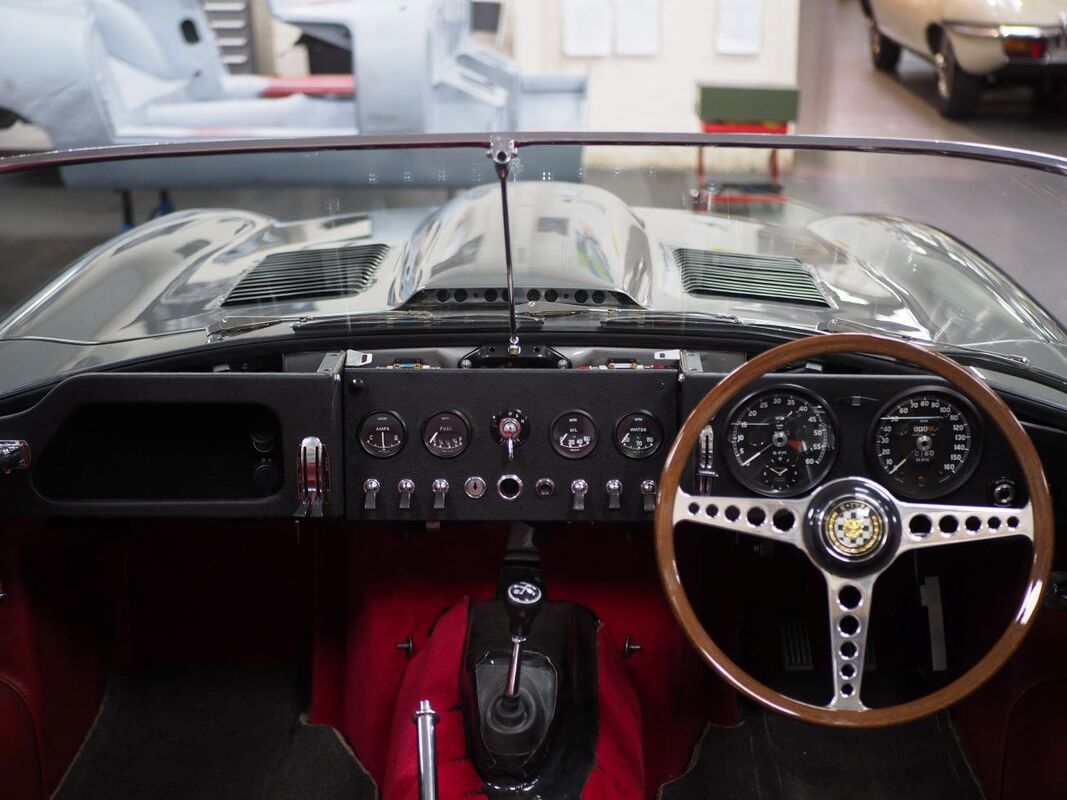
Staying within the cockpit, the centre instrument panel was starting to take shape. Staying correct to the year that the car was built of 1964, the panel was kept Black as per the clients wish of keeping as many elements of the build as original as possible.
More areas of Red trim were also emerging with the rear bulkhead now covered in heritage-correct Hardura, and carpets appearing on the crossmember and in the footwells. Meanwhile in the boot, Biscuit hardura trimmed fibre-board panels line the sides with matching boot mat to cover the custom-made boot boards.
Ahead of the all-important electrical test, final wiring was laid in place for the tachometer modification, choke light, and the bonnet plug. Heater cabling was also checked to ensure that the customer would be sat in comfortable temperatures whilst touring. Sadly, we can’t predict the weather in the UK but we do know that we get our fair share of rain, so making sure that the wipers were thoroughly tested and adjusted at this stage meant that the client could stand a chance in the event of a British downpour.
Knowing that an initial engine turnover was looming, we took the opportunity to make sure that all the silicone fluid hoses were secure and there were no leaks from the system. Multiple brake bleeds are common at this stage to eliminate any potentially major issues down the line. Once we had addressed the leaks that had sprung up, it was time to get the car in the air and fit the stainless exhaust system, and once down on the ground, the windscreen.
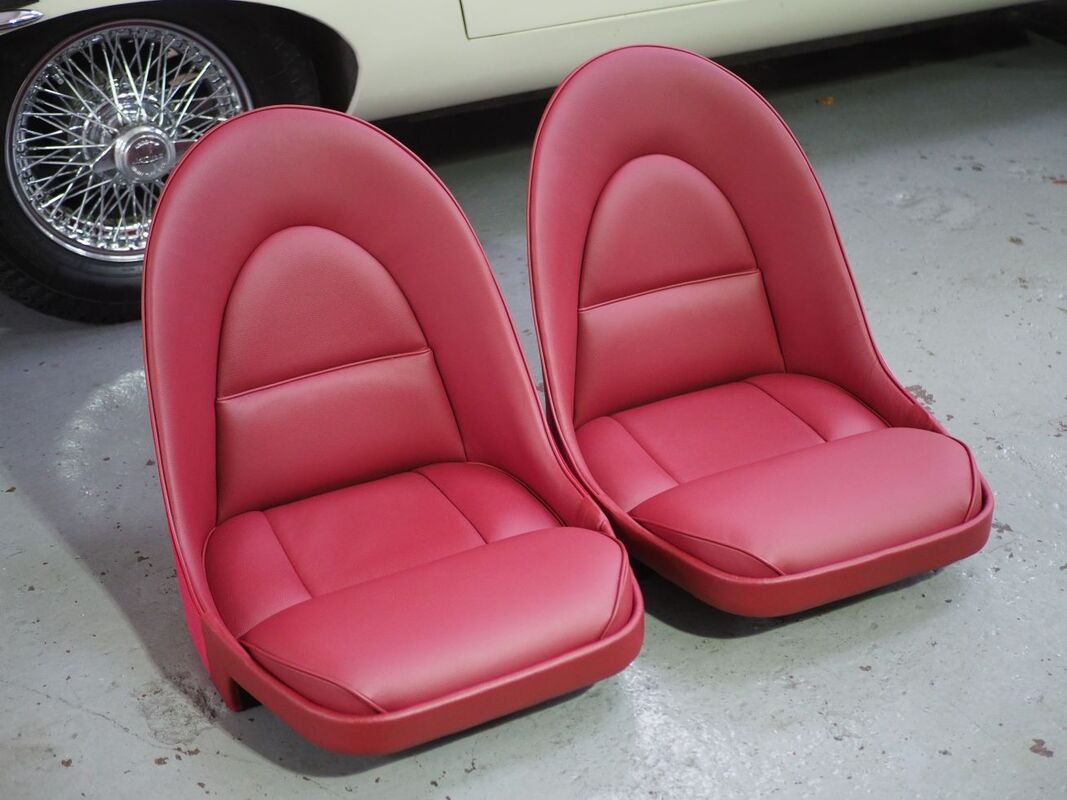
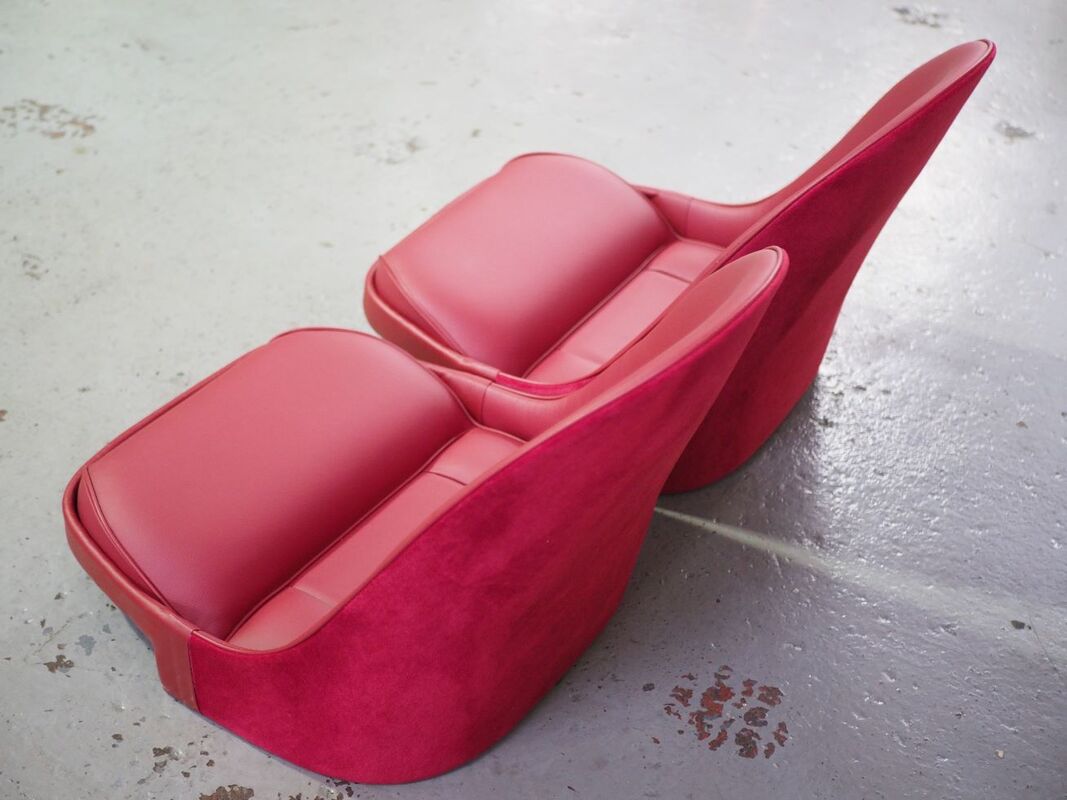
Whilst the bonnet brightwork was still in build ahead of the hood fitment, focus continued on the interior trim including the beautifully re-trimmed 3.8 drophead seats in Dark Red. Before we could offer the seats up, we first had to bolt in both pairs of the original runners so the seats could be mounted inside the cabin. The seats will be amongst the final pieces to be fitted to the car but at this stage, we were still needing to install the remaining carpet sections, underfelt, and transmission tunnel cover so the seats were placed back in to clean storage until we were ready to fit them.
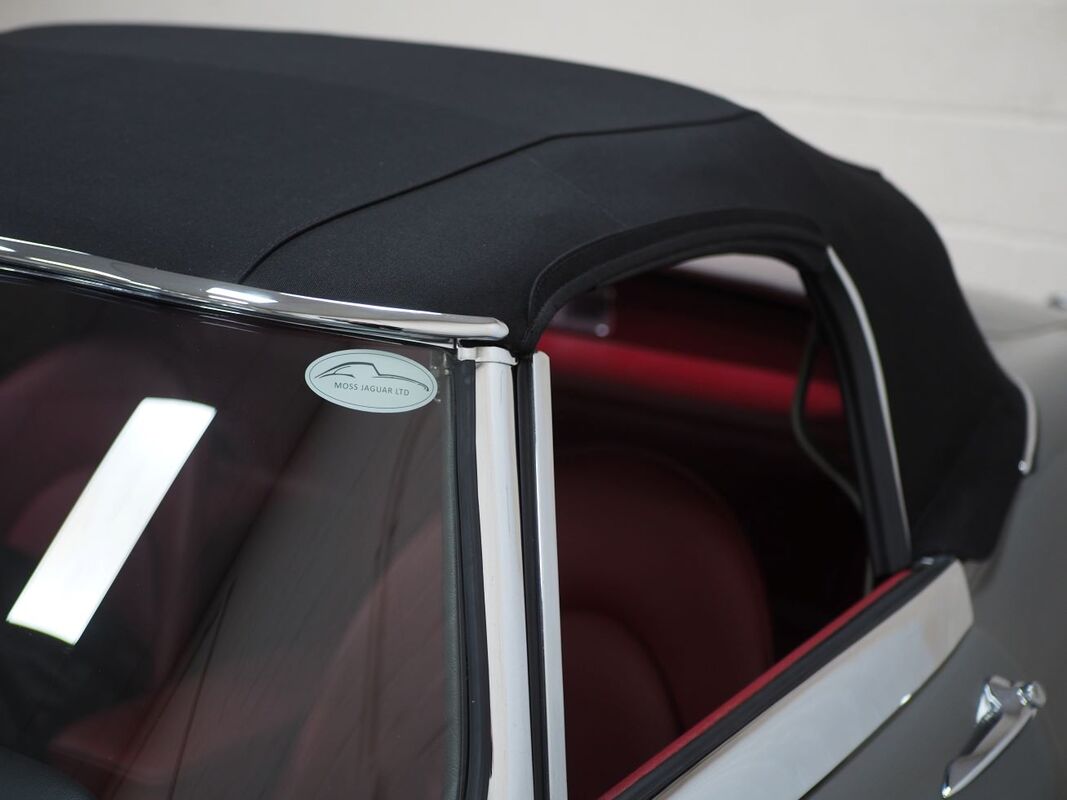
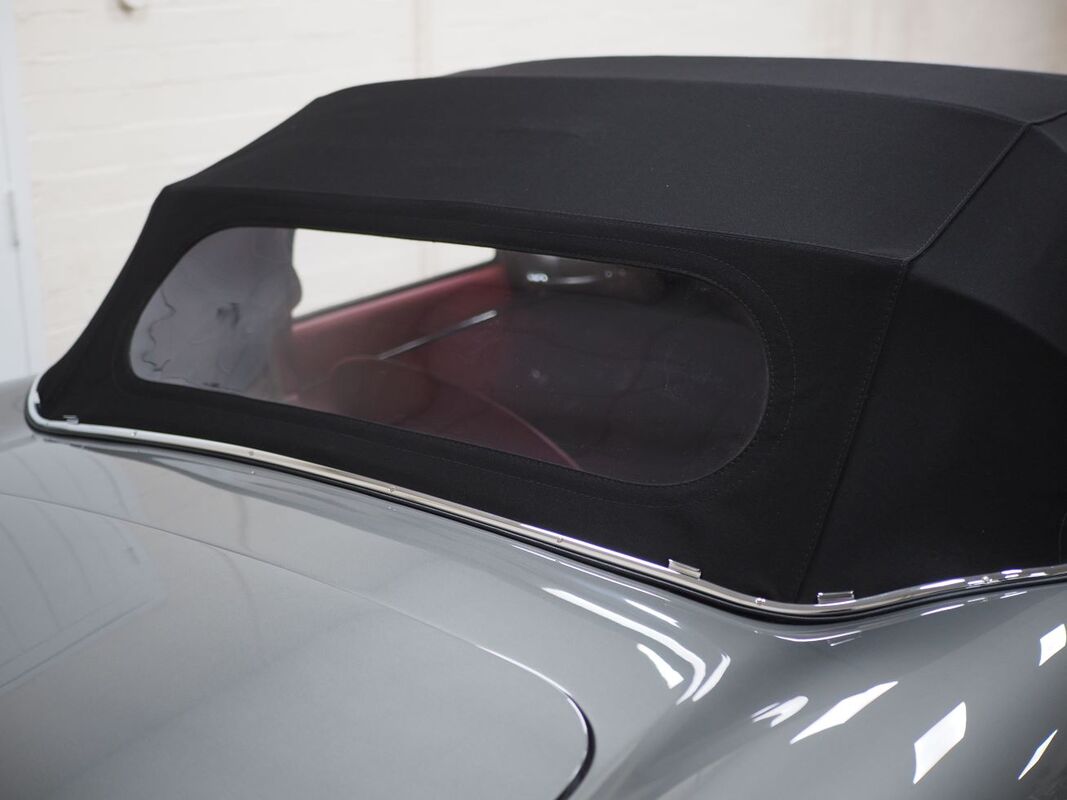
One of our favourite milestones on every drophead restoration is the hood fitment. The original mechanism will always be used to ensure a perfect fit however, repairs are inevitable during the fitting process. This particular project needed new front and rear hood chromes, cantrail chromes with replacement seals, a variety of special bolts and clips, and hold down straps. Now boasting a crisp Black Mohair canopy which will withstand many years of joyful touring - hood up or down - the car was almost complete.
Fulfilling the brief from the customer to keep as close to originality as possible, but with reliability as priority no. 1, we fitted PL700 H4 LED headlights which are a modernised version of the factory originals thus keeping the look true to how they were on the production line.
Now that we had all the carpet and underfelt firmly in place, the time had come to reward the car with its exquisite pair of sultry Red leather 3.8 seats. Matching Maroon lap belts complete with Jaguar chrome buckles soon followed so once tested for security, the newly trimmed centre console and radio console were fitted completing the romantic tone of the cabin.
A thorough 64-point service and MOT was necessary before we went anywhere near the road so all fluids were checked, a final spanner up underneath was a must, and timing and wheel tracking was also carried out.
Finally, with many hours of rigorous Hertfordshire road testing added to the odometer, and the total build time of over 1000 hours, the result is a handsome, sporty yet elegant number to add to the custodians collection of machines - classic and farming.
